附录A:数智大脑集群安装
此部分内容介绍如何安装和配置数智大脑集群。此处以5台机器为例子进行集群的安装和配置。
这个过程分为三个阶段:1)安装准备;2)安装及配置;3)运行及验证
安装准备阶段
准备好5台操作系统为Centos 7 的机器,此处为虚机。主机IP地址为103.227.51.139,端口为 20002 - 20009。
下载deploy_dpaas.tar.gz文件
复制压缩包 deploy_dpaas.tar.gz 到所有节点的 /opt目录下
在每台机器上解压该文件
tar -xzvf deploy_dpaas.tar.gz
在node1上 执行 cd deploy_dpaas
在node1上执行 ./init.sh,在当前安装python等包
在node1上执行 python main.py change_host 改变所有待安装节点的hostname
注:
- 节点的IP和端口配置在./shell/sys_init/IP_hosts中定义。内容参见如下:
192.168.20.5 pro02.dps.com pro02
192.168.20.6 pro03.dps.com pro03
192.168.20.8 pro04.dps.com pro04
192.168.20.9 pro05.dps.com pro05
192.168.20.10 pro06.dps.com pro06
192.168.20.11 pro07.dps.com pro07
192.168.20.12 pro08.dps.com pro08
192.168.20.2 pro01.dps.com pro01
- node1配置信息需要放在最后一行,且需要回车换行形成随后的空行。
- ./shell/sys_init/hosts.sh 中包含root密码。
- 所有节点会重新启动
- 再次连接入node1节点
- cd /opt/deploy_dpaas
- 执行 python main.py auto_ssh, 实现所有节点相互的免密码访问。请进行ssh免密码访问验证。
- 执行 python main.py server 以安装Ambari Server和Kerberos主服务器
- 在其他所有节点上执行 init.sh
- 在这些节点上执行 python main.py agent,安装所需的agent 服务
至此,基础安装环境已经就绪。
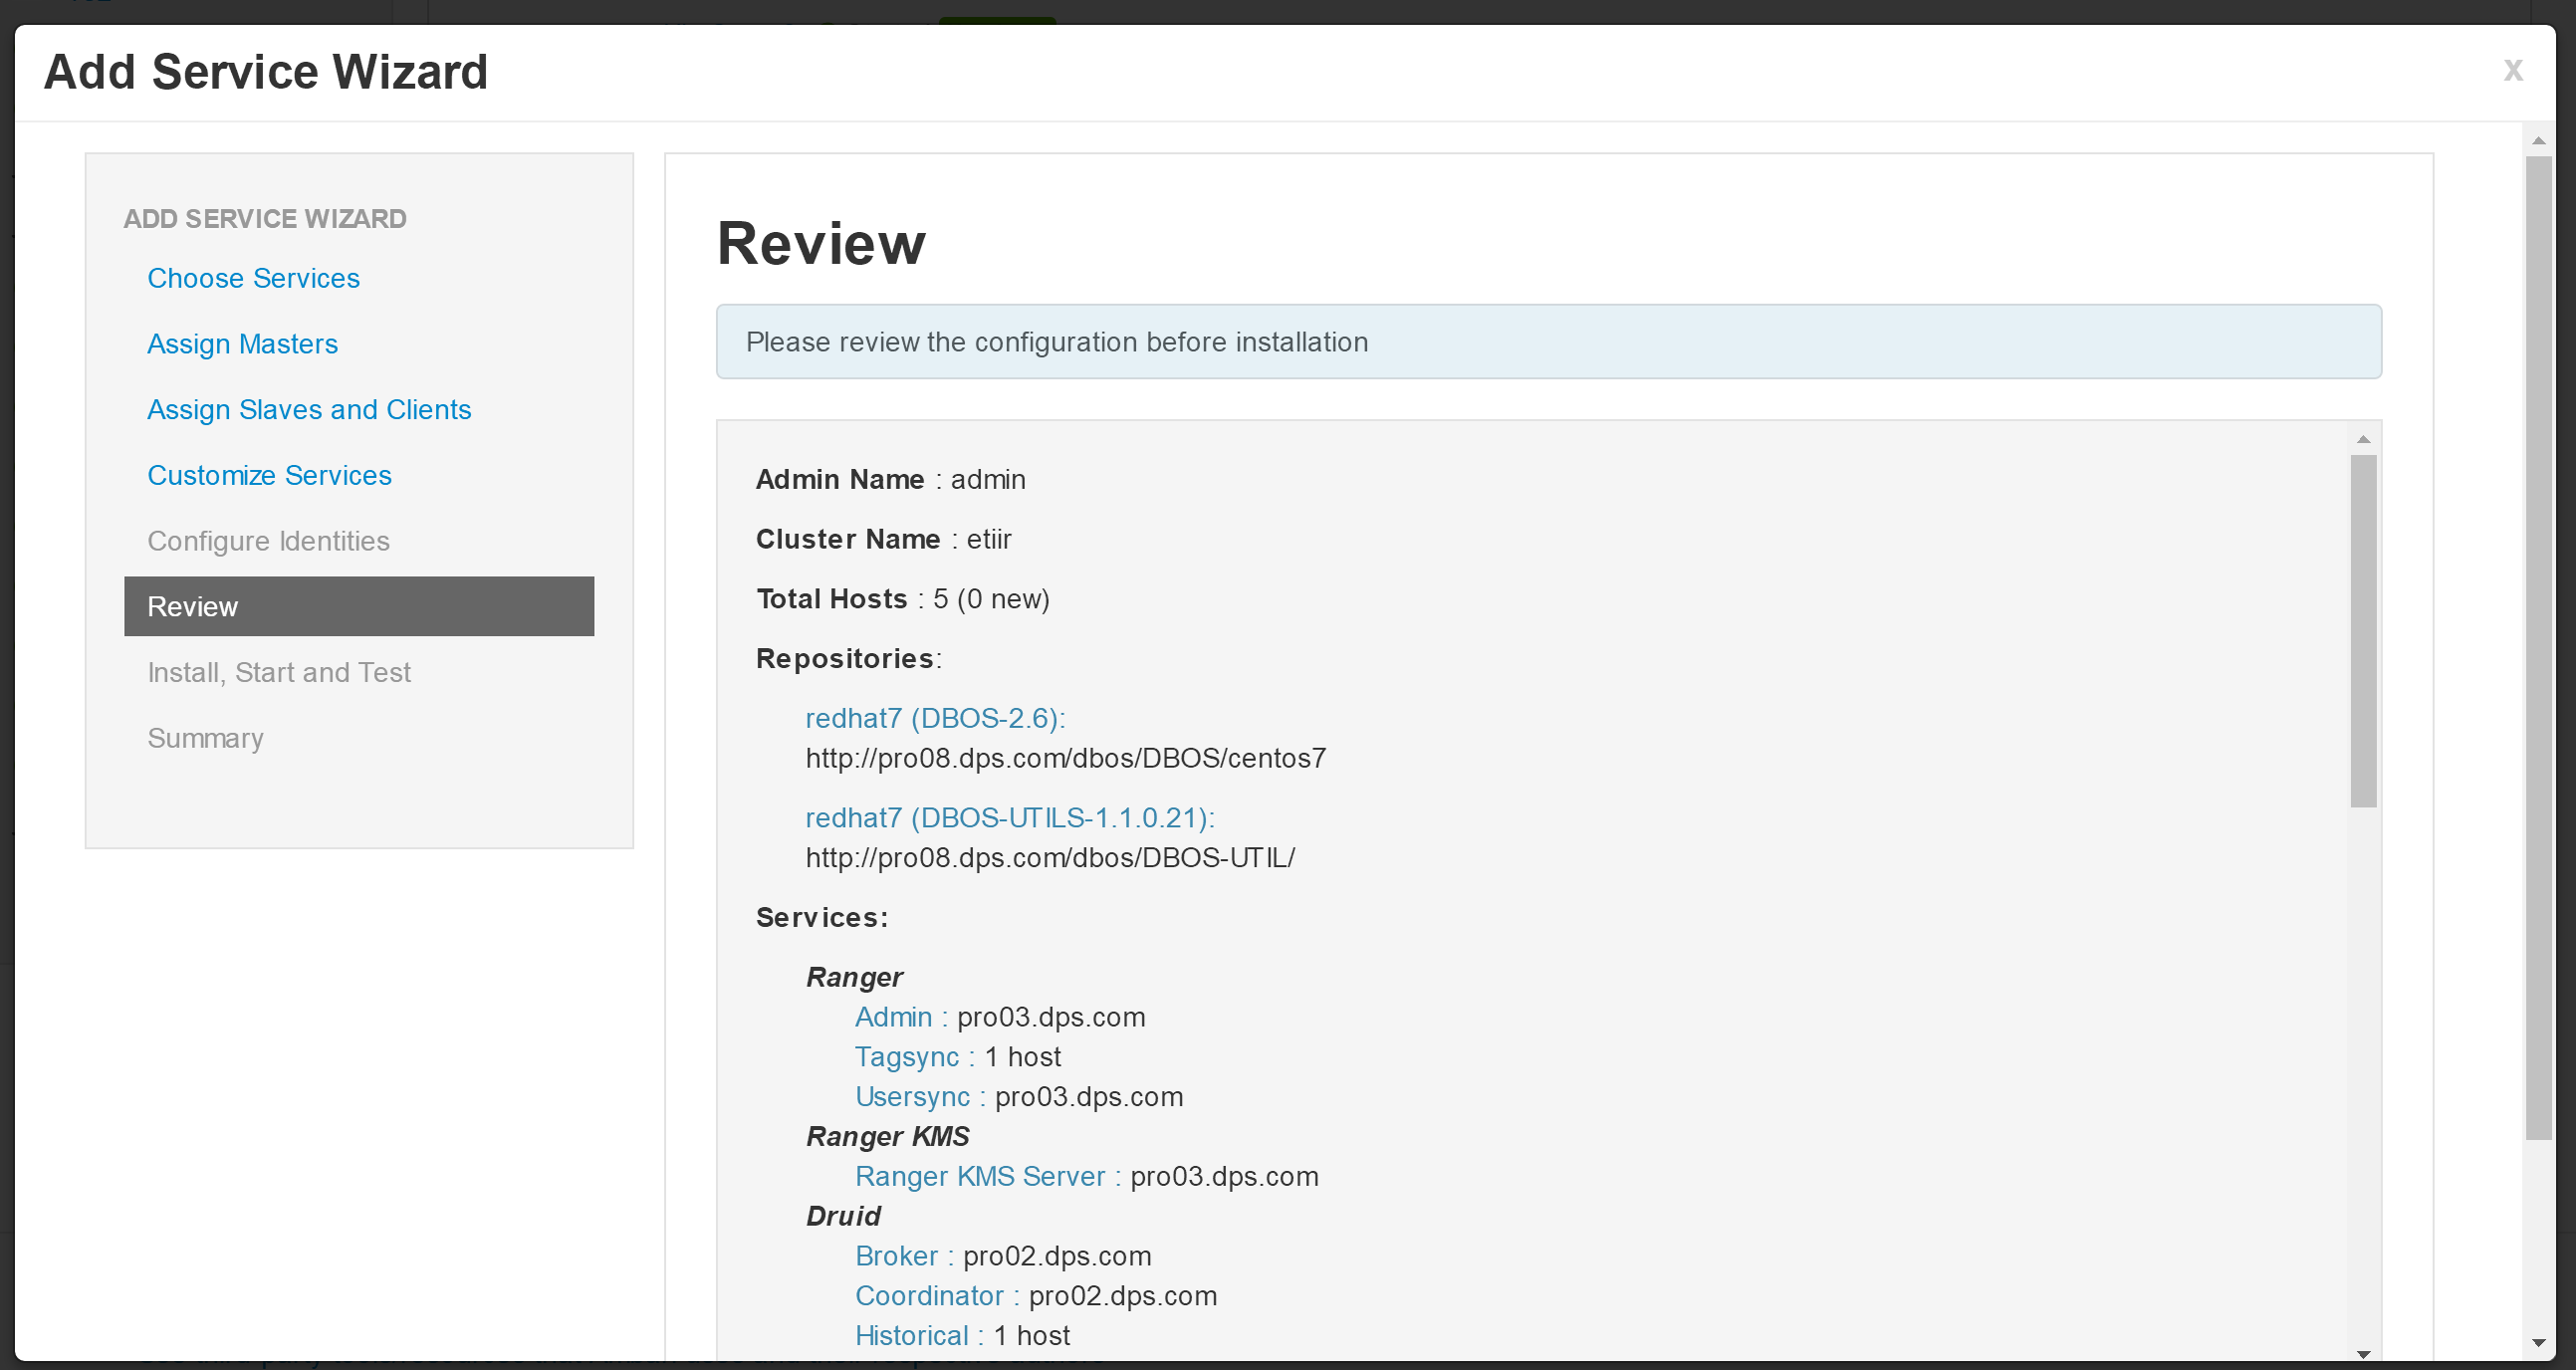
安装及配置
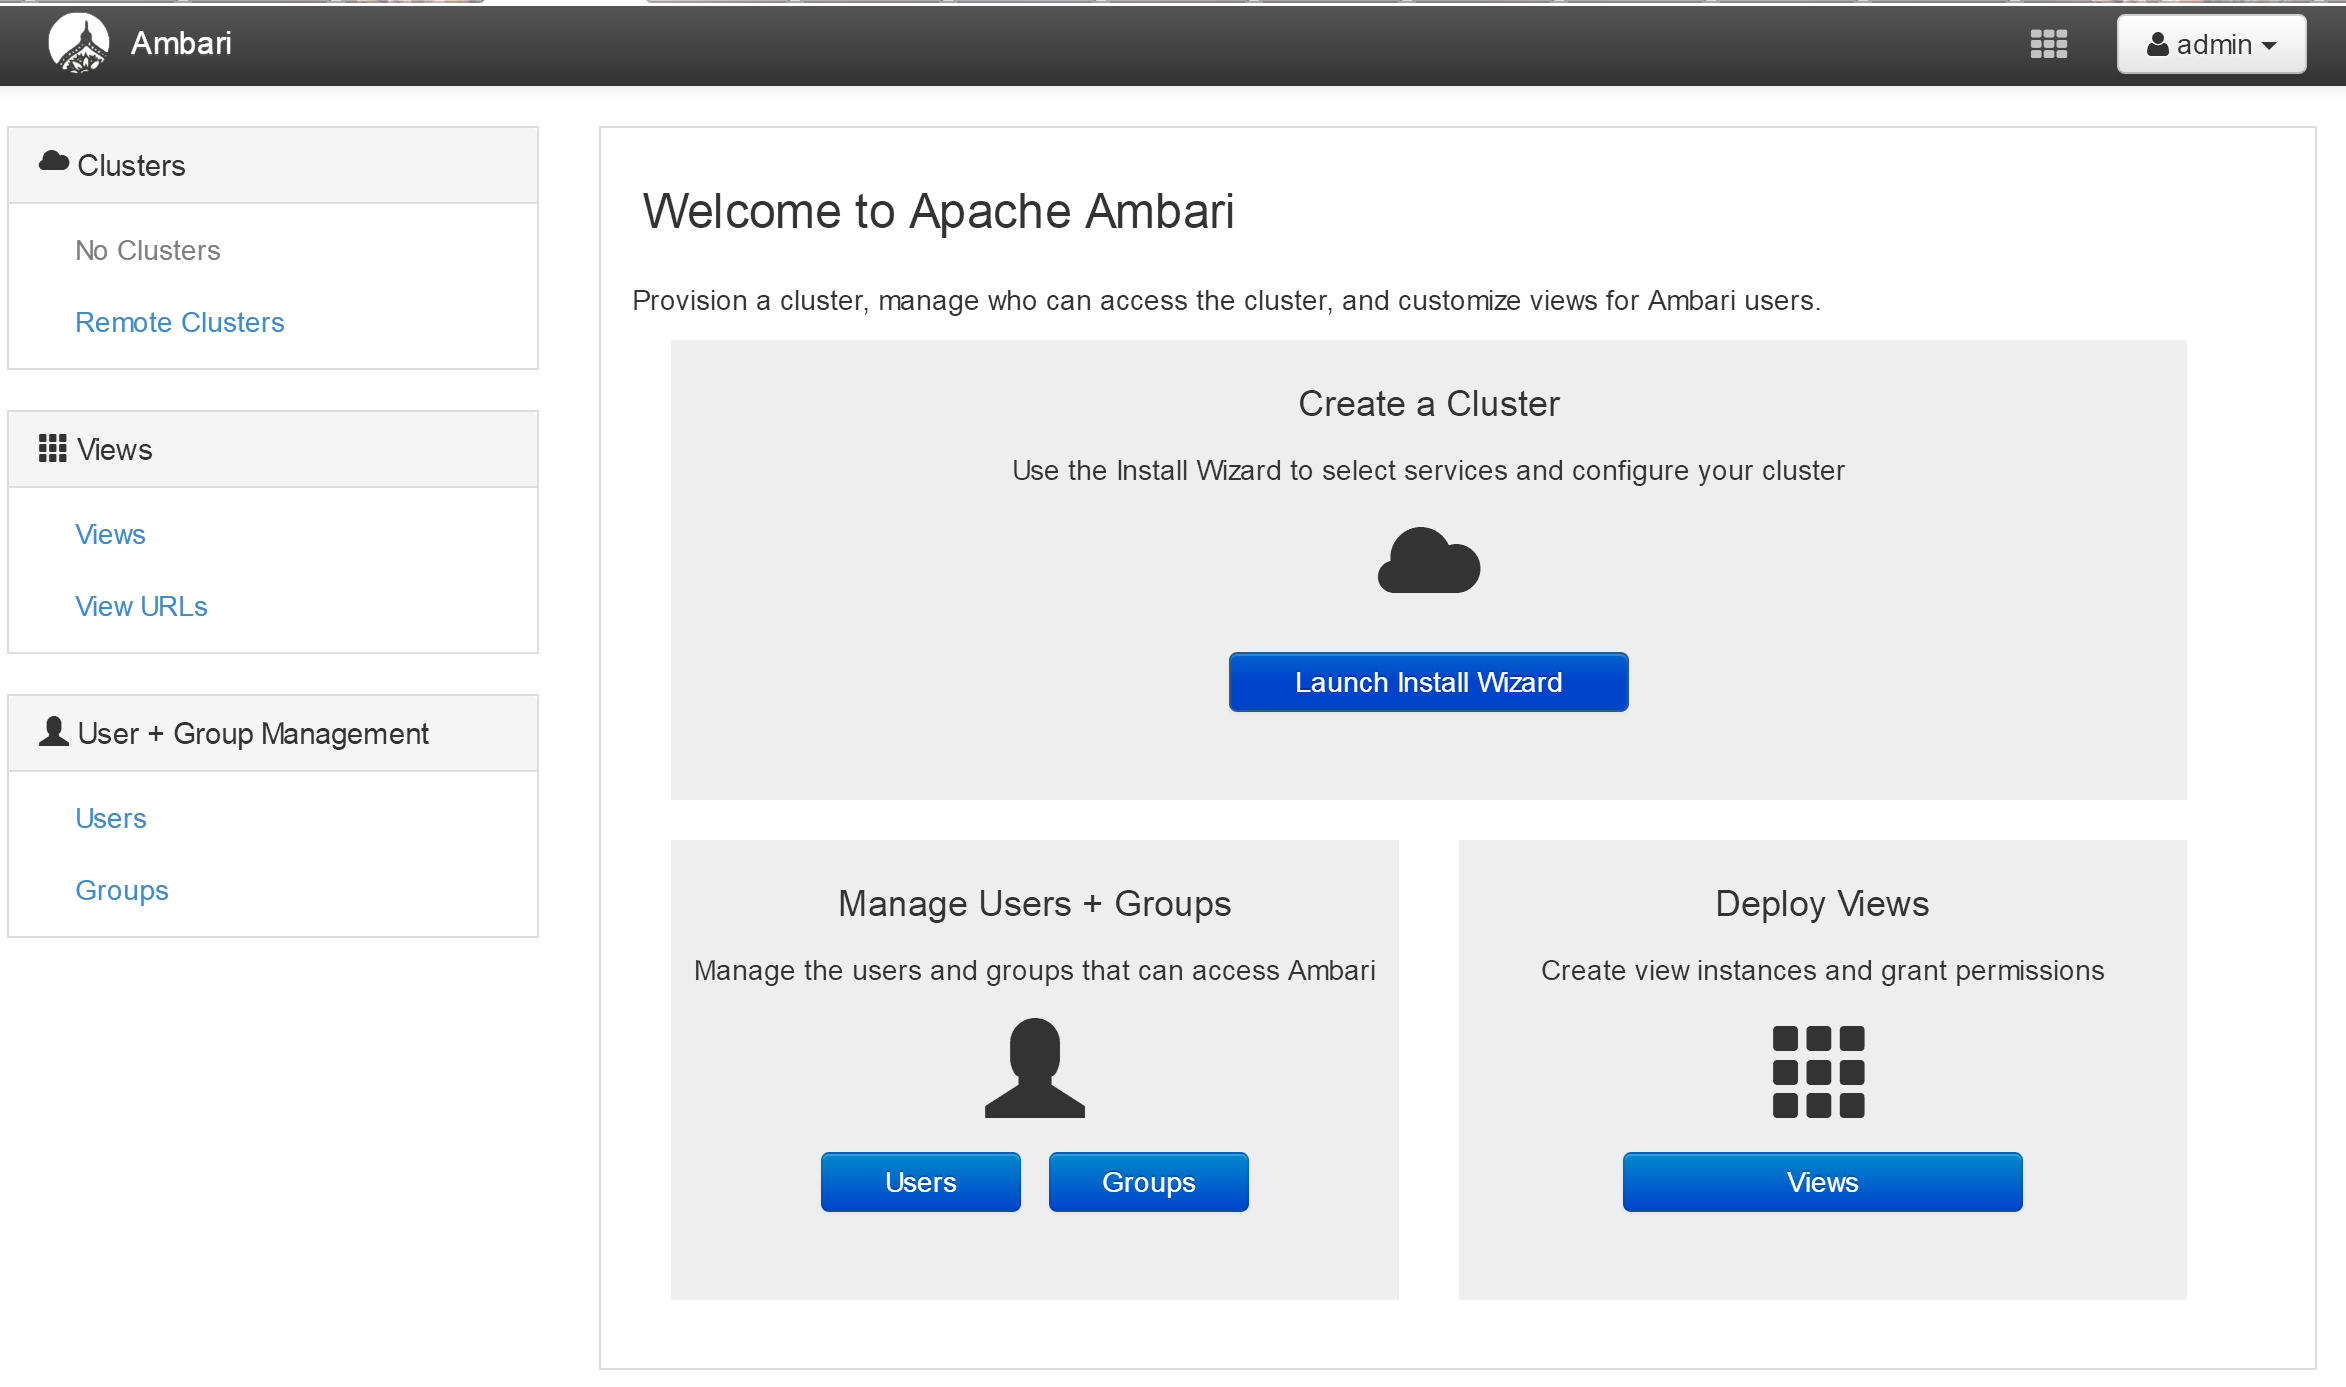
- 使用浏览器打开 url: http://103.227.51.139:8080,登陆进入主页面。
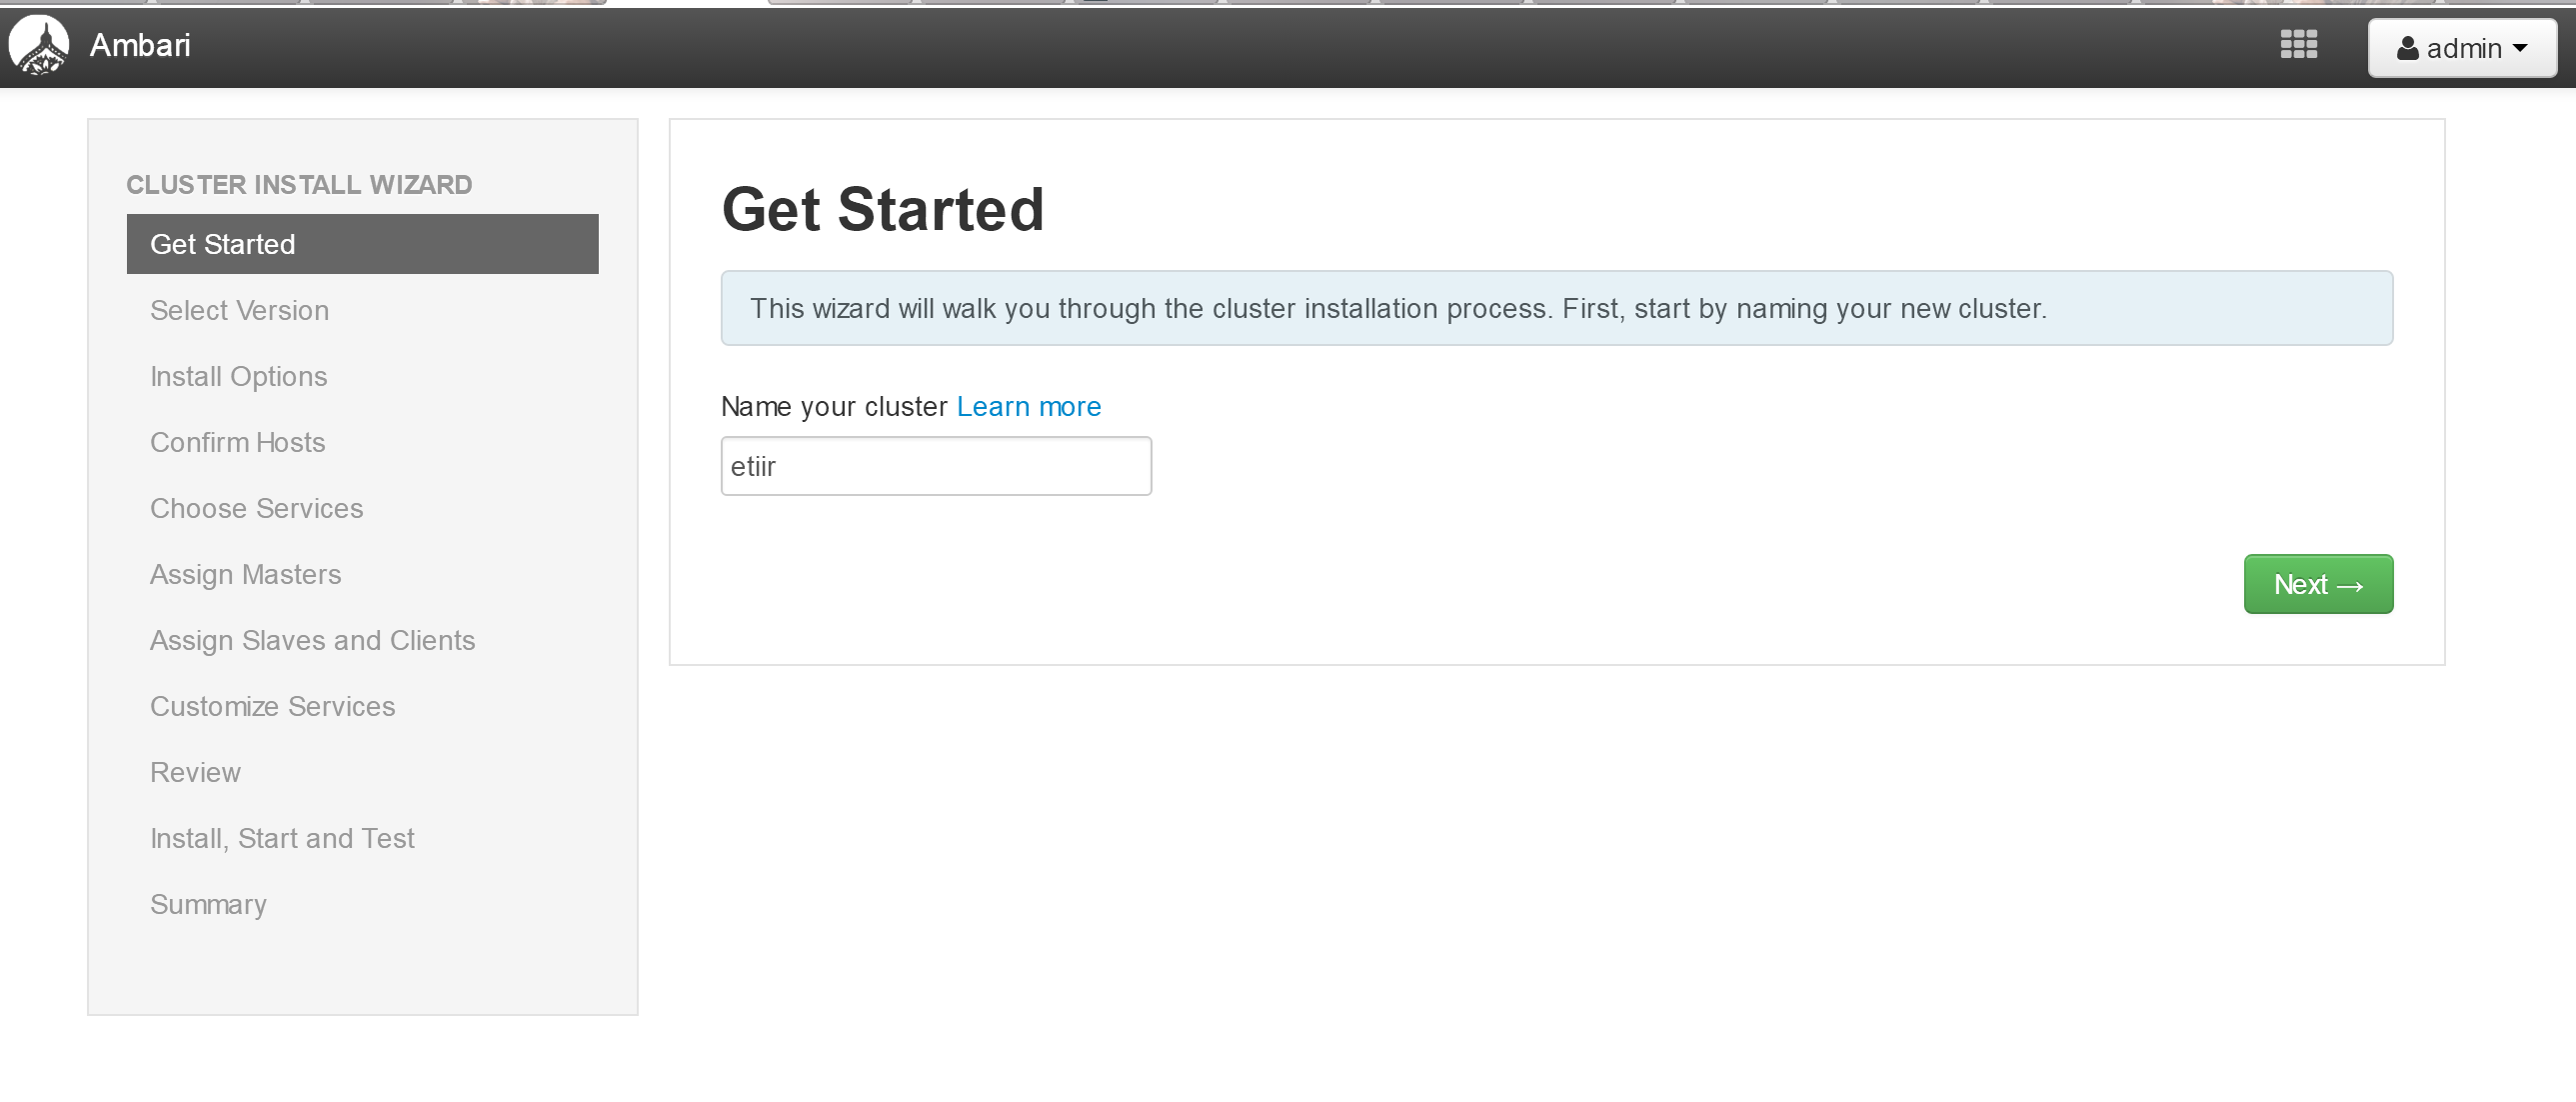
- 点击“Launch Install Wizard”,填写集群(Cluster)名称,点击“Next”。
- 选择DataBrainOS安装包版本号
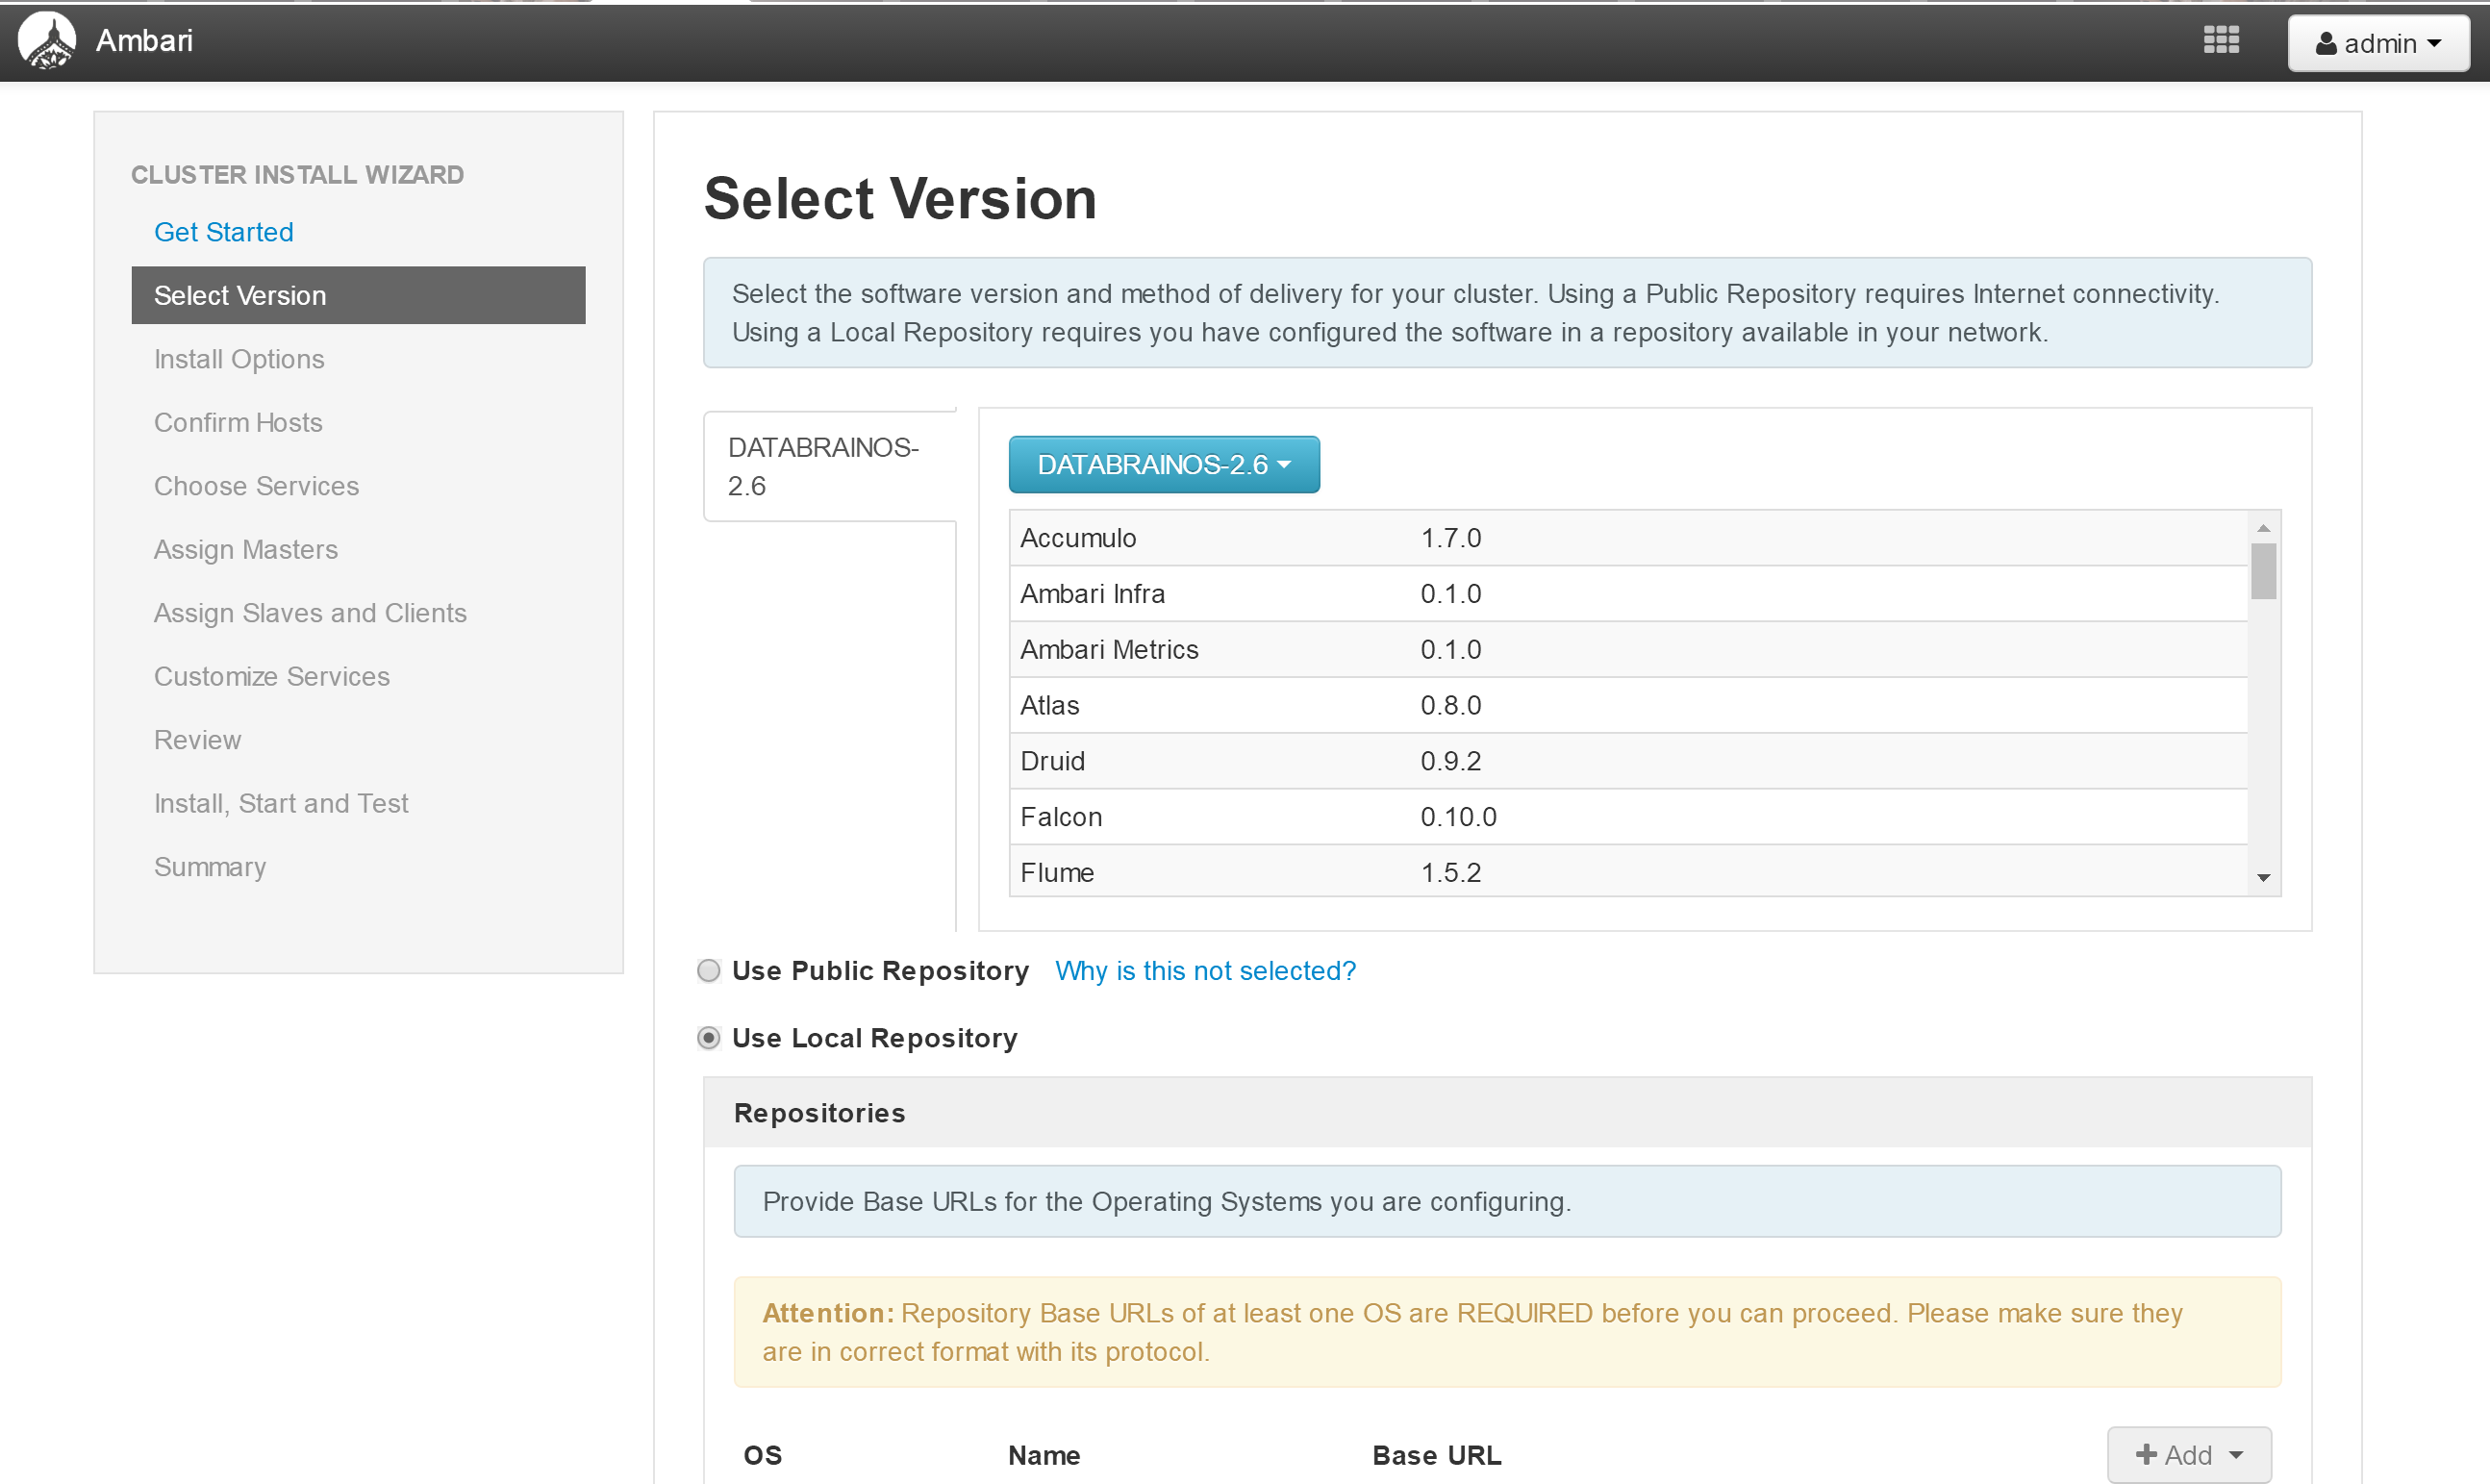
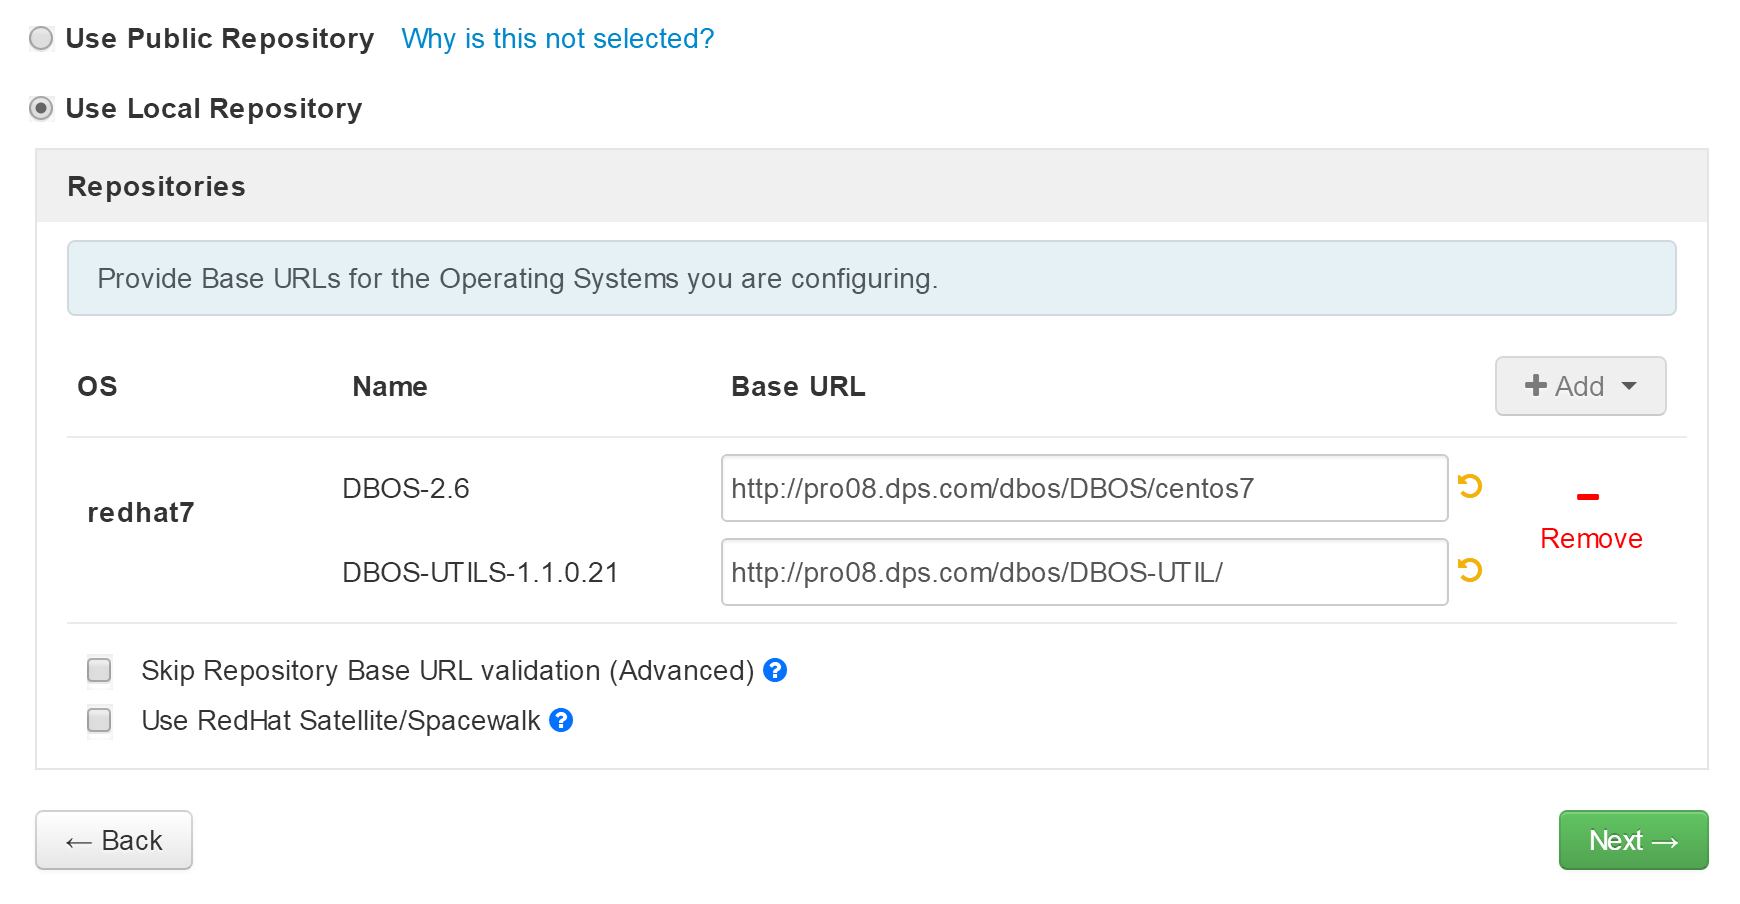
- 选择本地库,填写地址如下,并点击“Next”
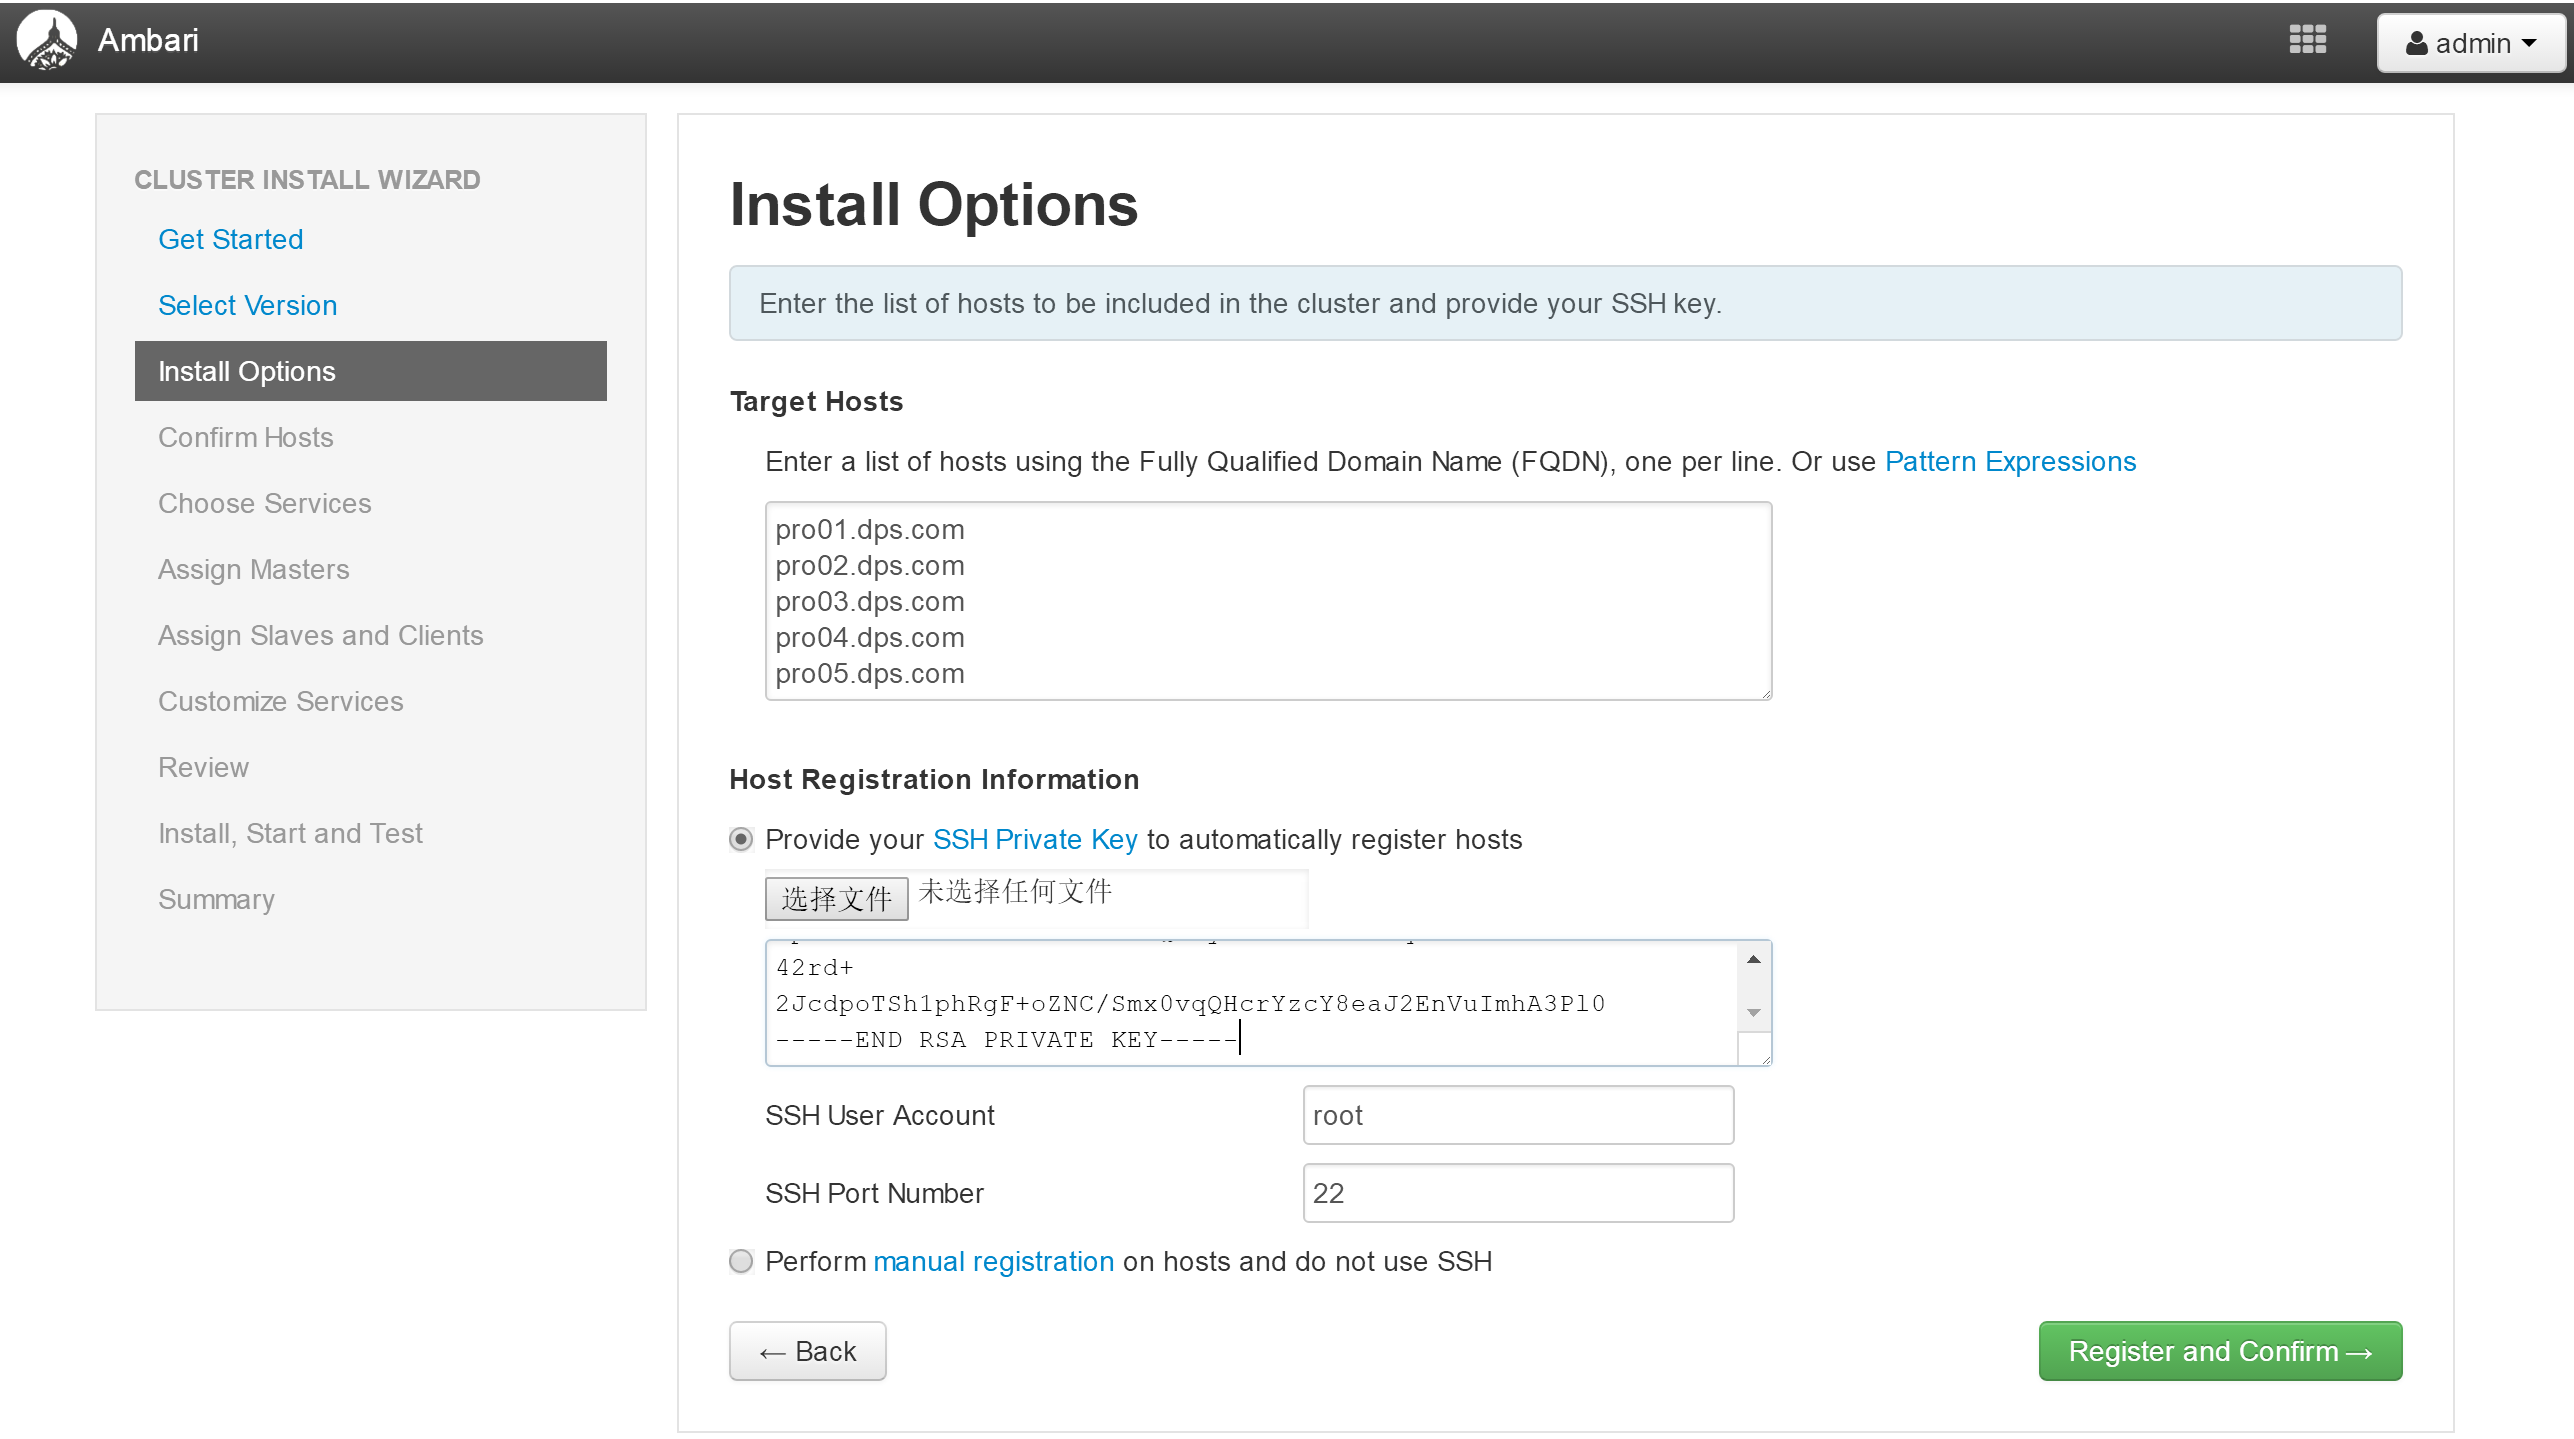
在下面安装选项页面中填写5台机器的FQDN
将node1节点的私钥内容复制到下面的文本框中
cd ~/.ssh
vi id_rsa
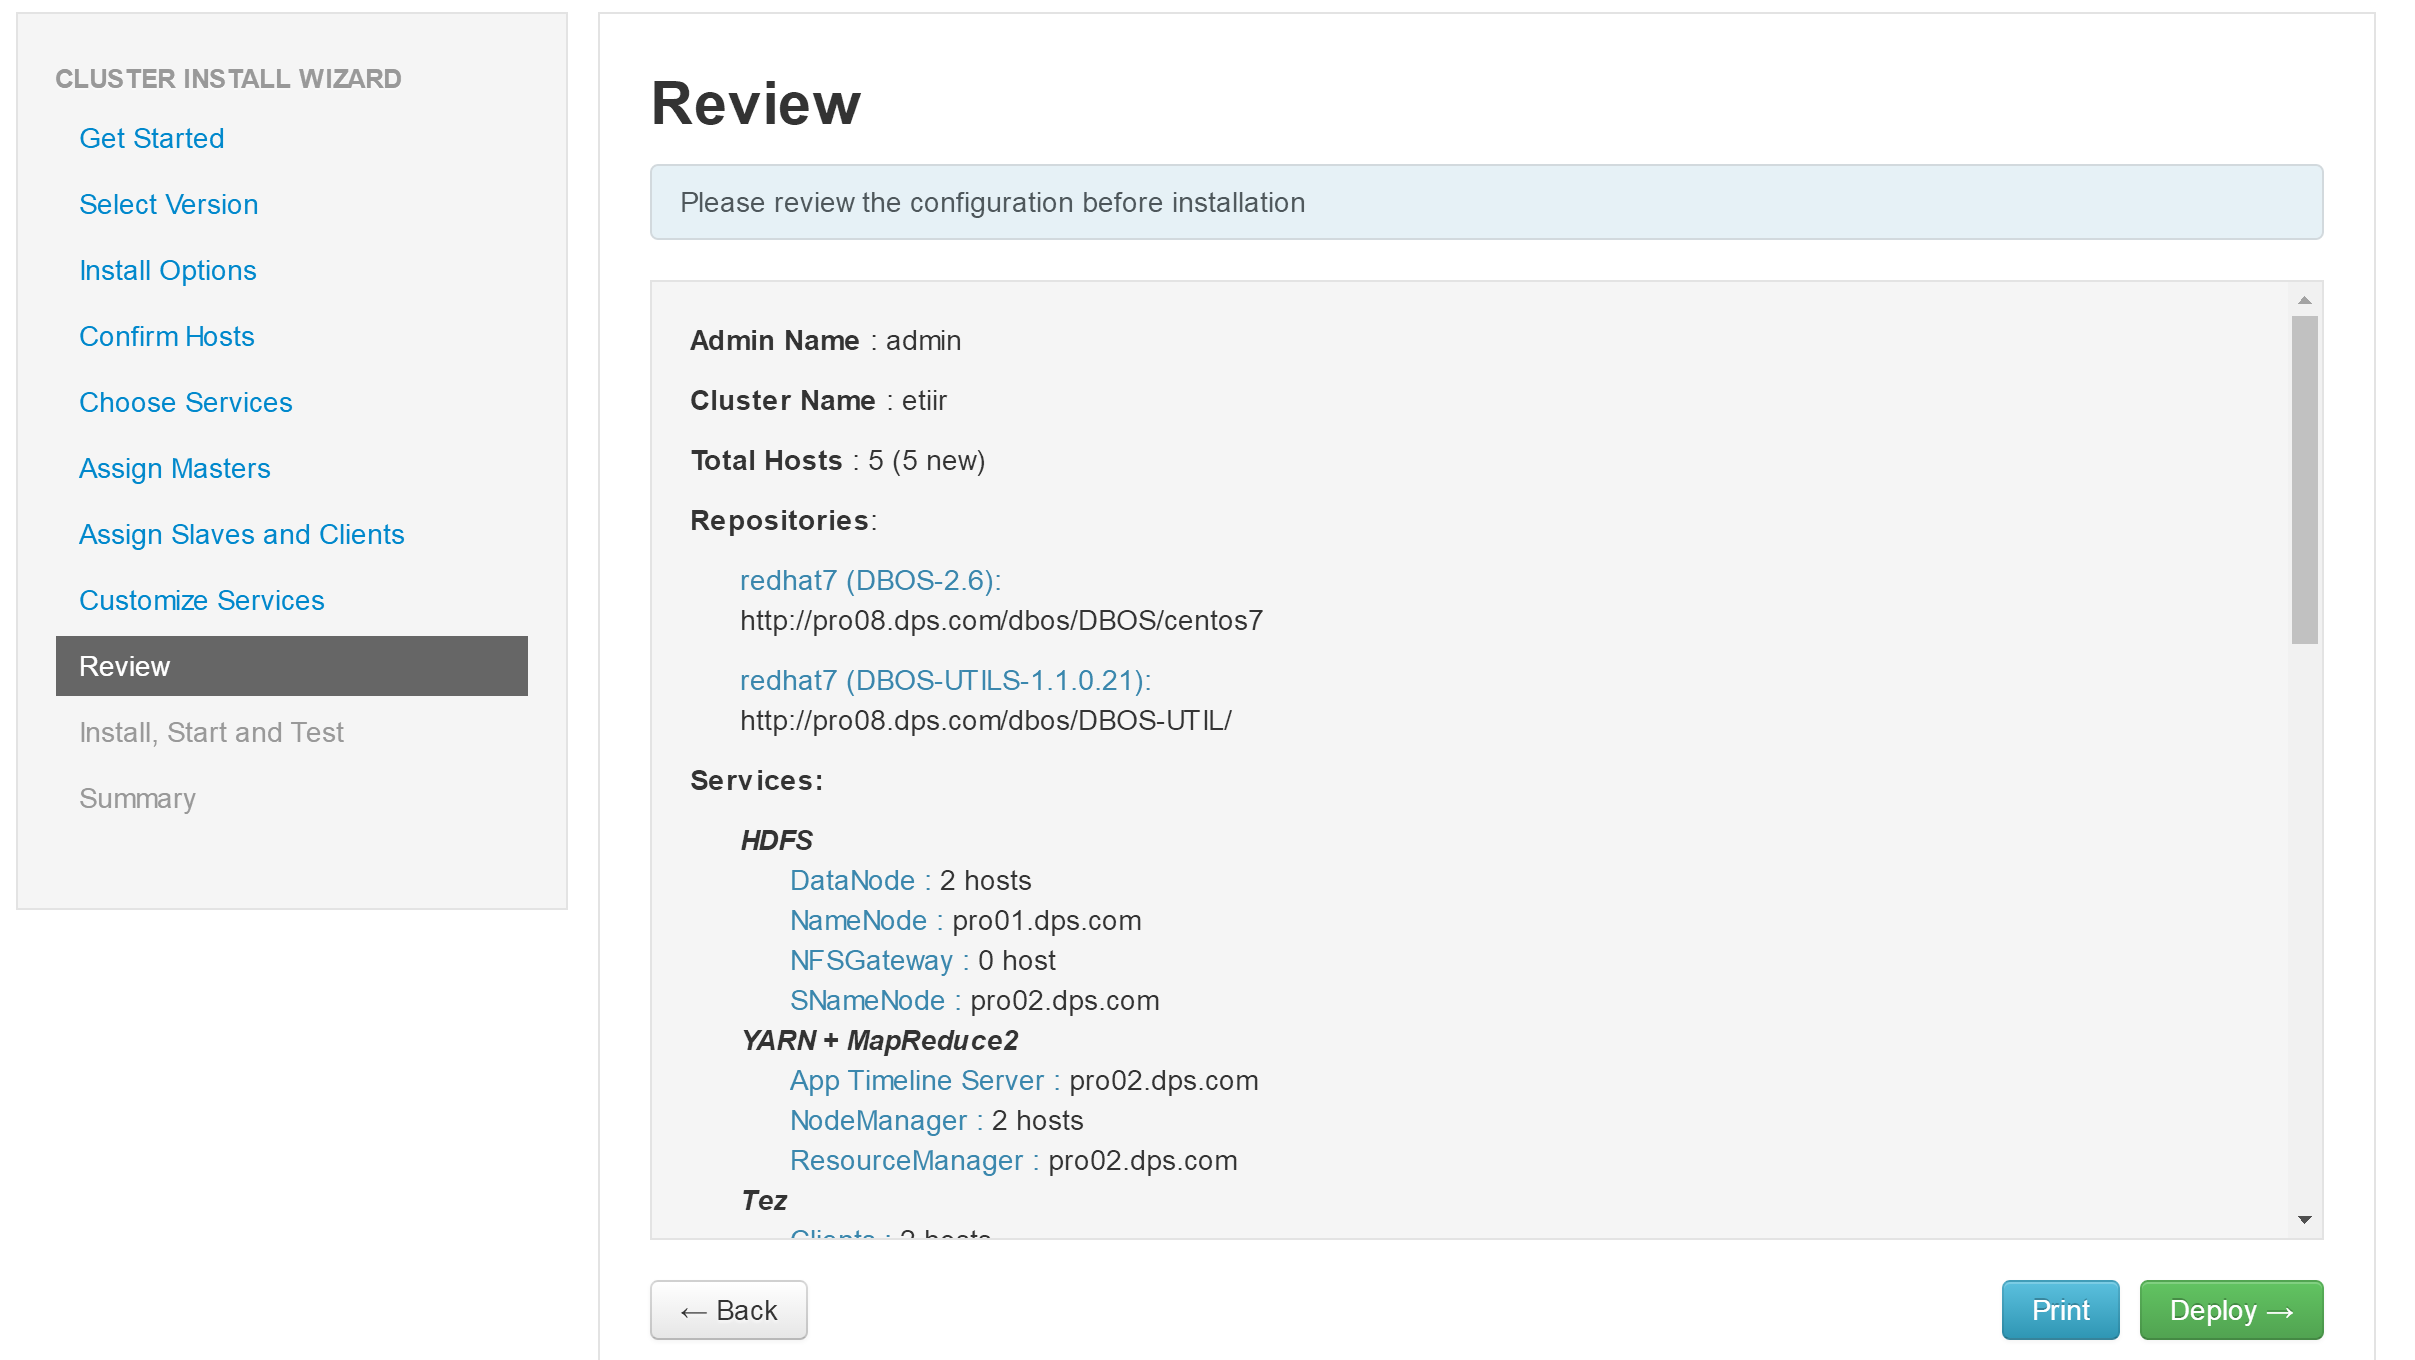
点击“Next”,进行节点配置确定
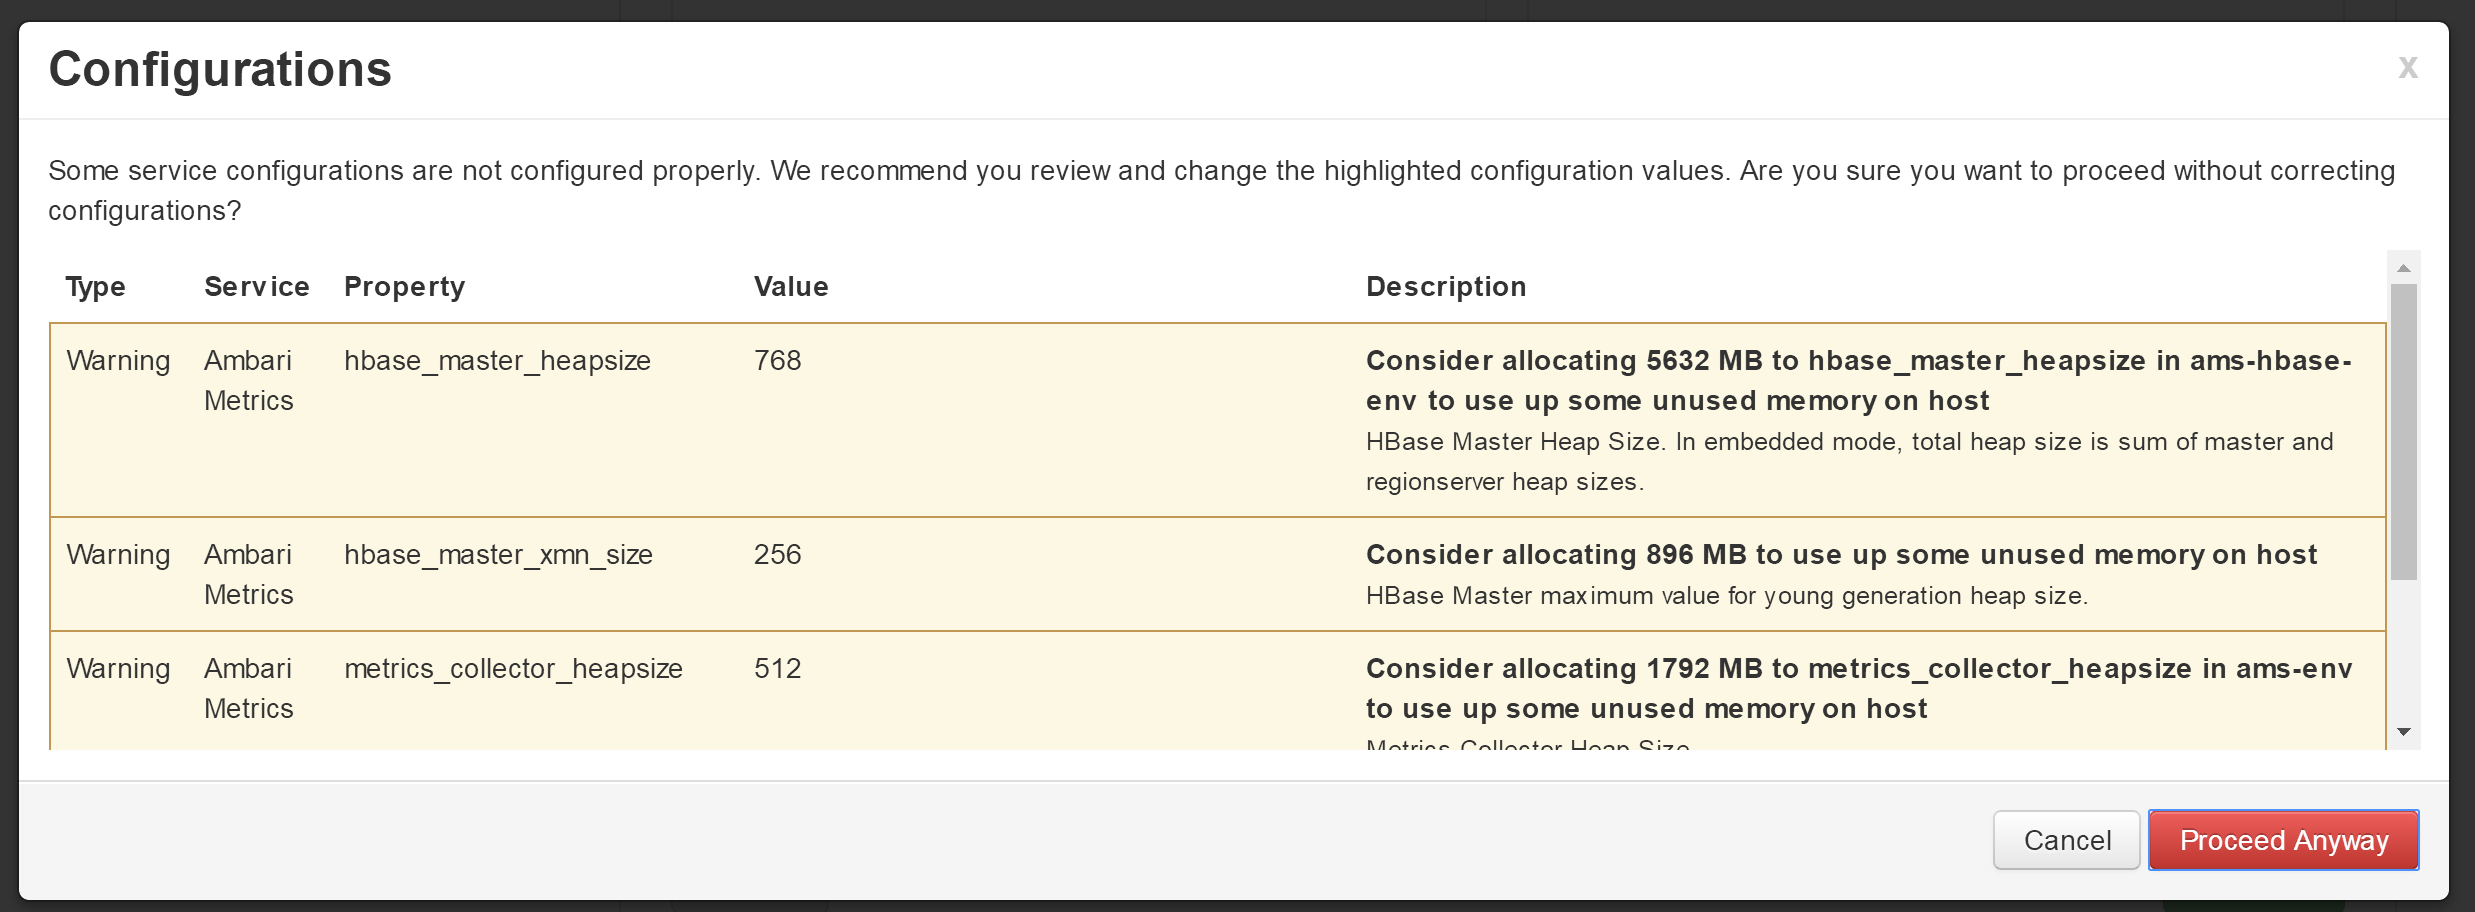
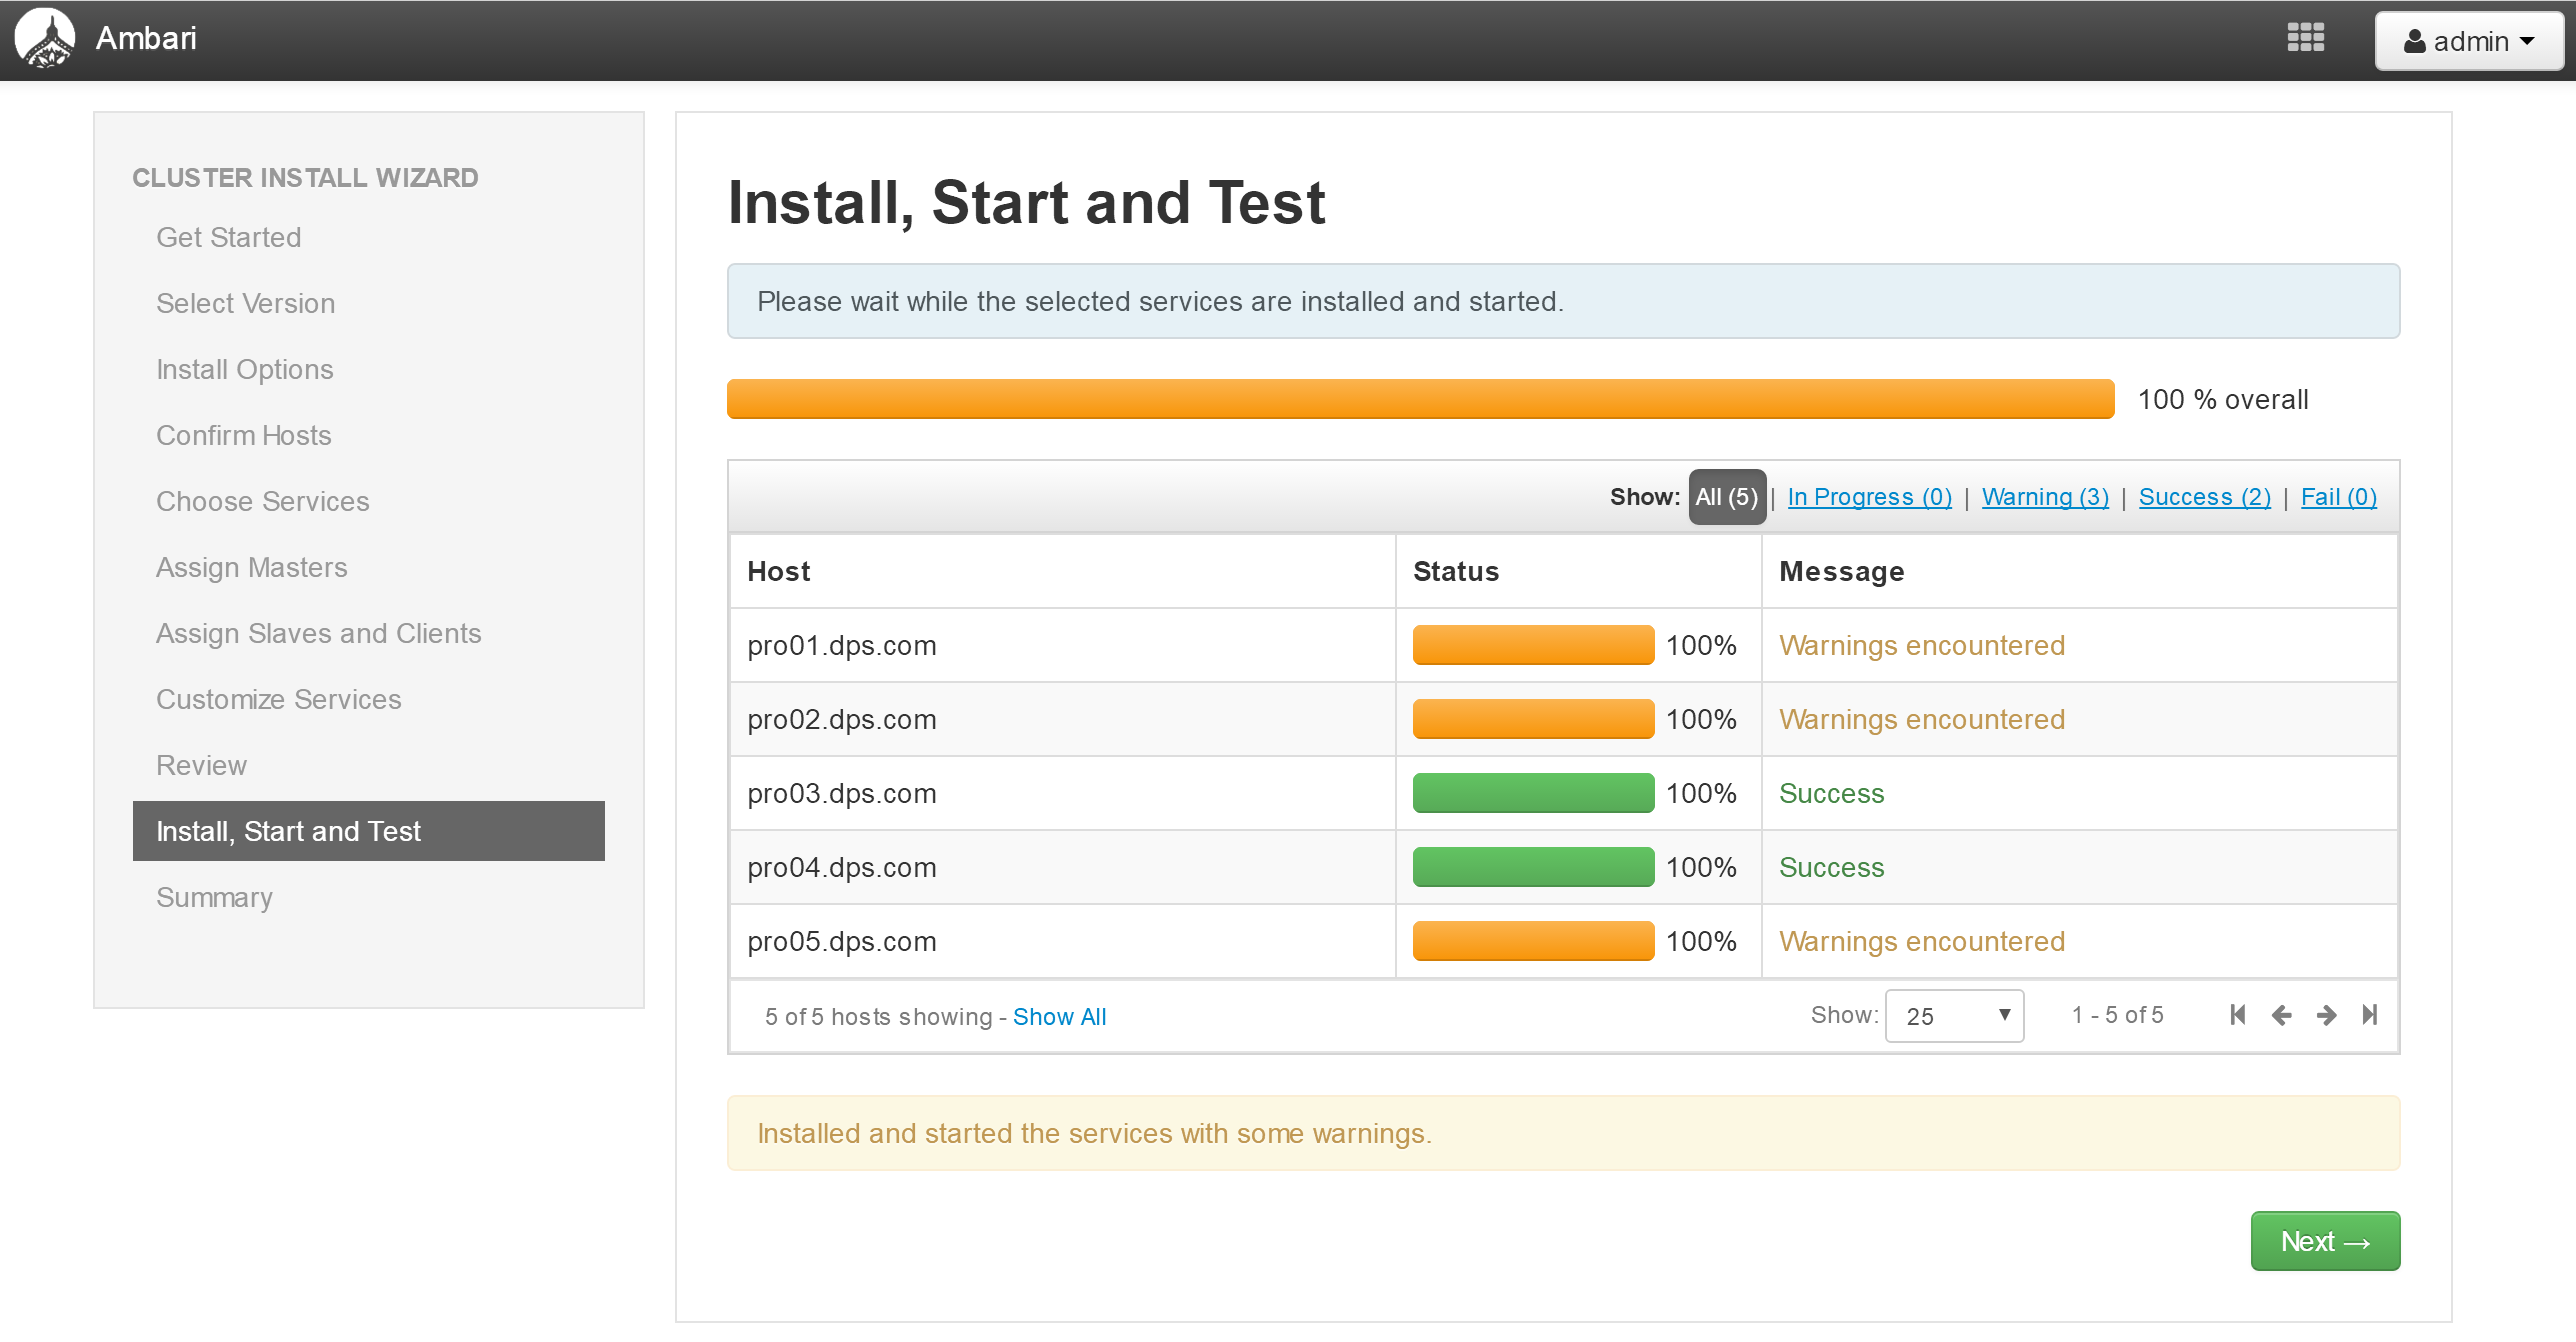
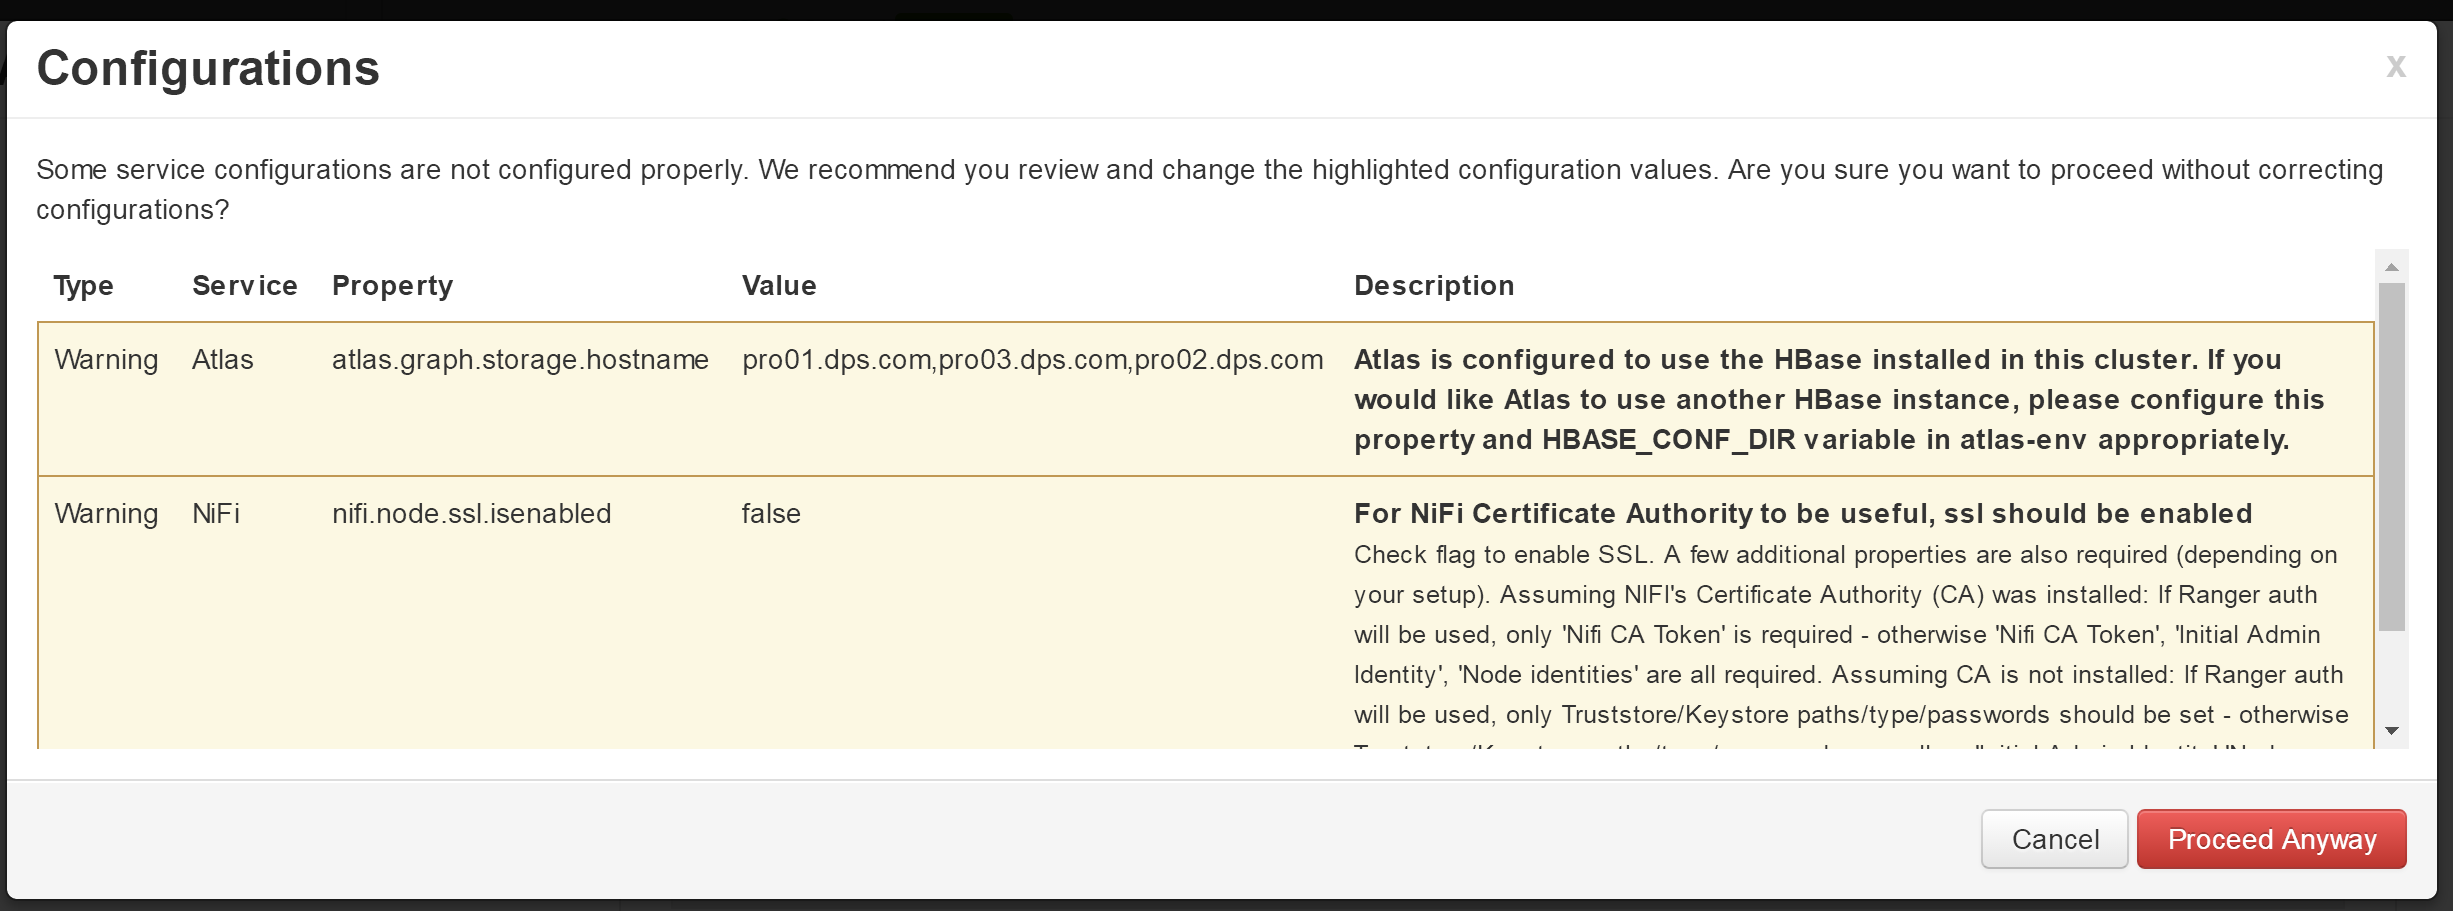
- 确认进行下一步
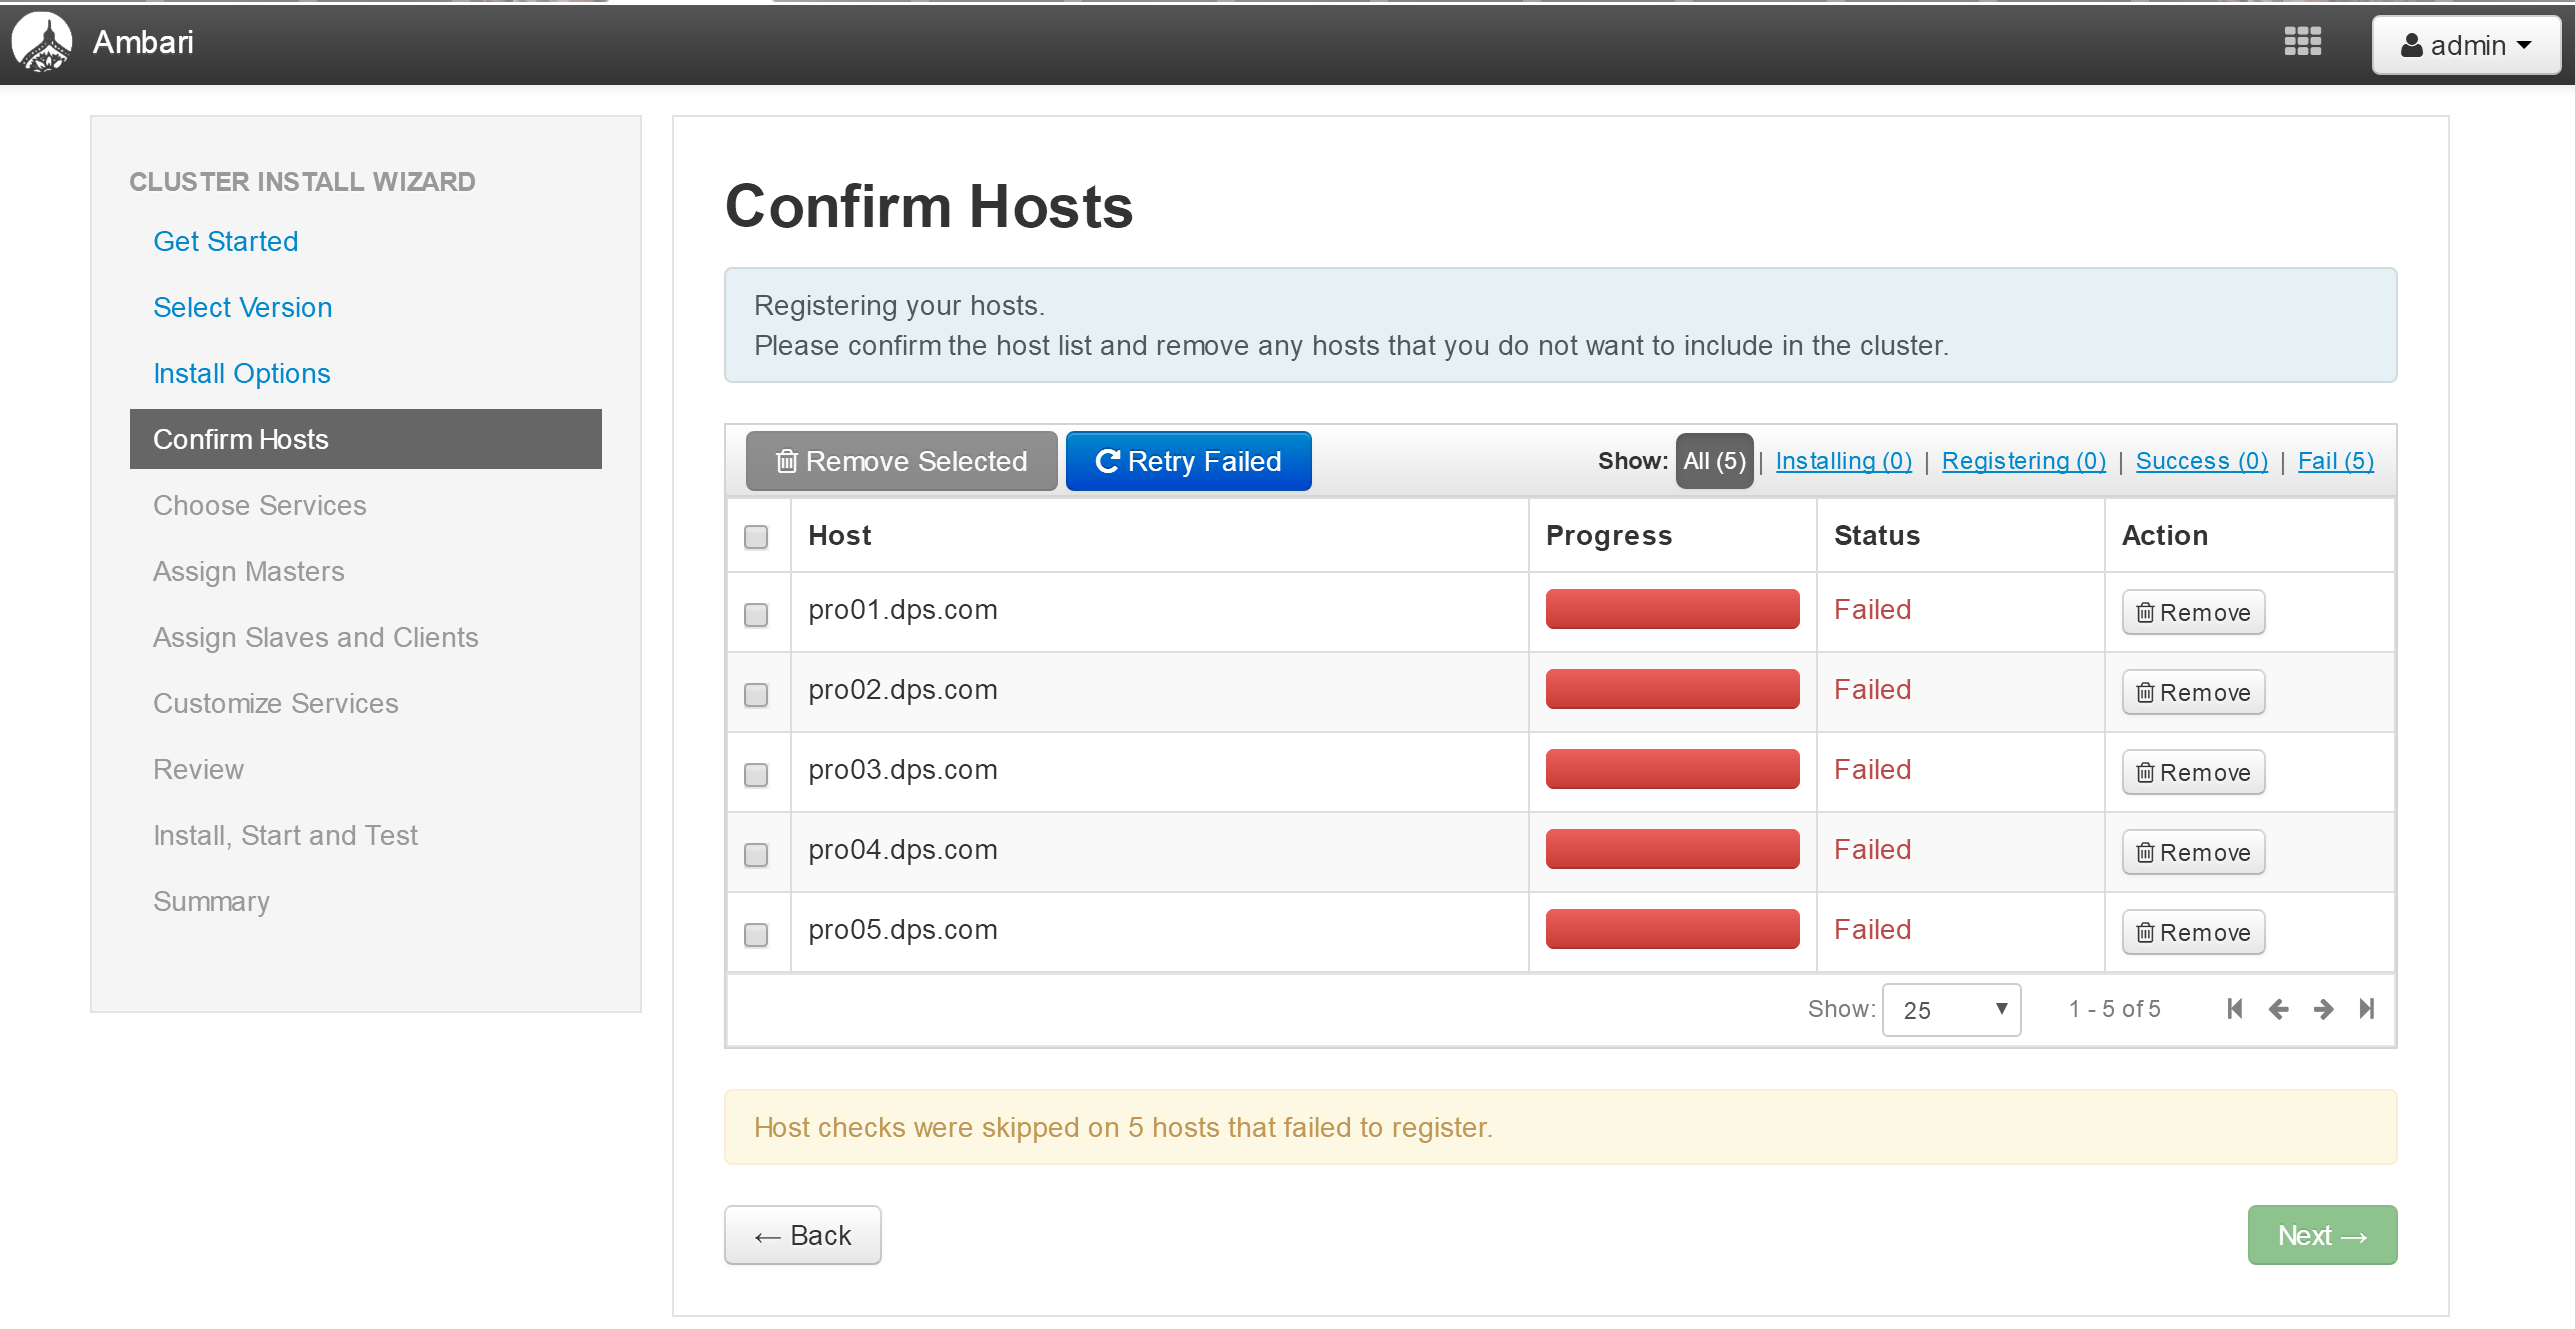
- 查看日志,确定问题所在

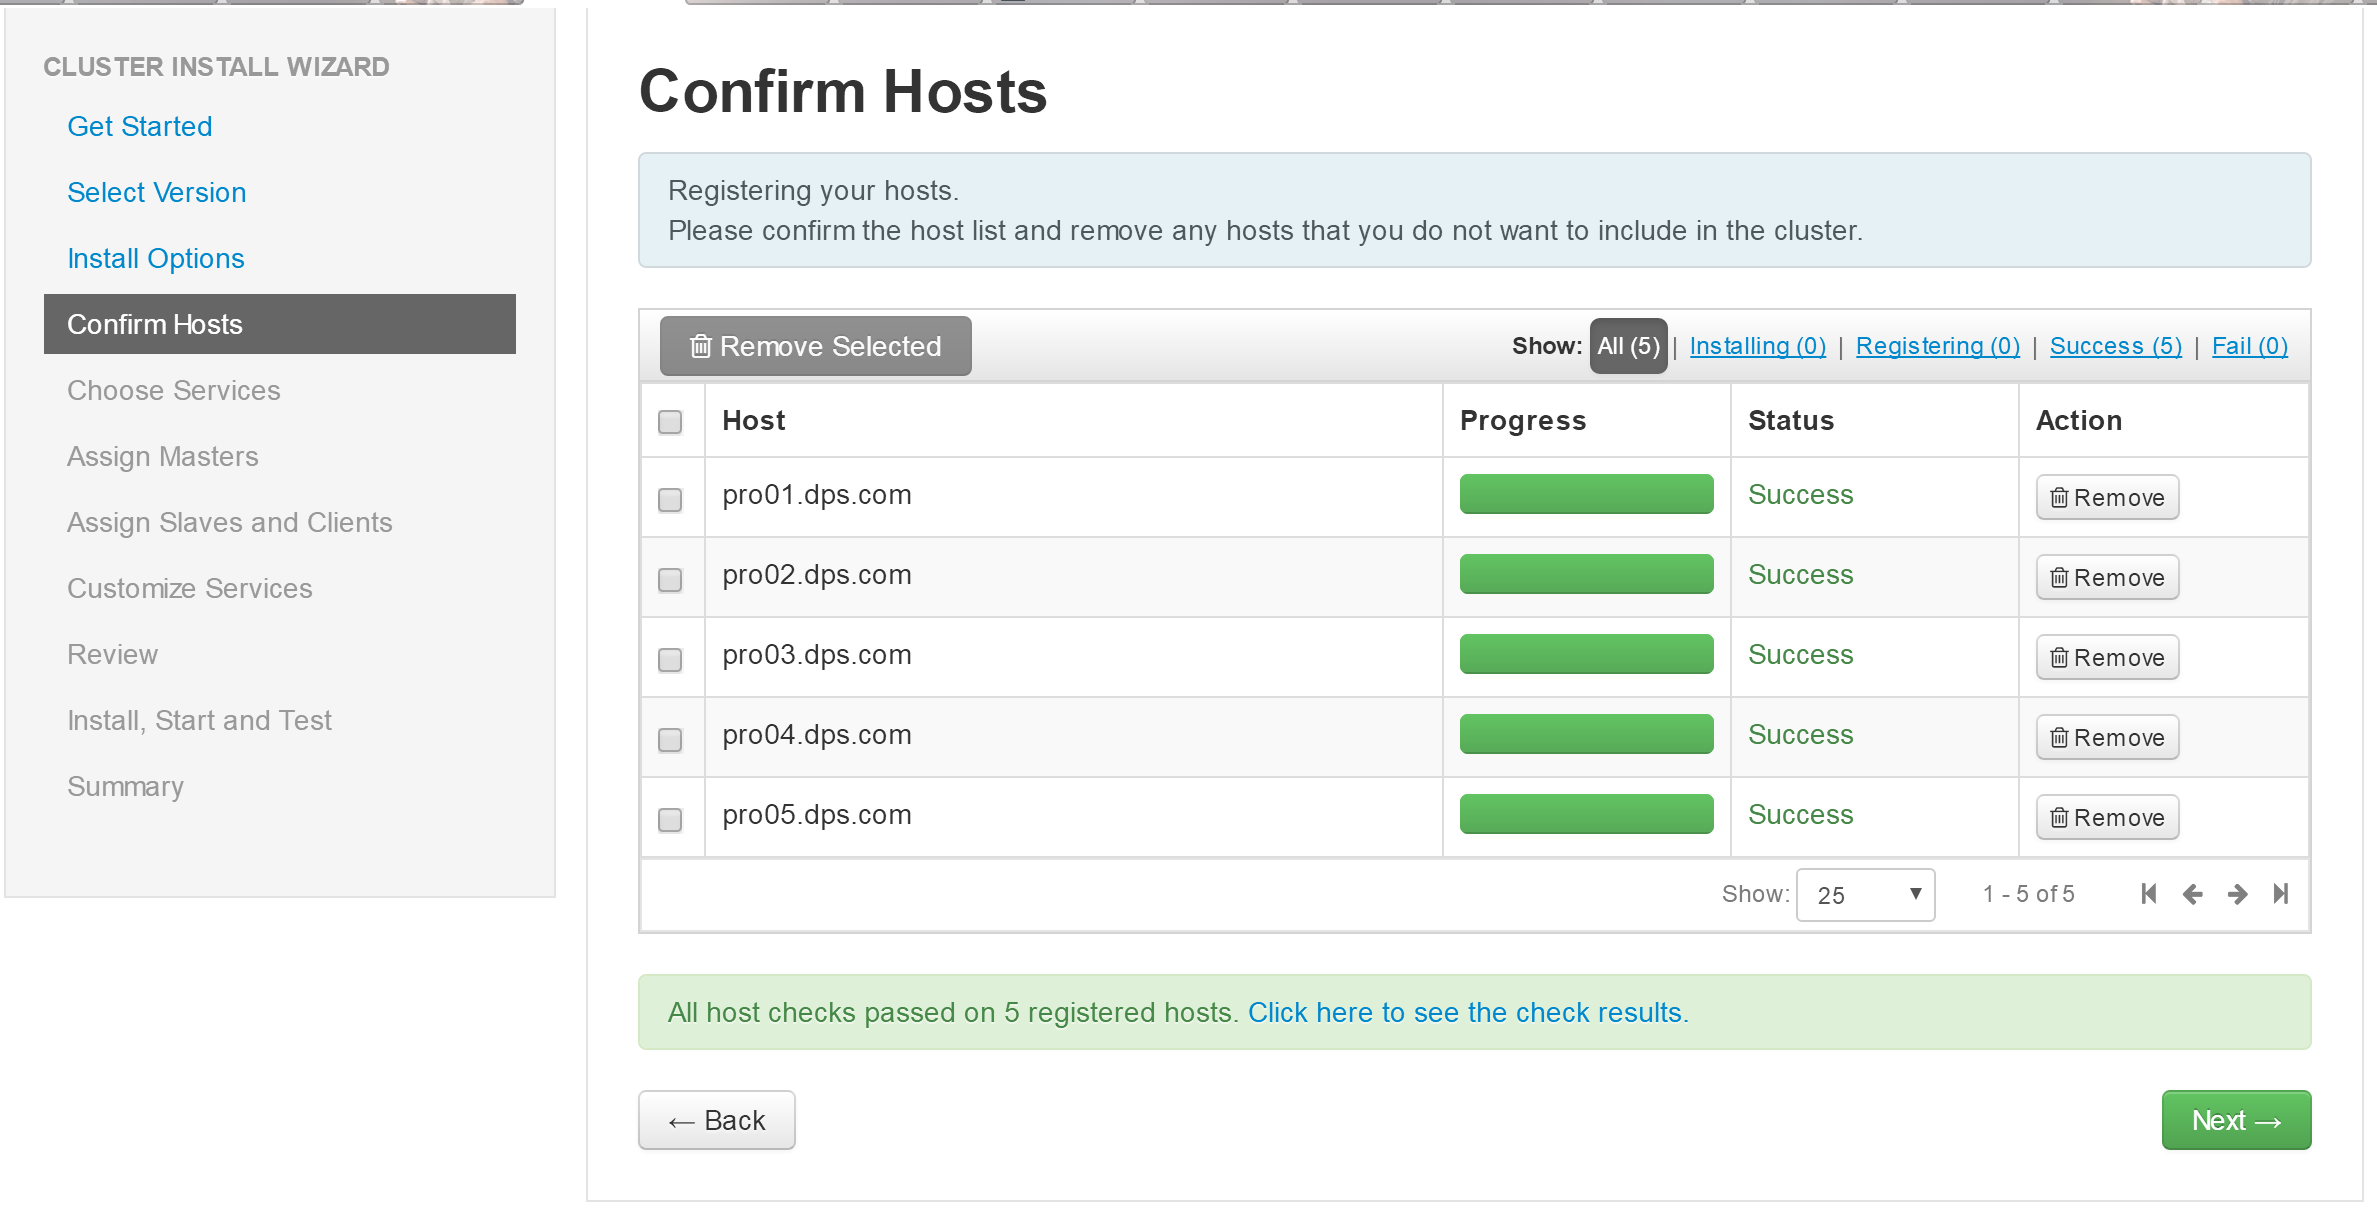
修复方法
在每台机器的ambari-agent的配置文件/etc/ambari-agent/conf/ambari-agent.ini 在 [security]增加一项
[security]
force_https_protocol=PROTOCOL_TLSv1_2
然后进行“Retry”
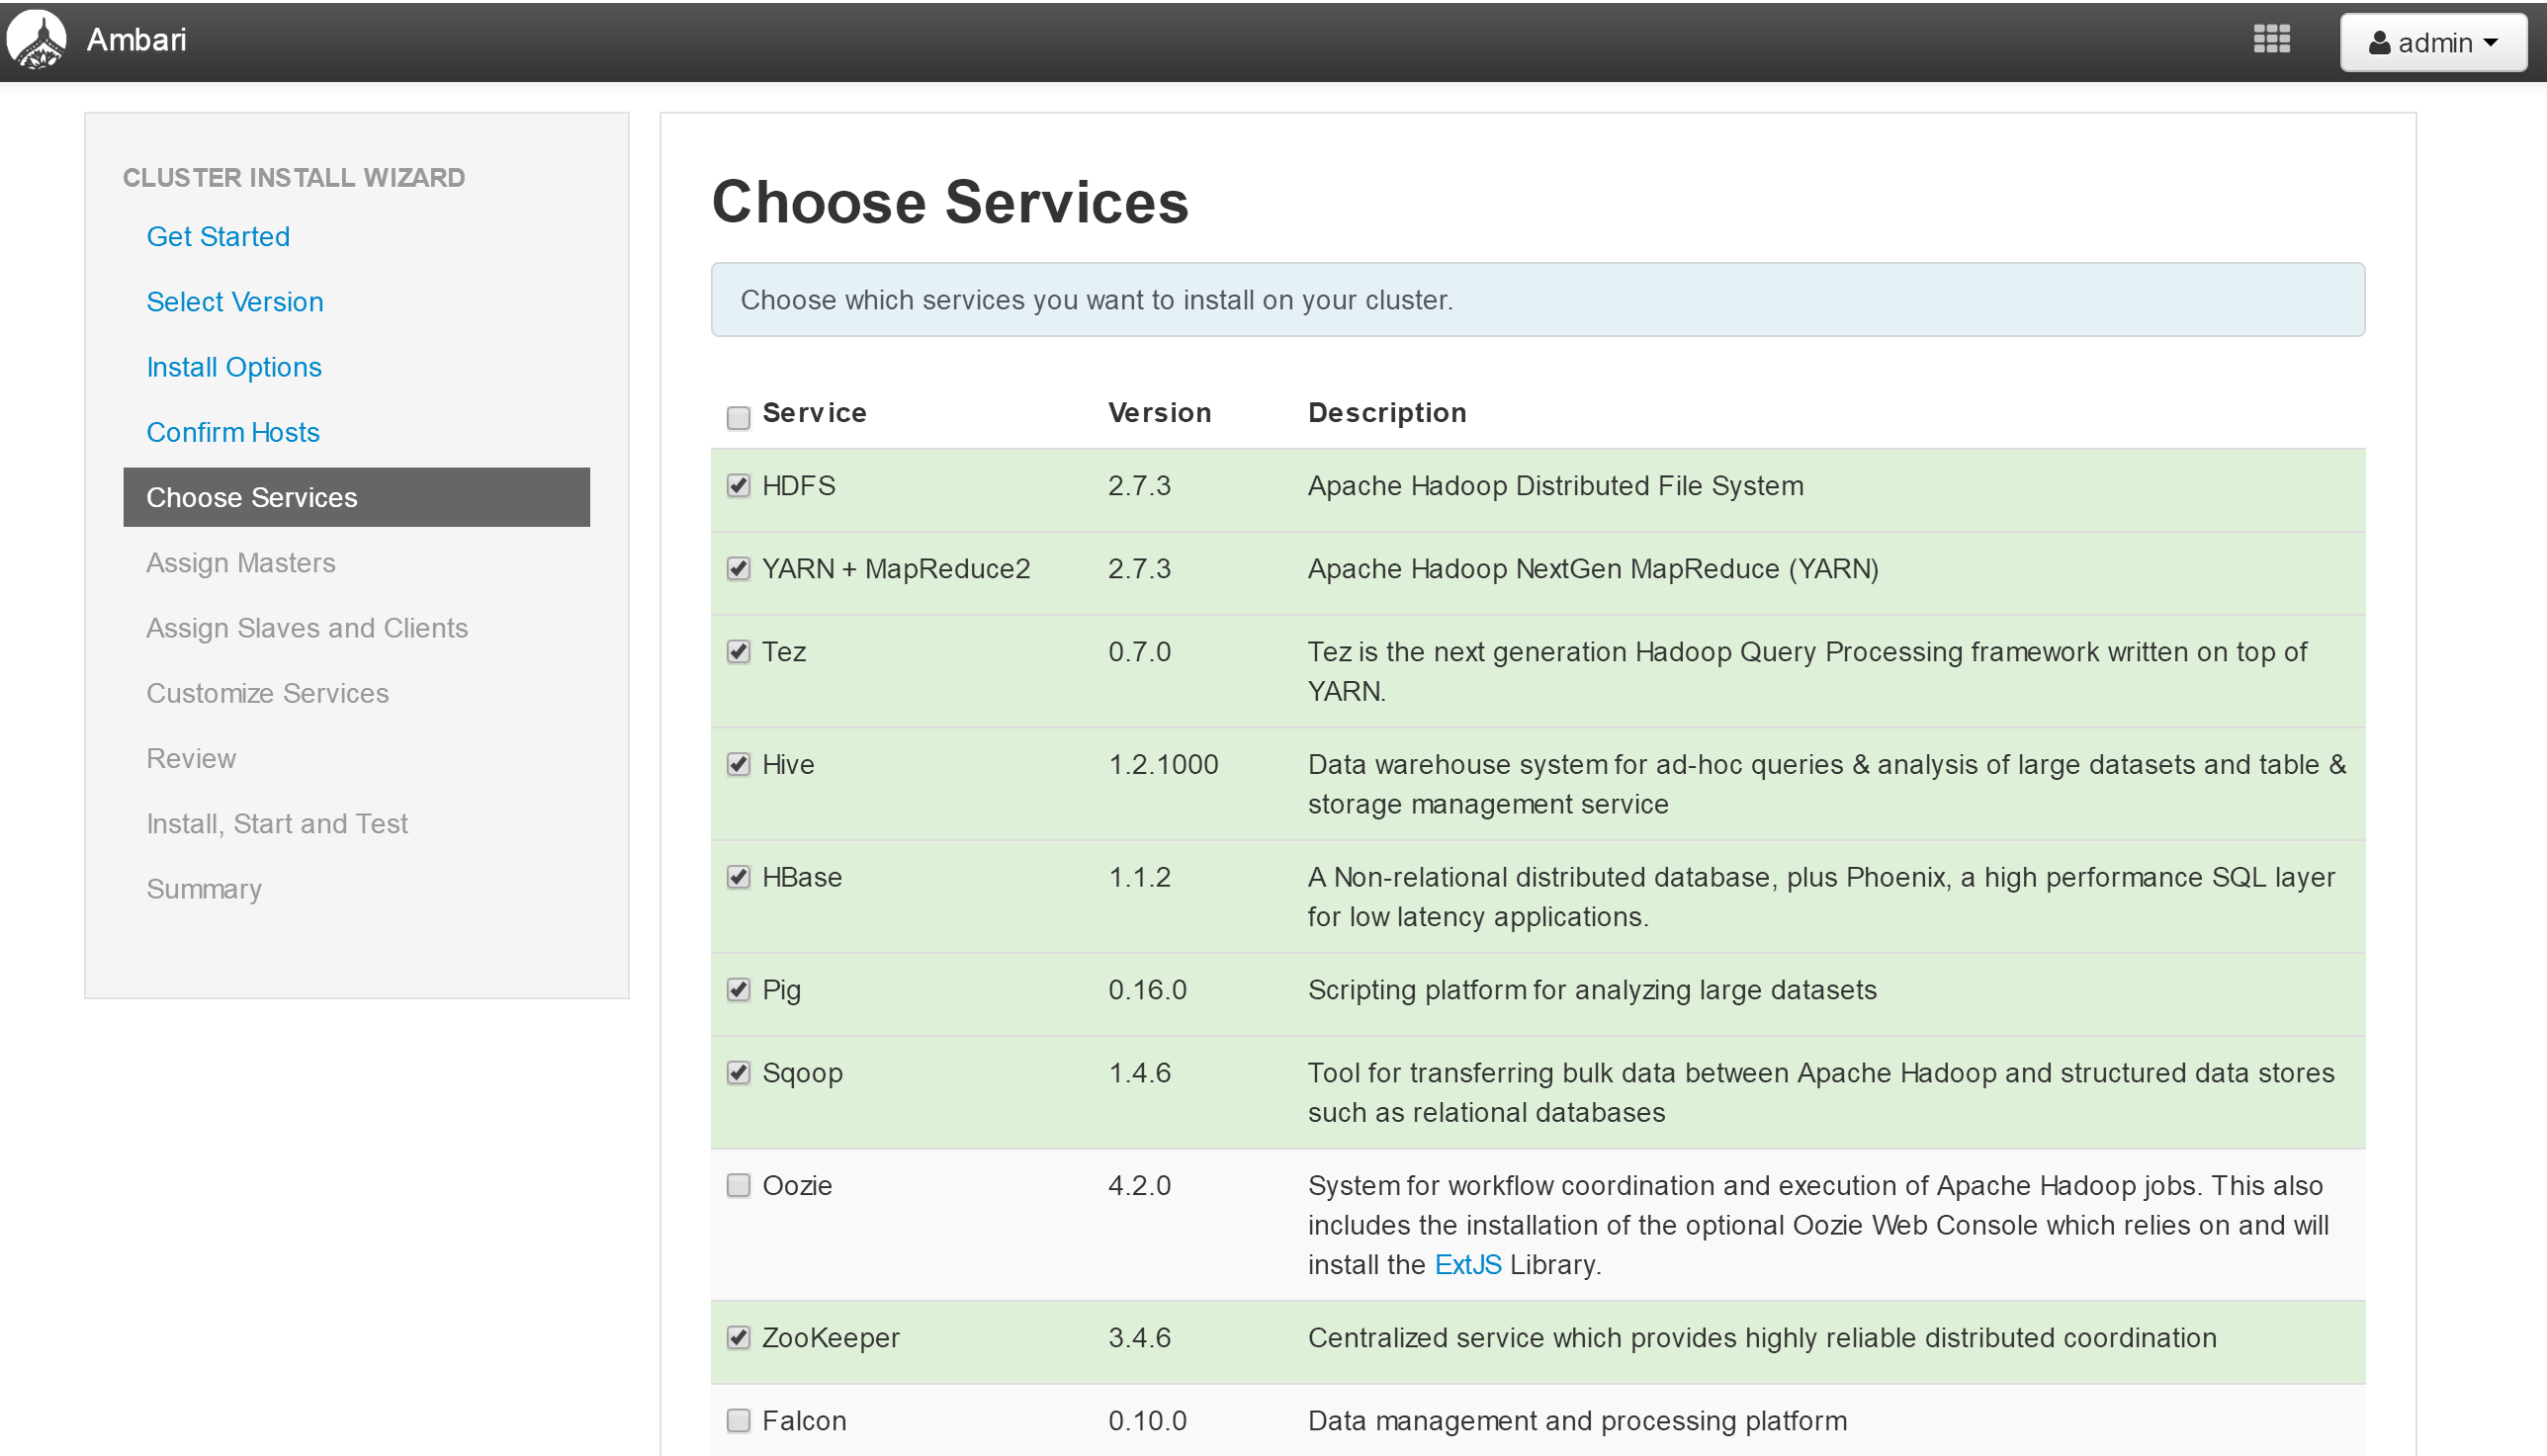
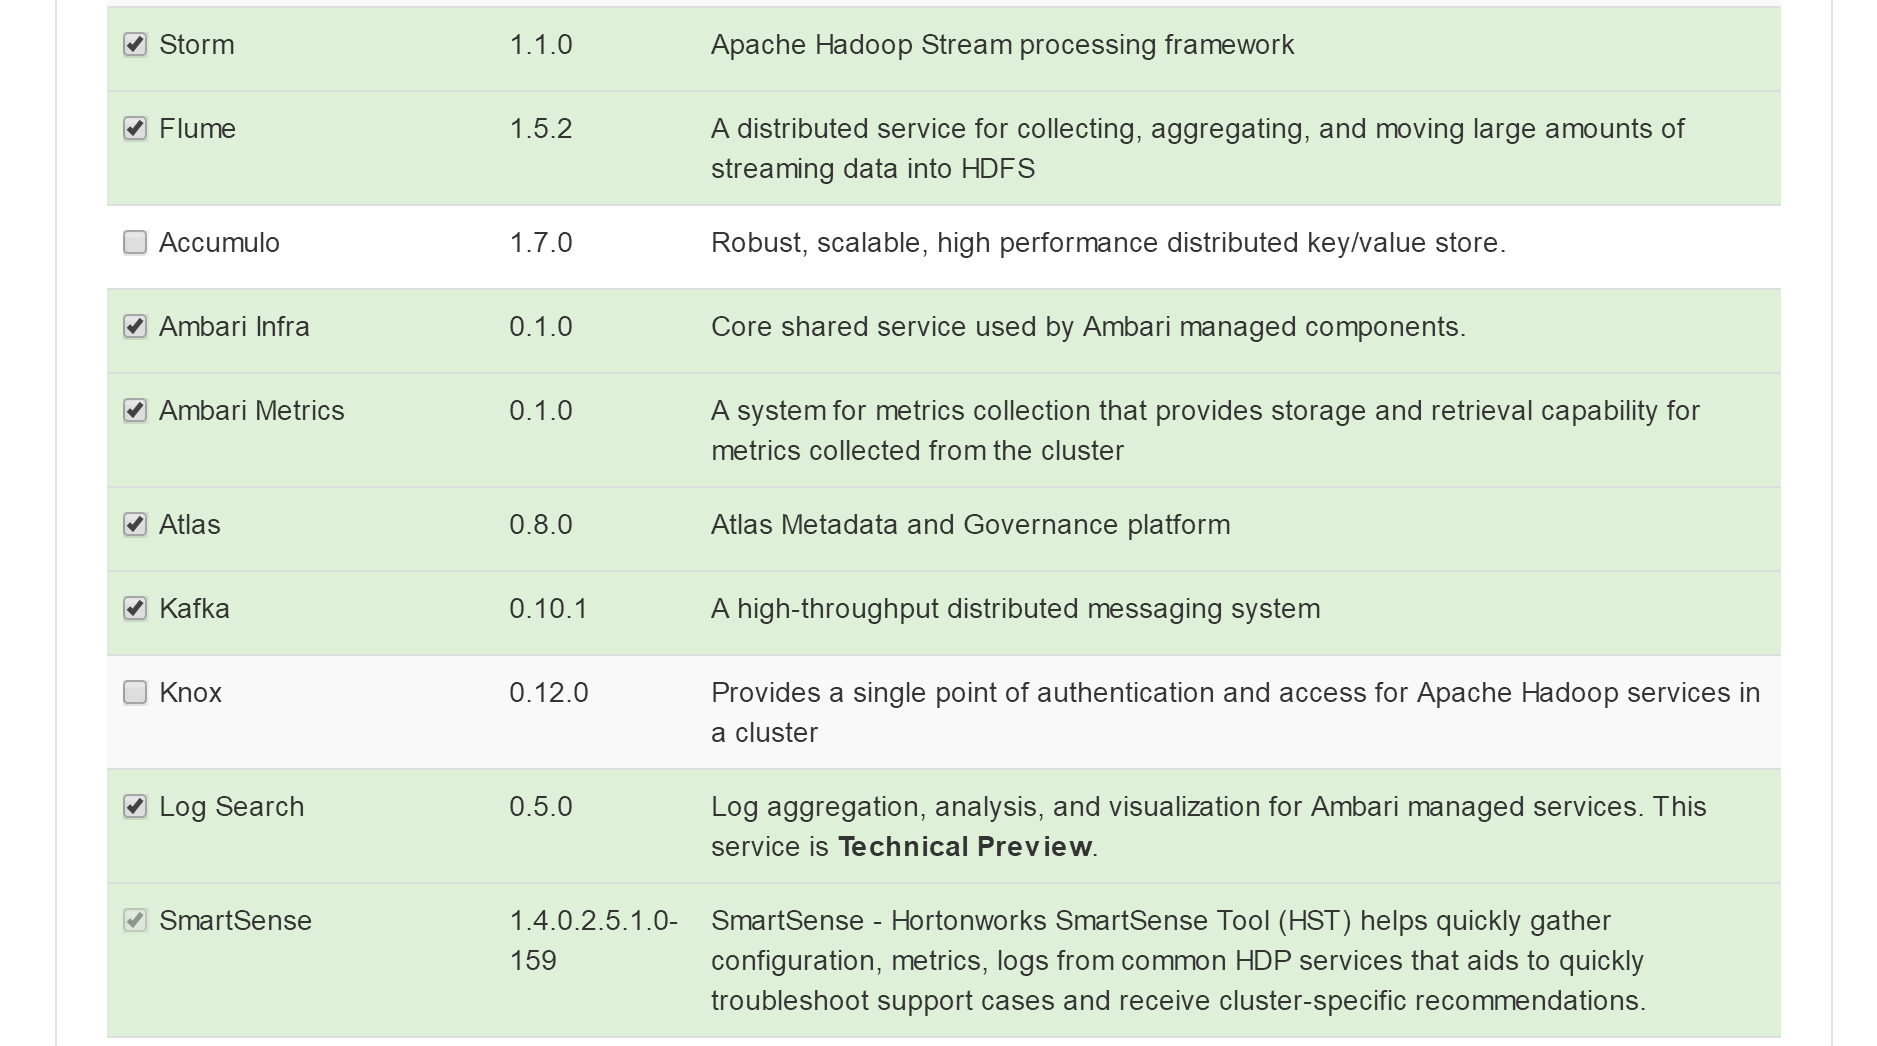
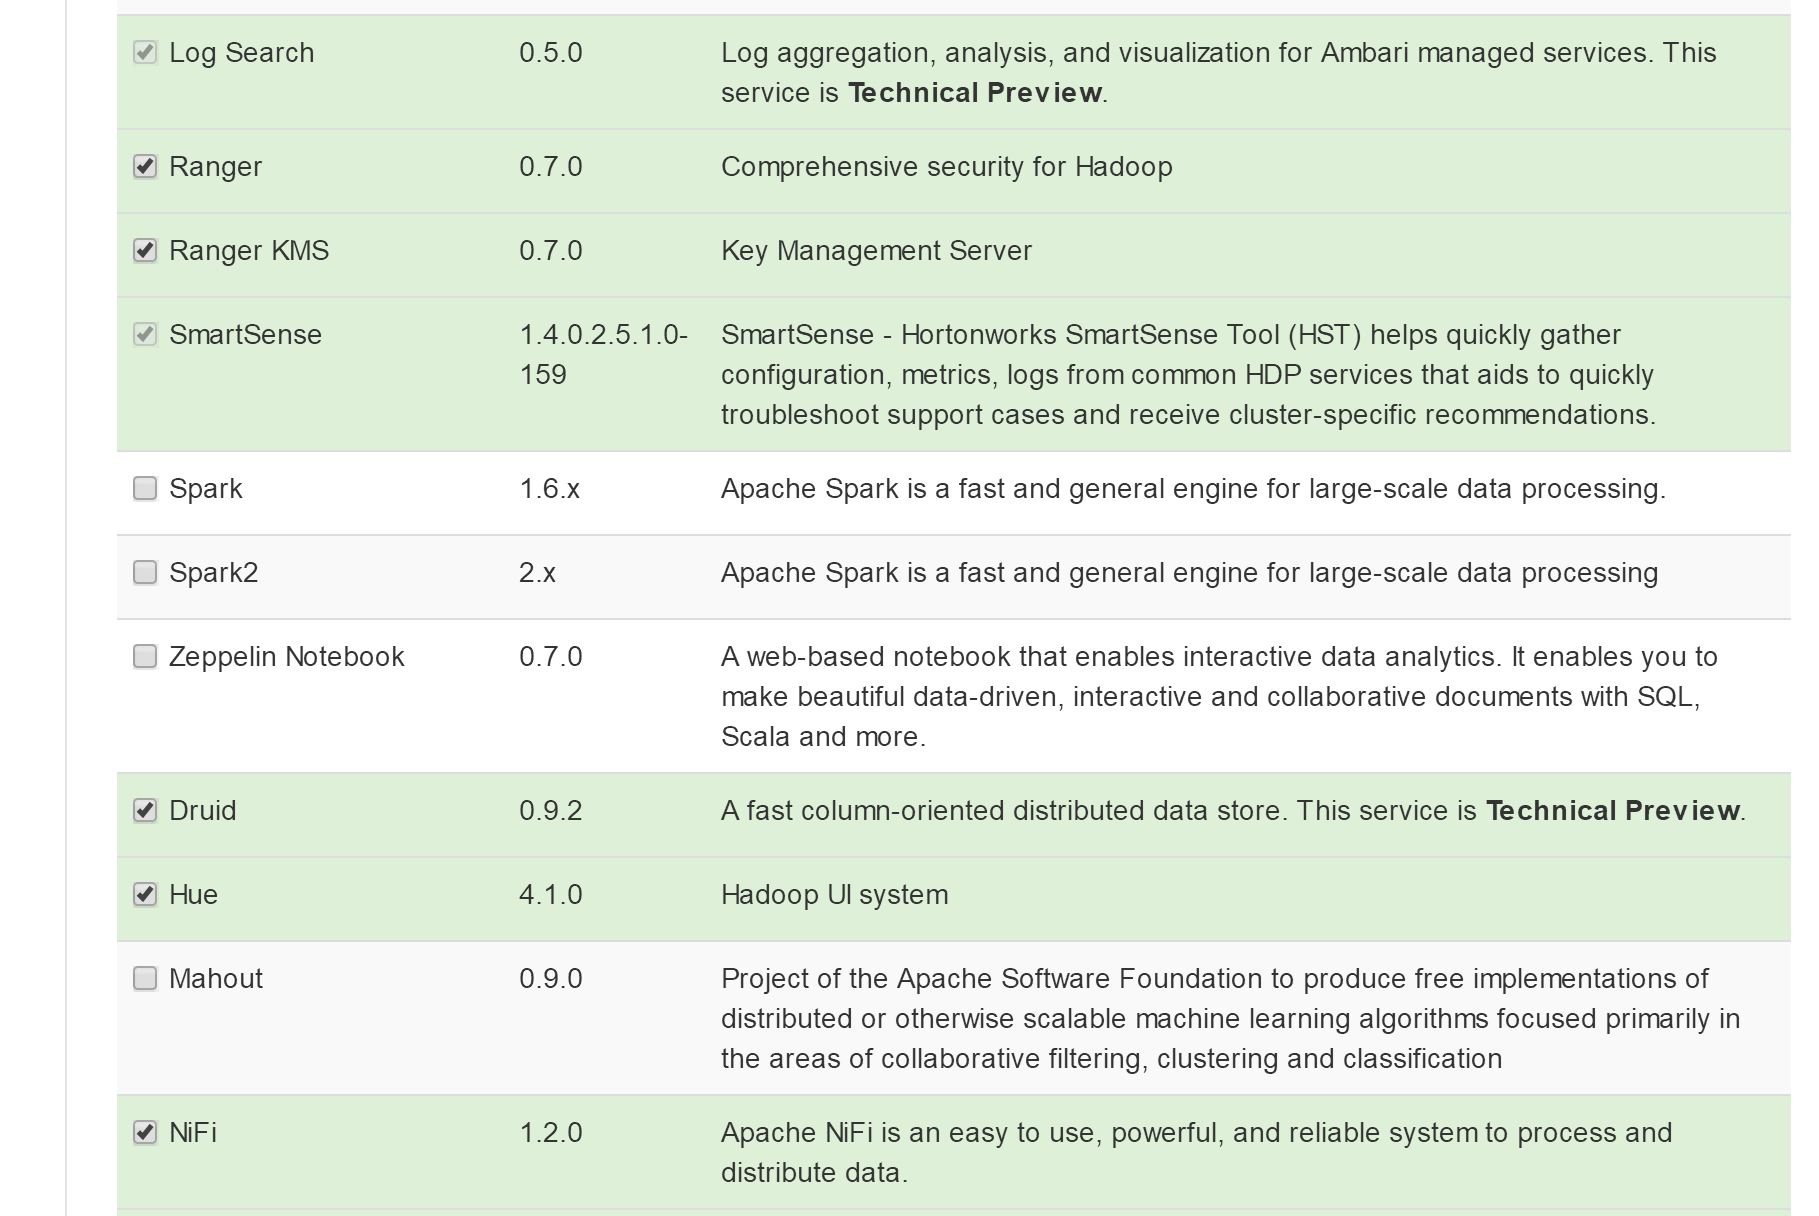
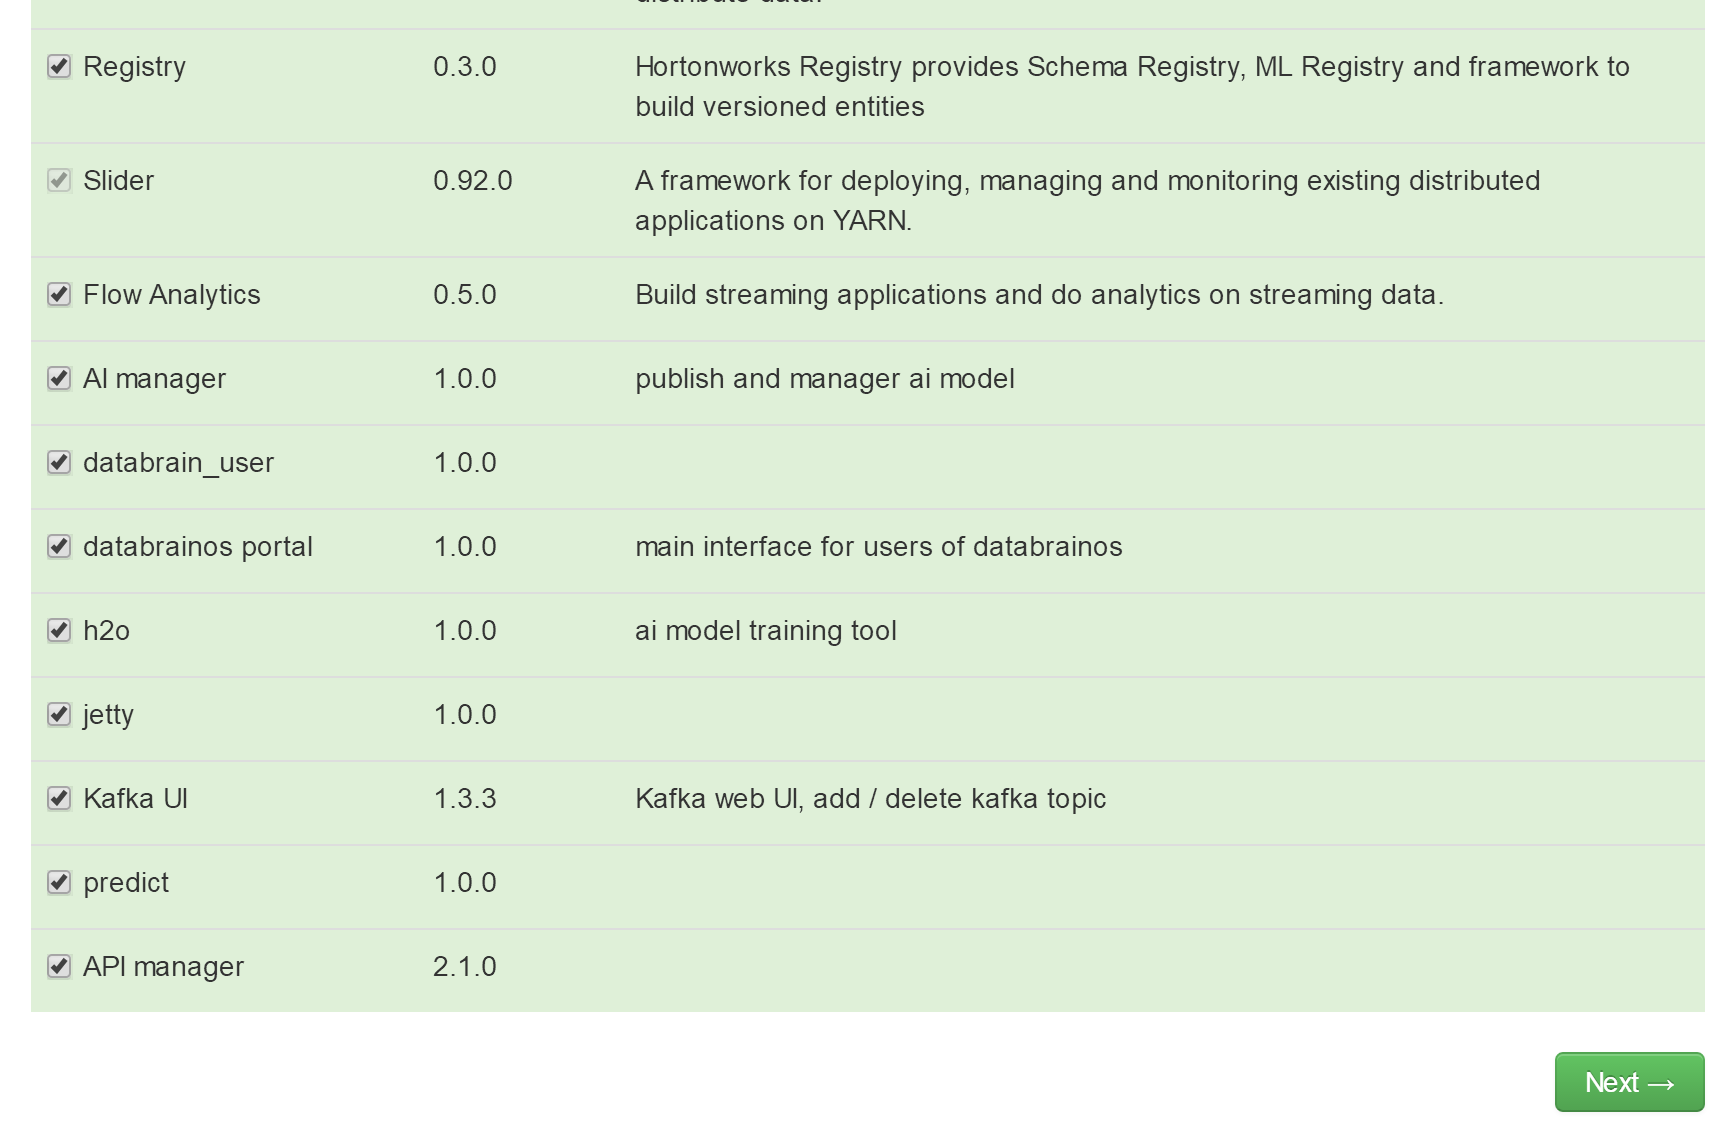
- 选择首批安装的服务
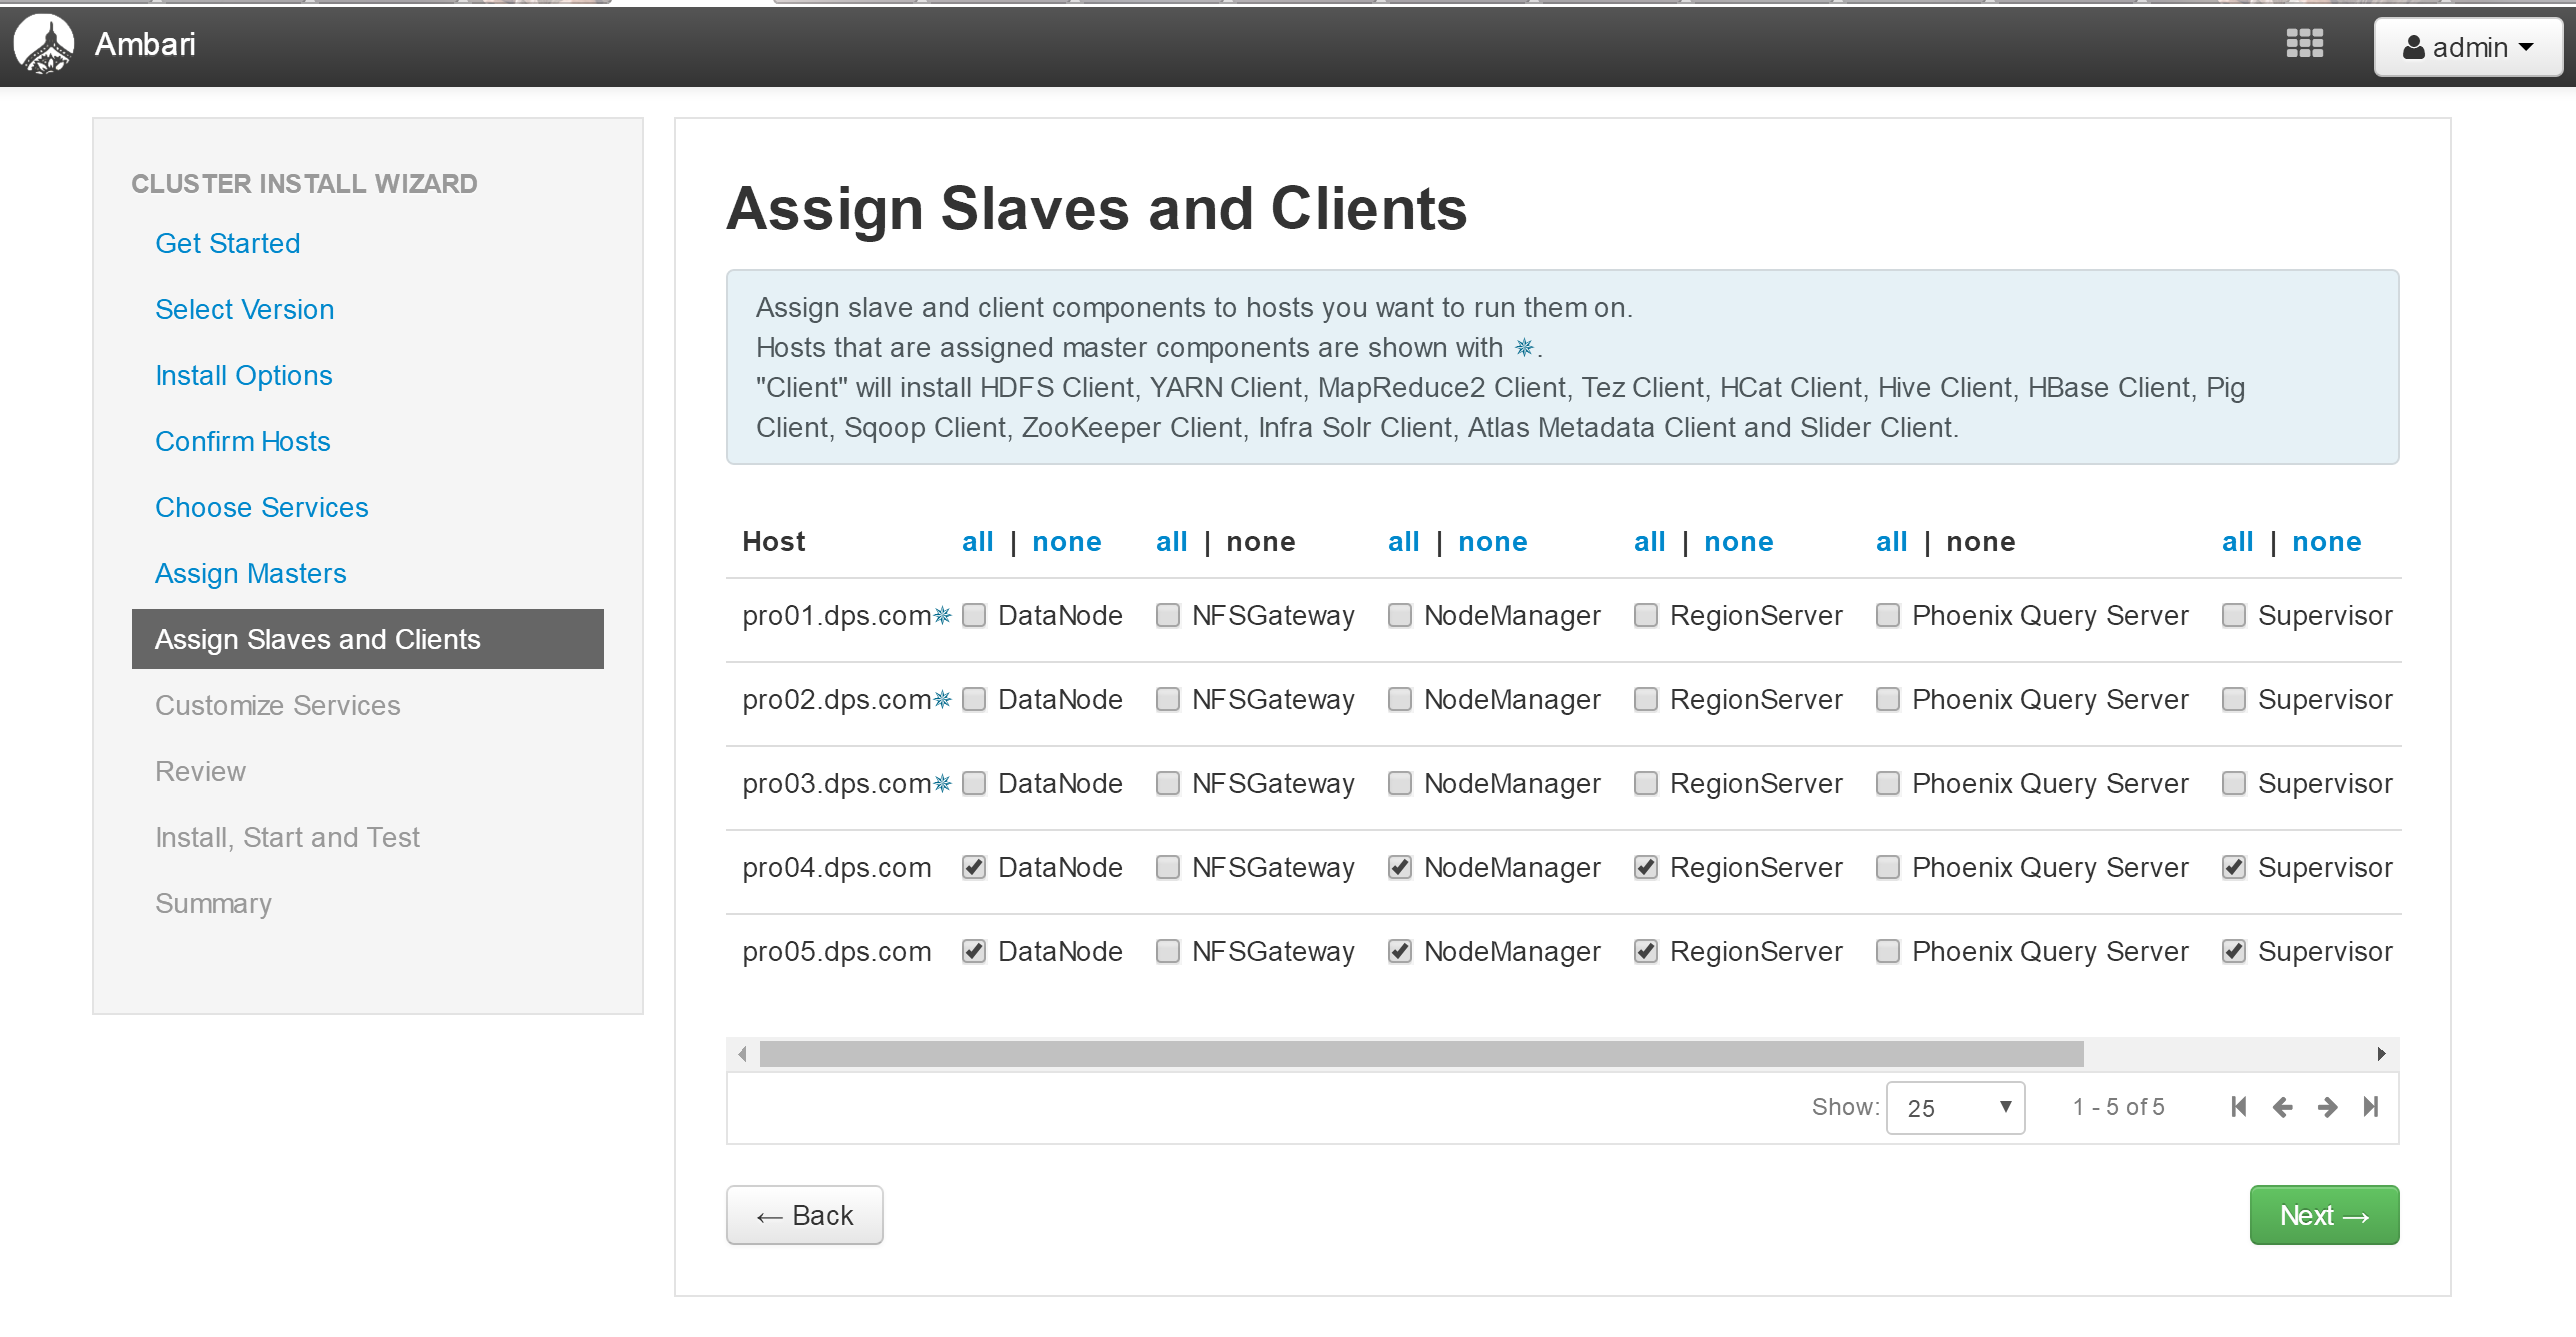
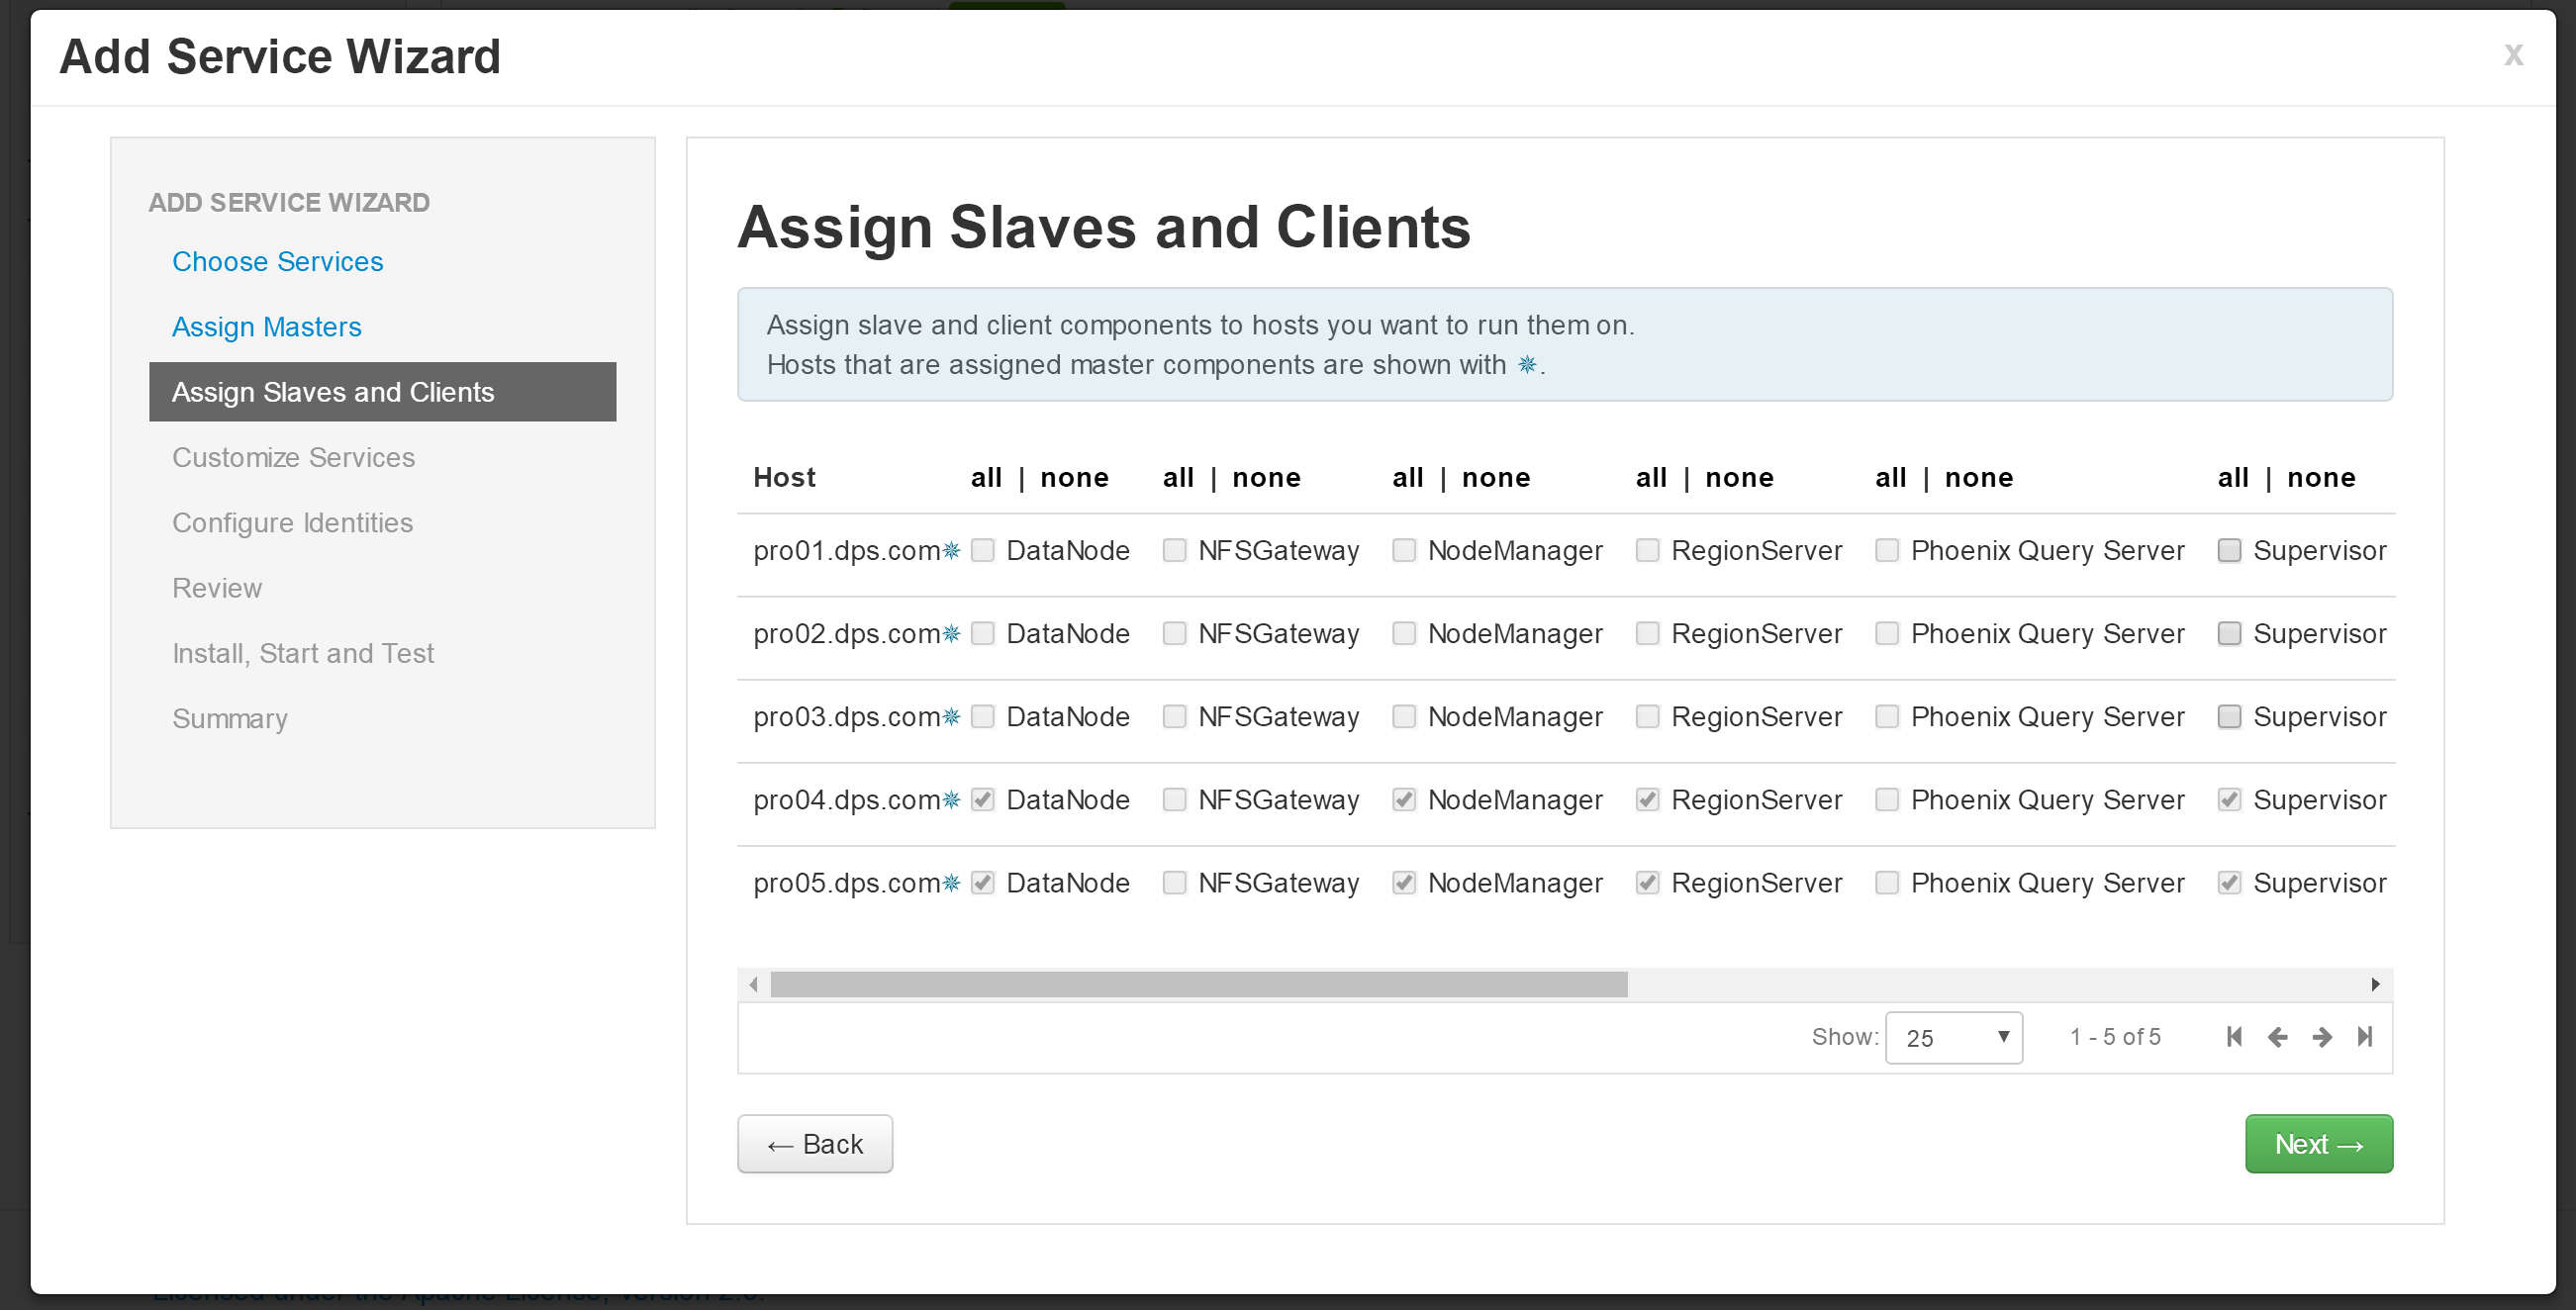
- 选择安装的节点
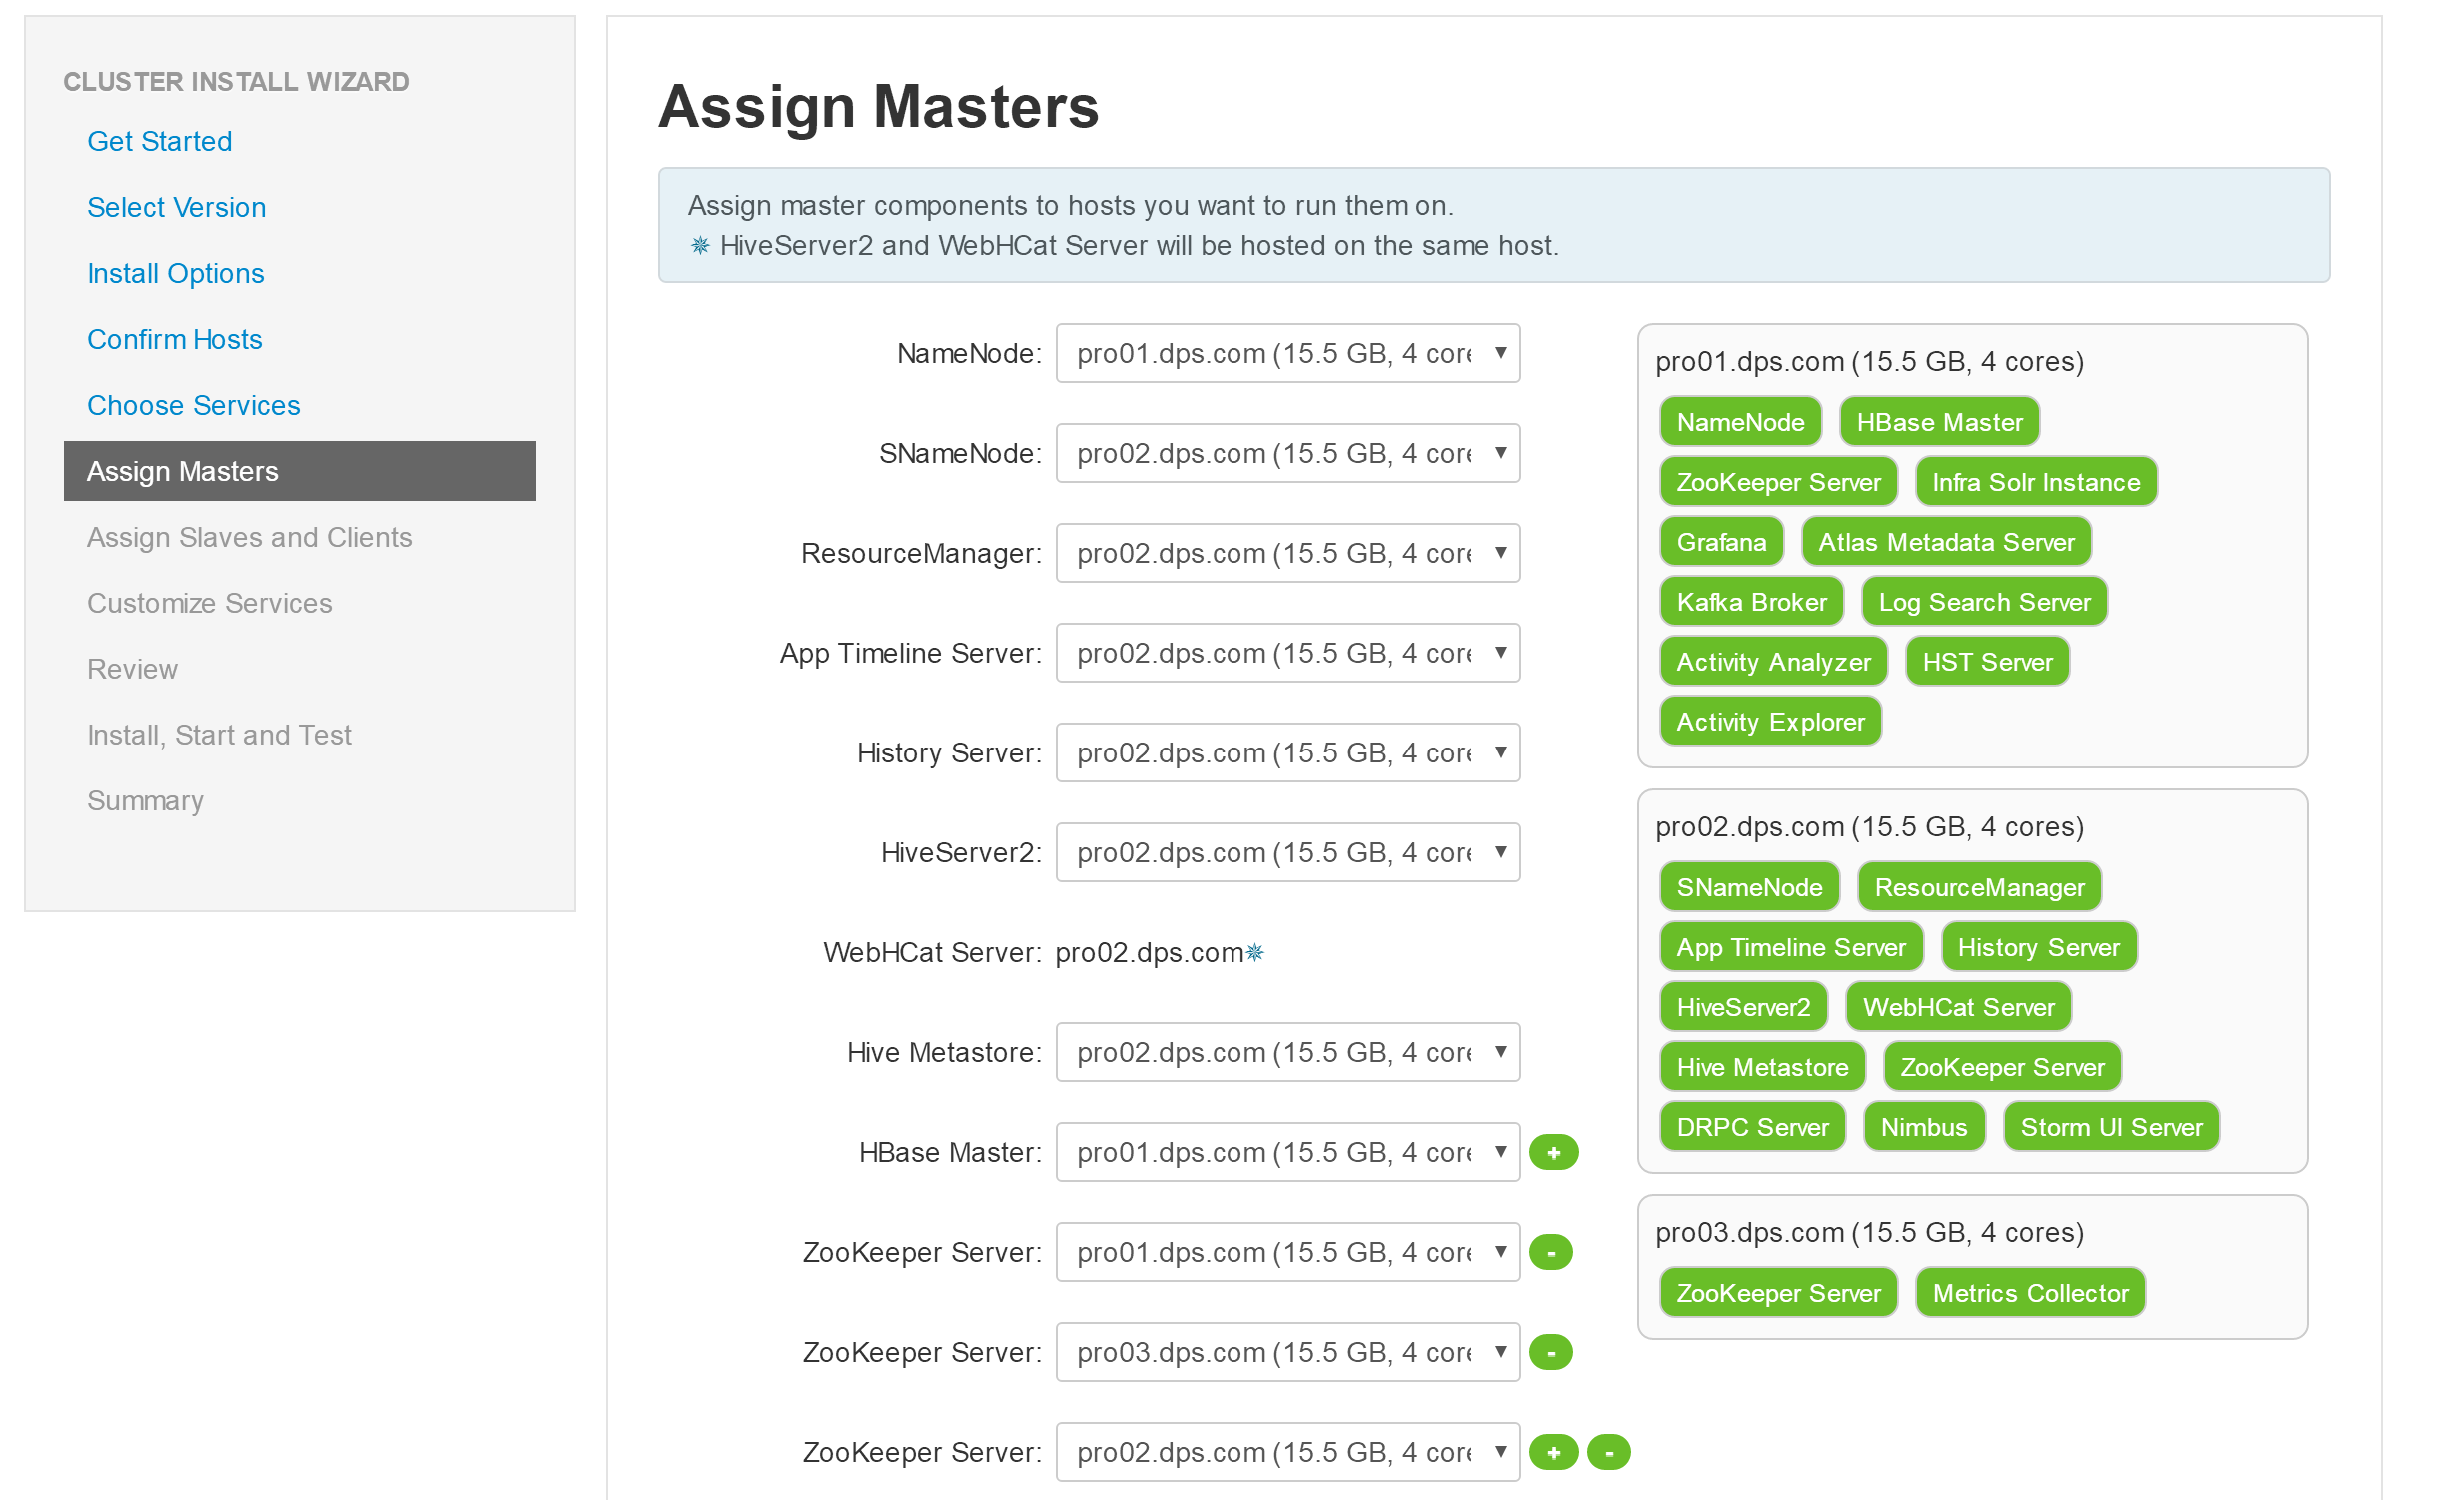
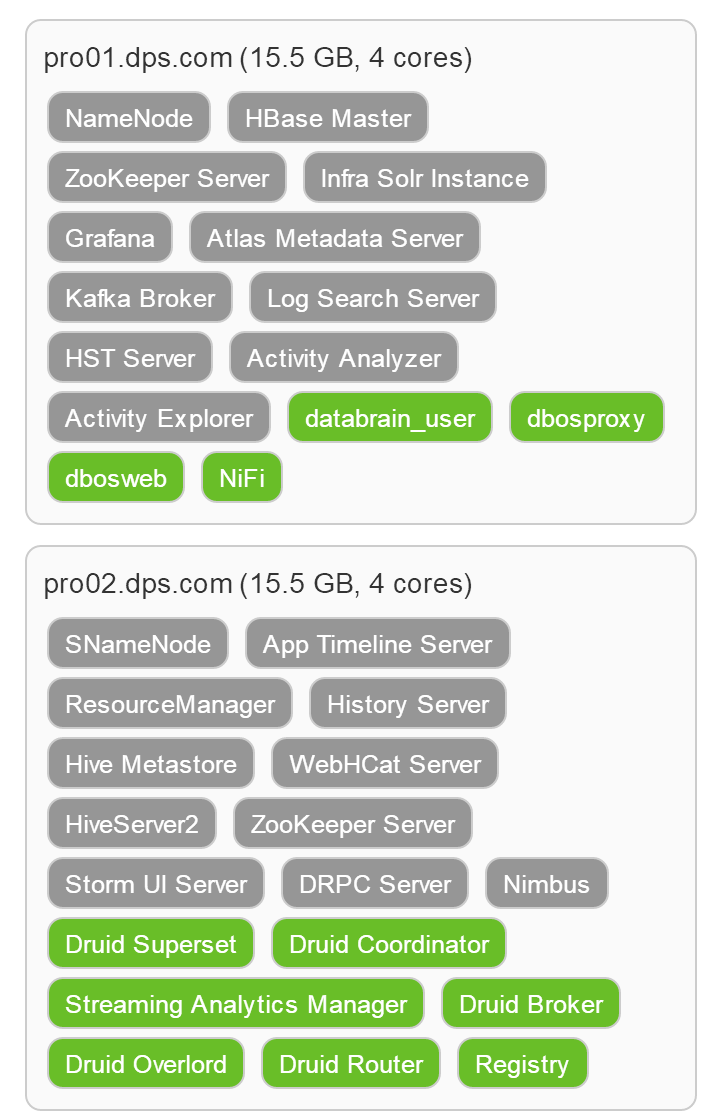
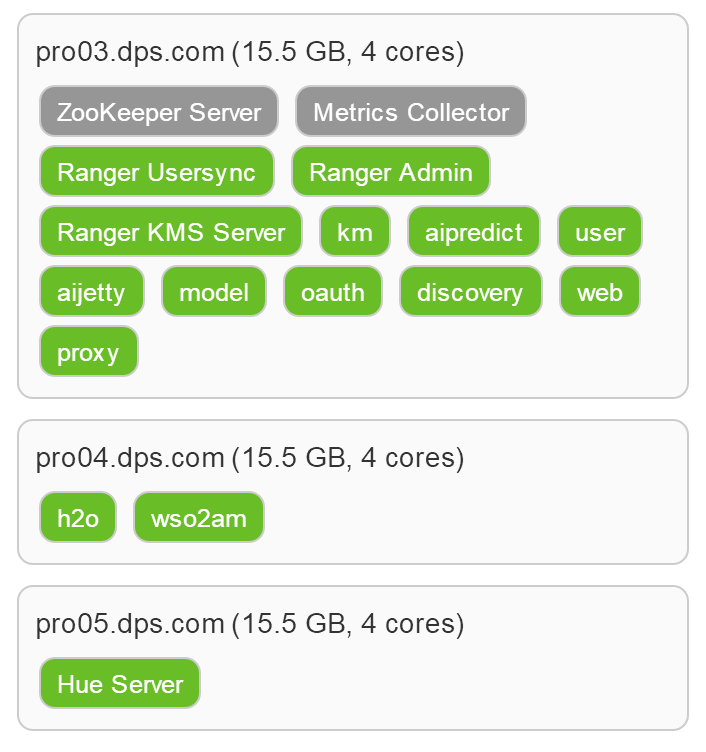
- 确认服务的节点分布
- 跳过服务配置,直接进行首批服务安装
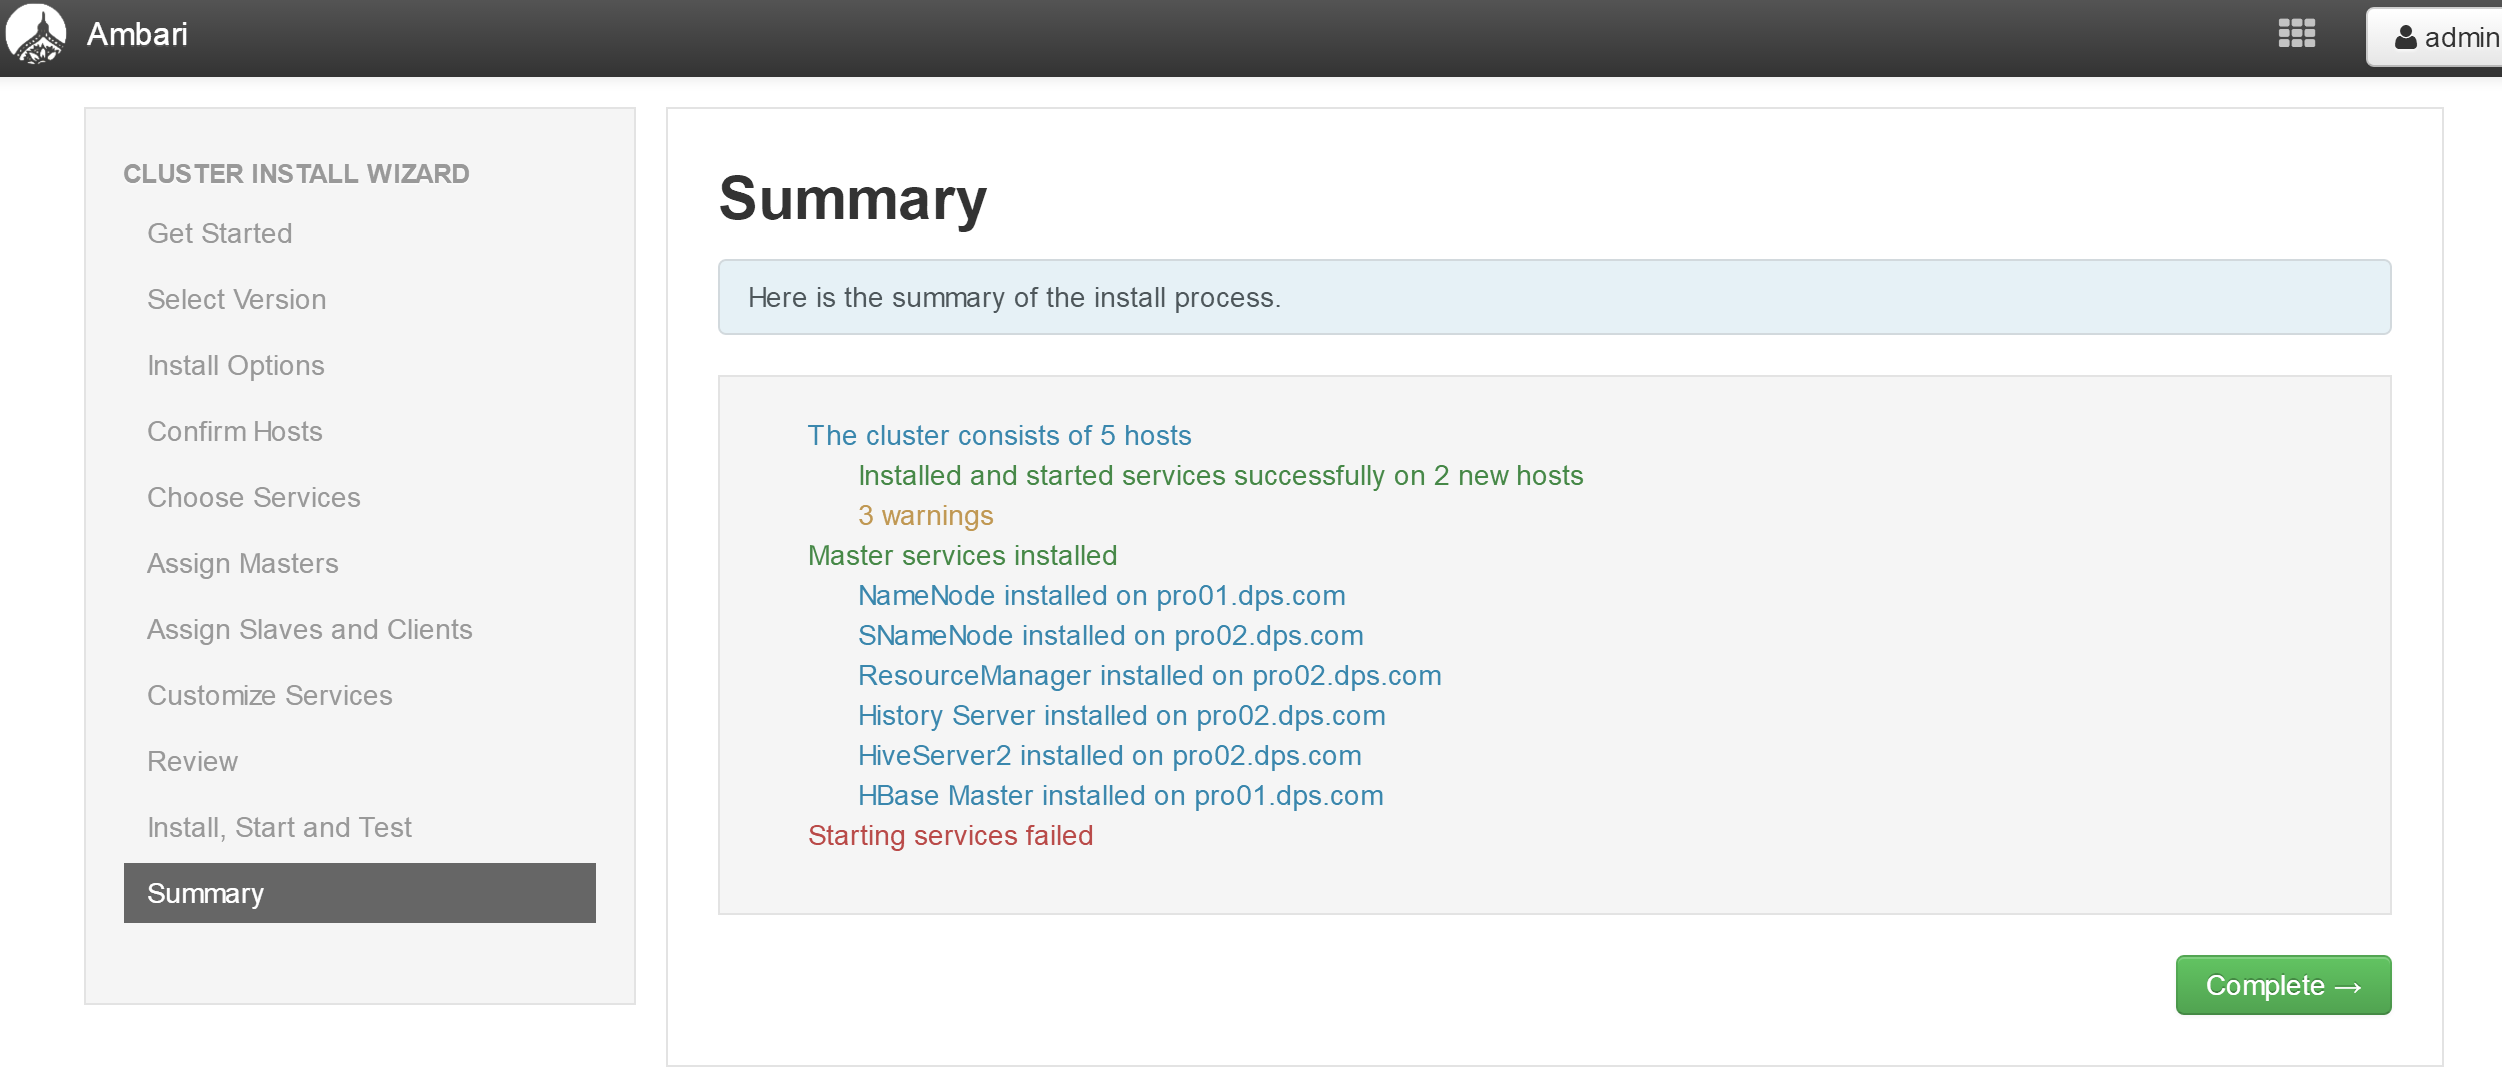
- 选择第二批服务,进行安装
- 这是新安装服务的节点分布
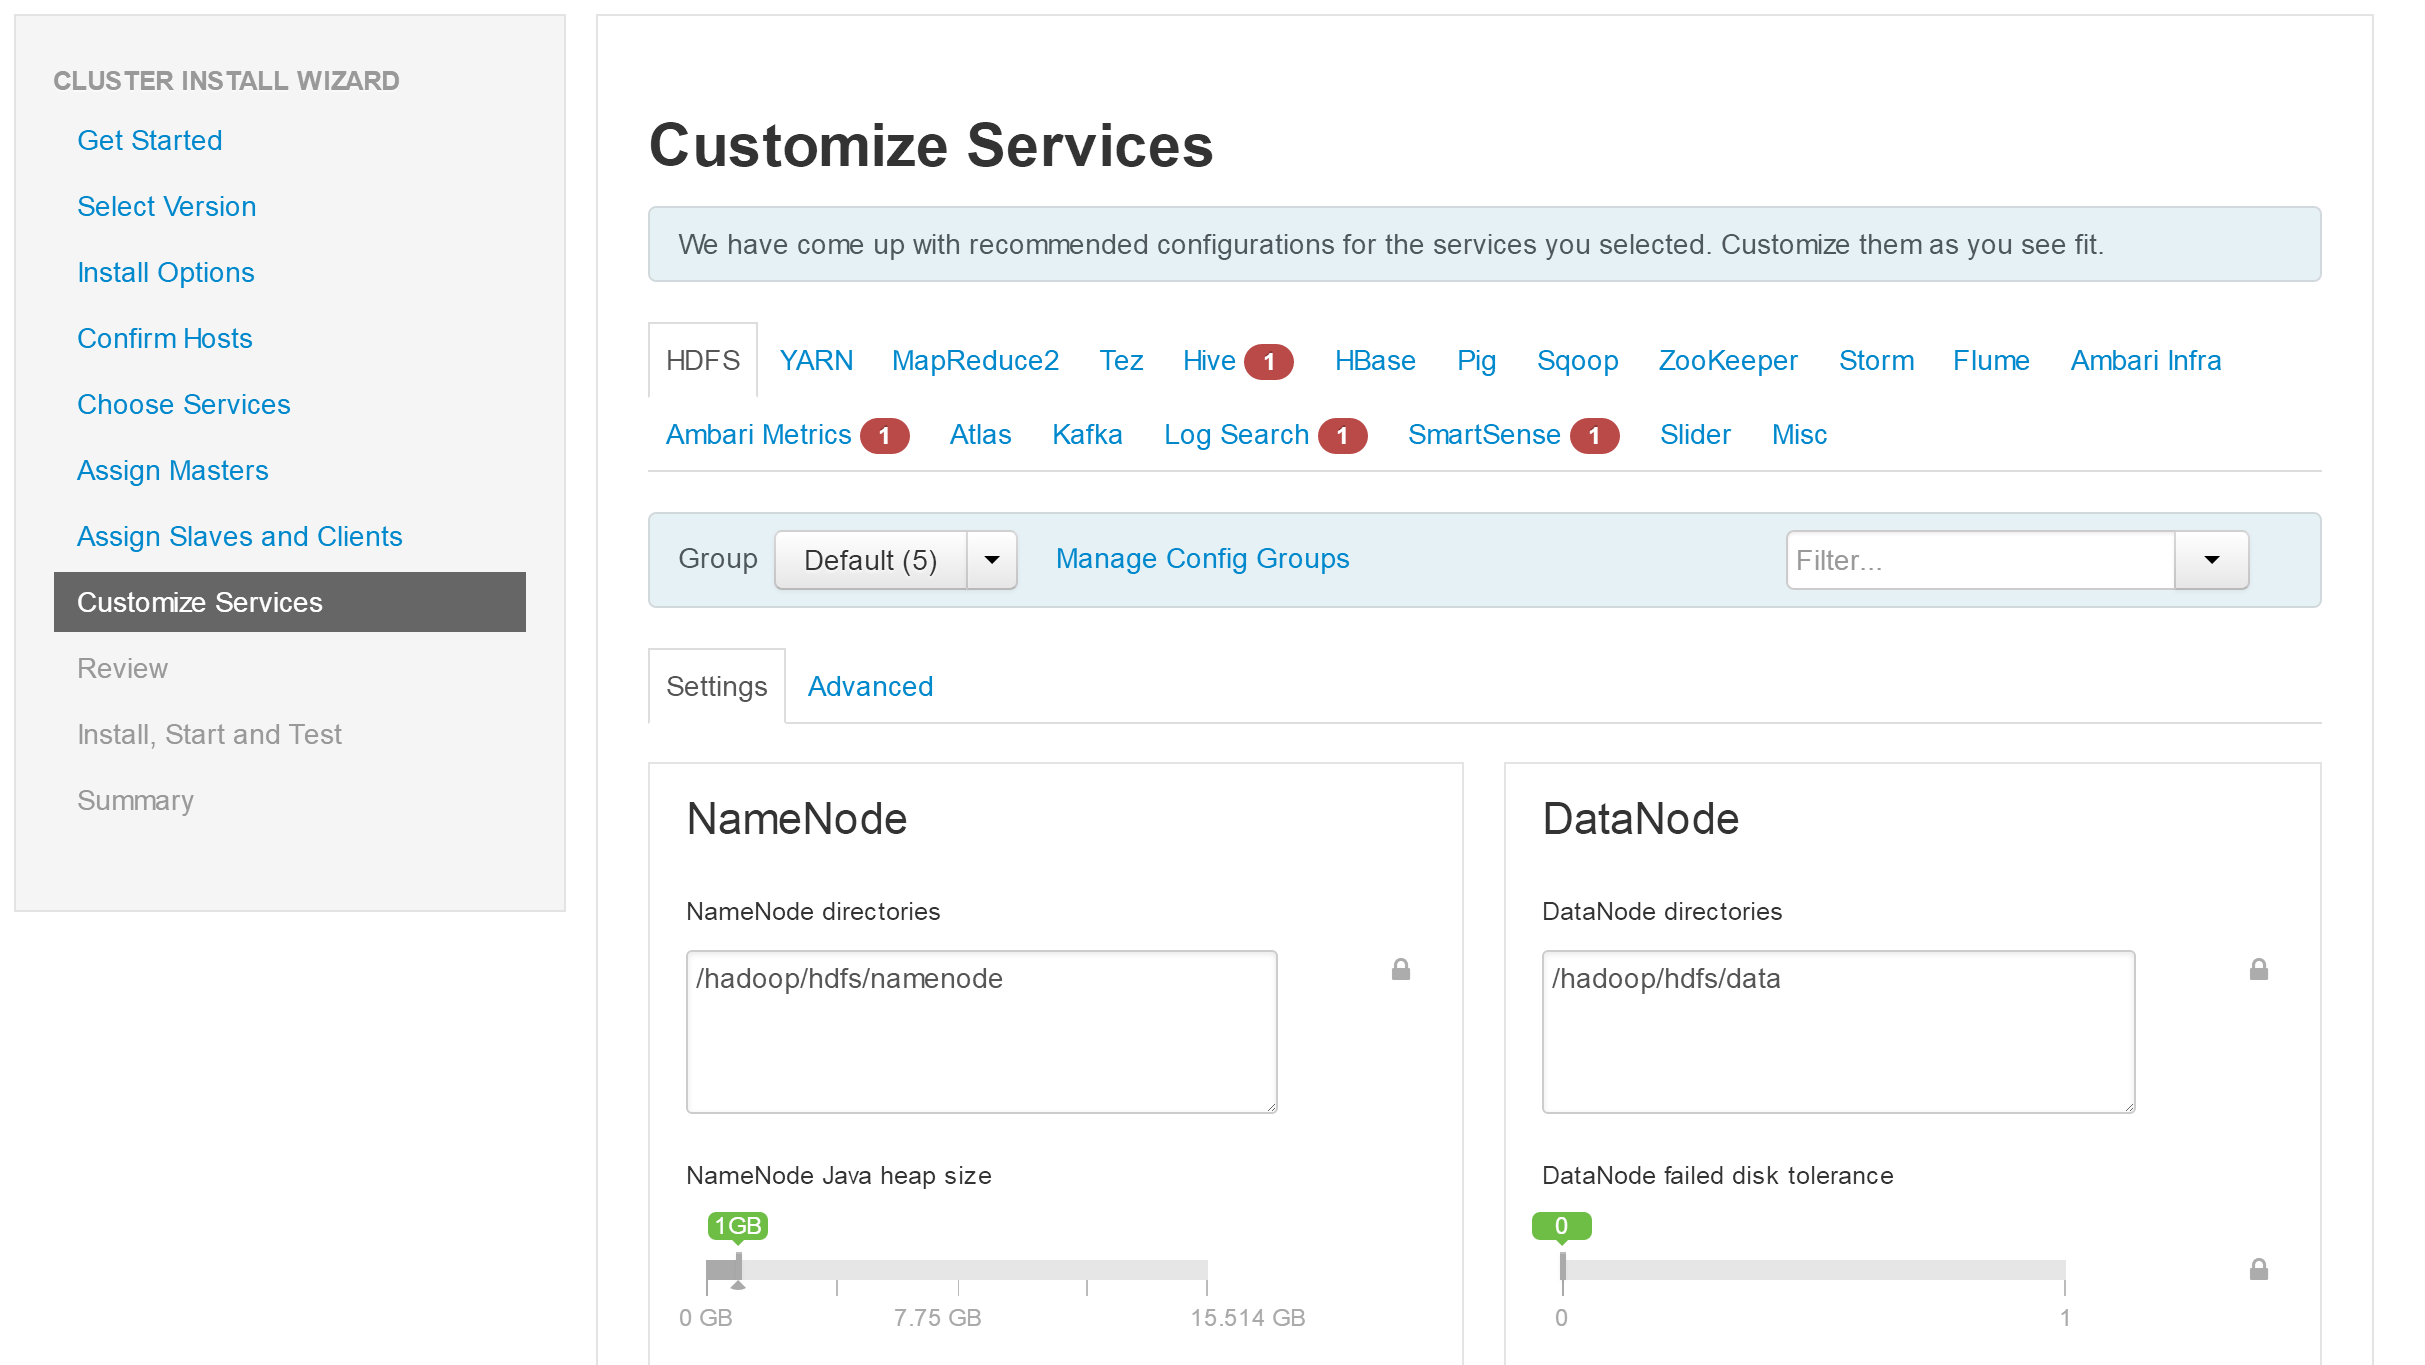
- 进行服务的配置
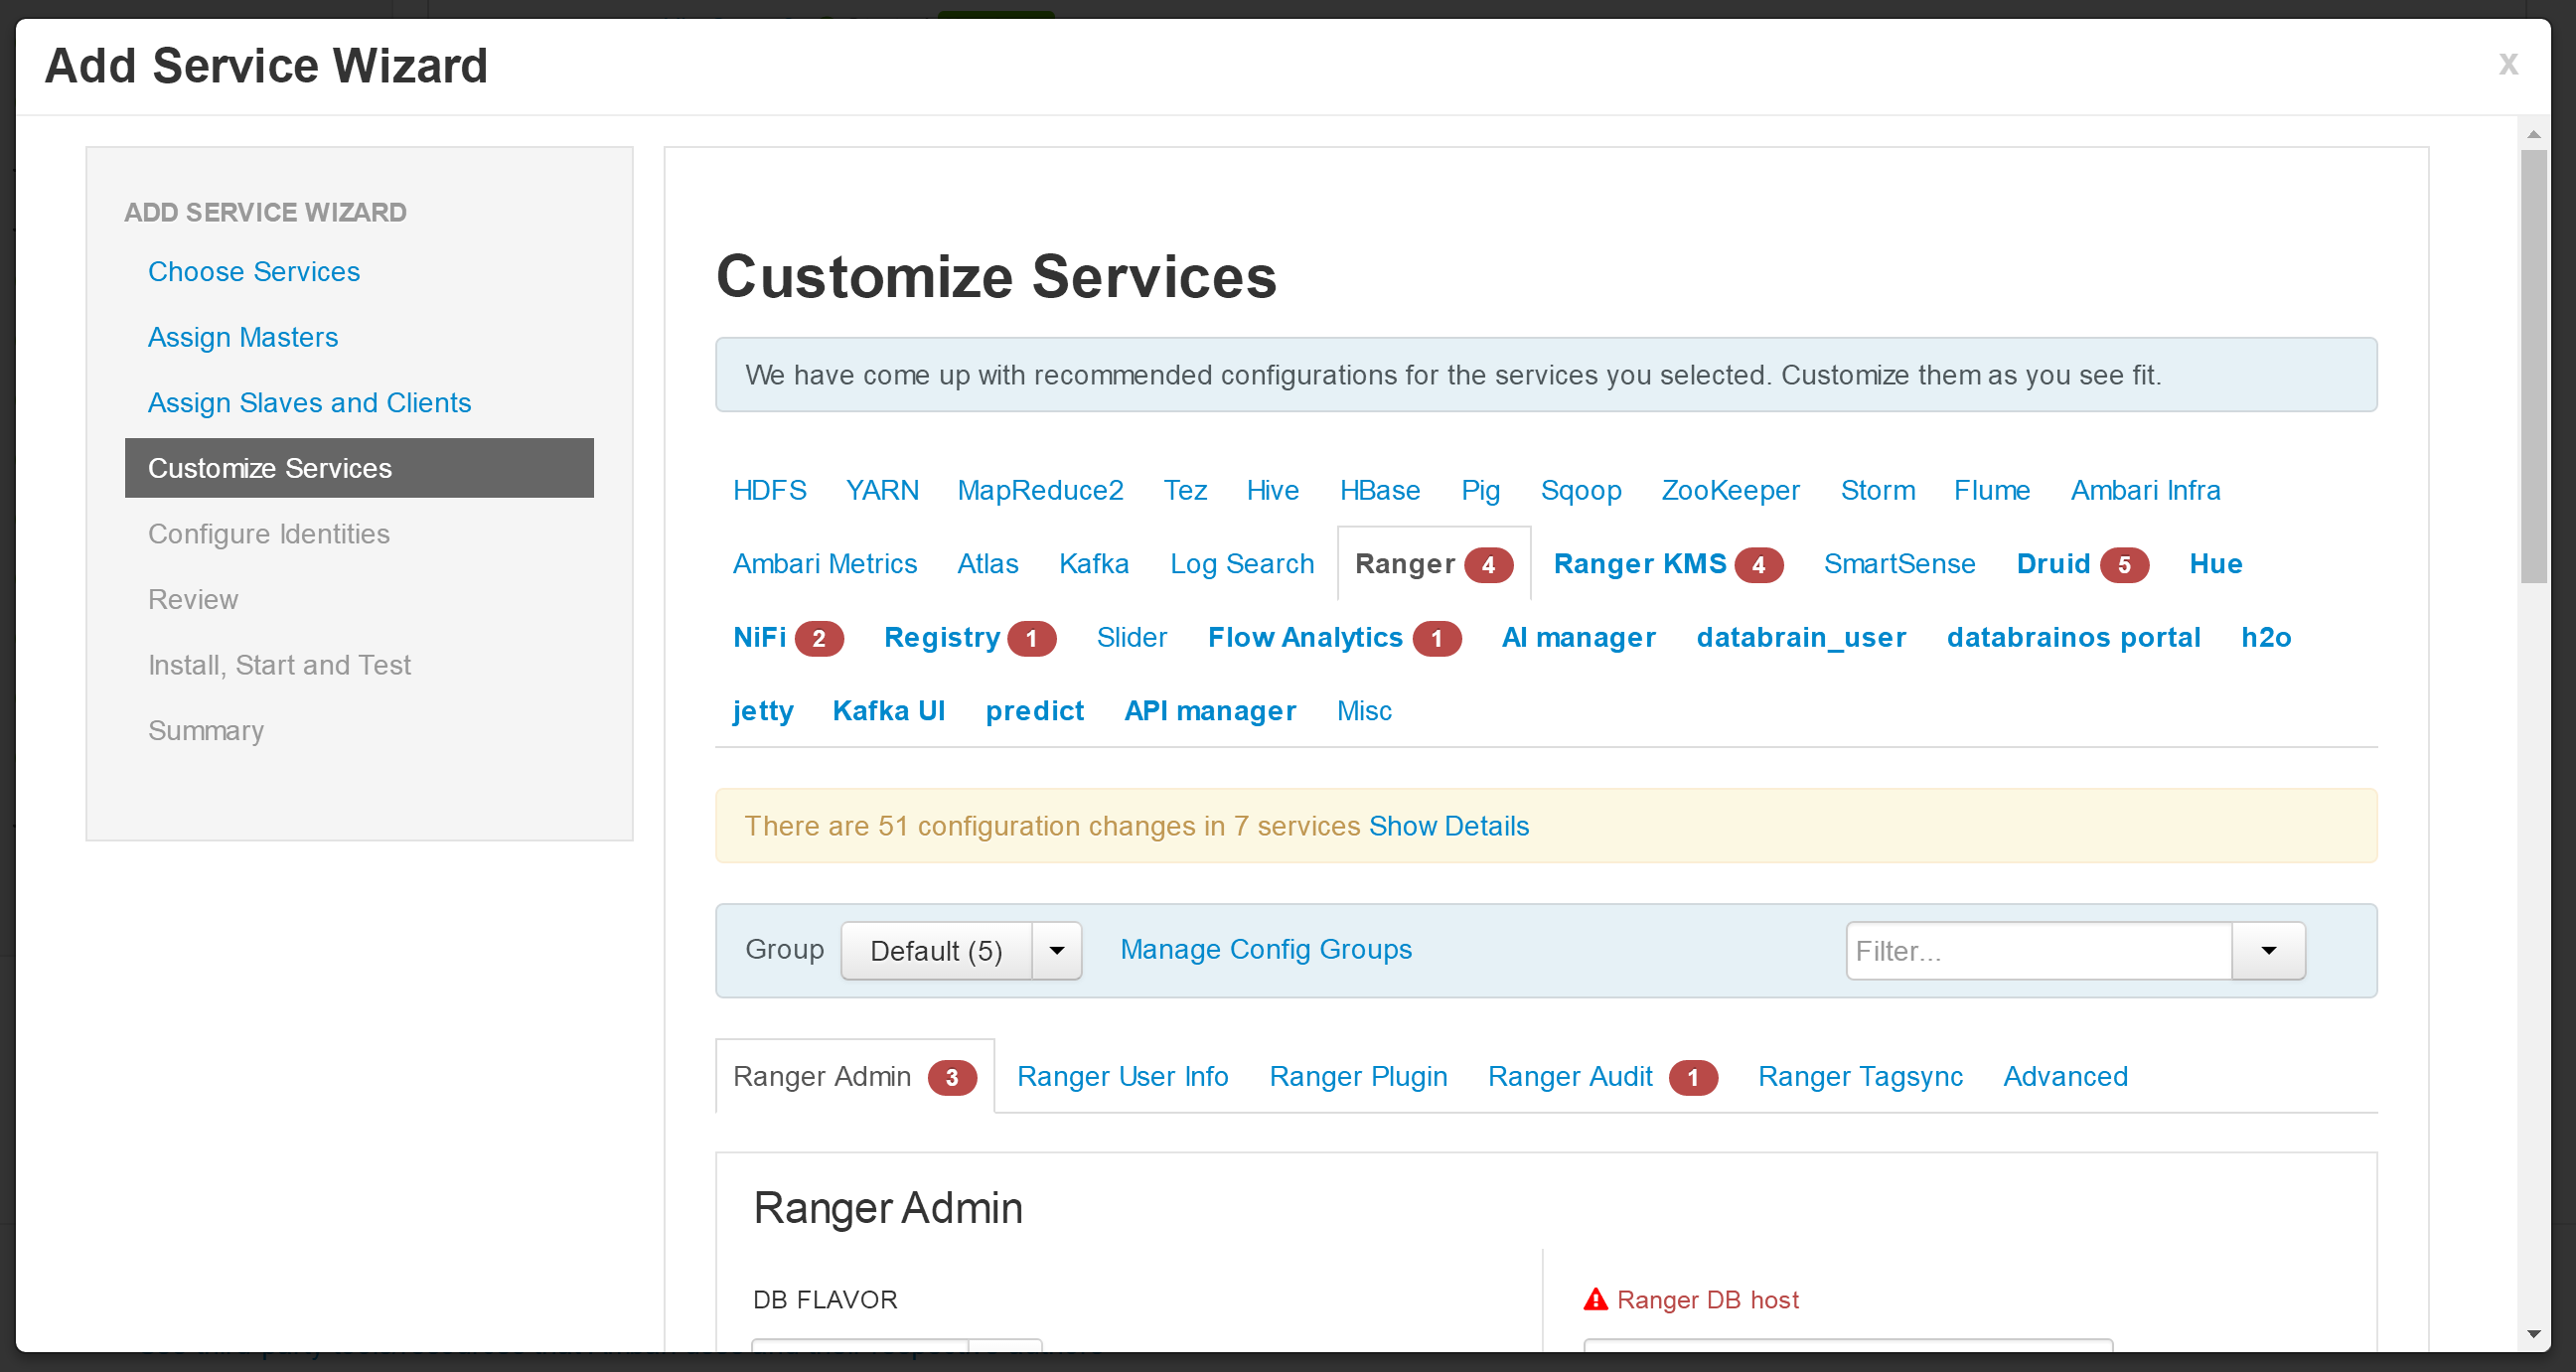
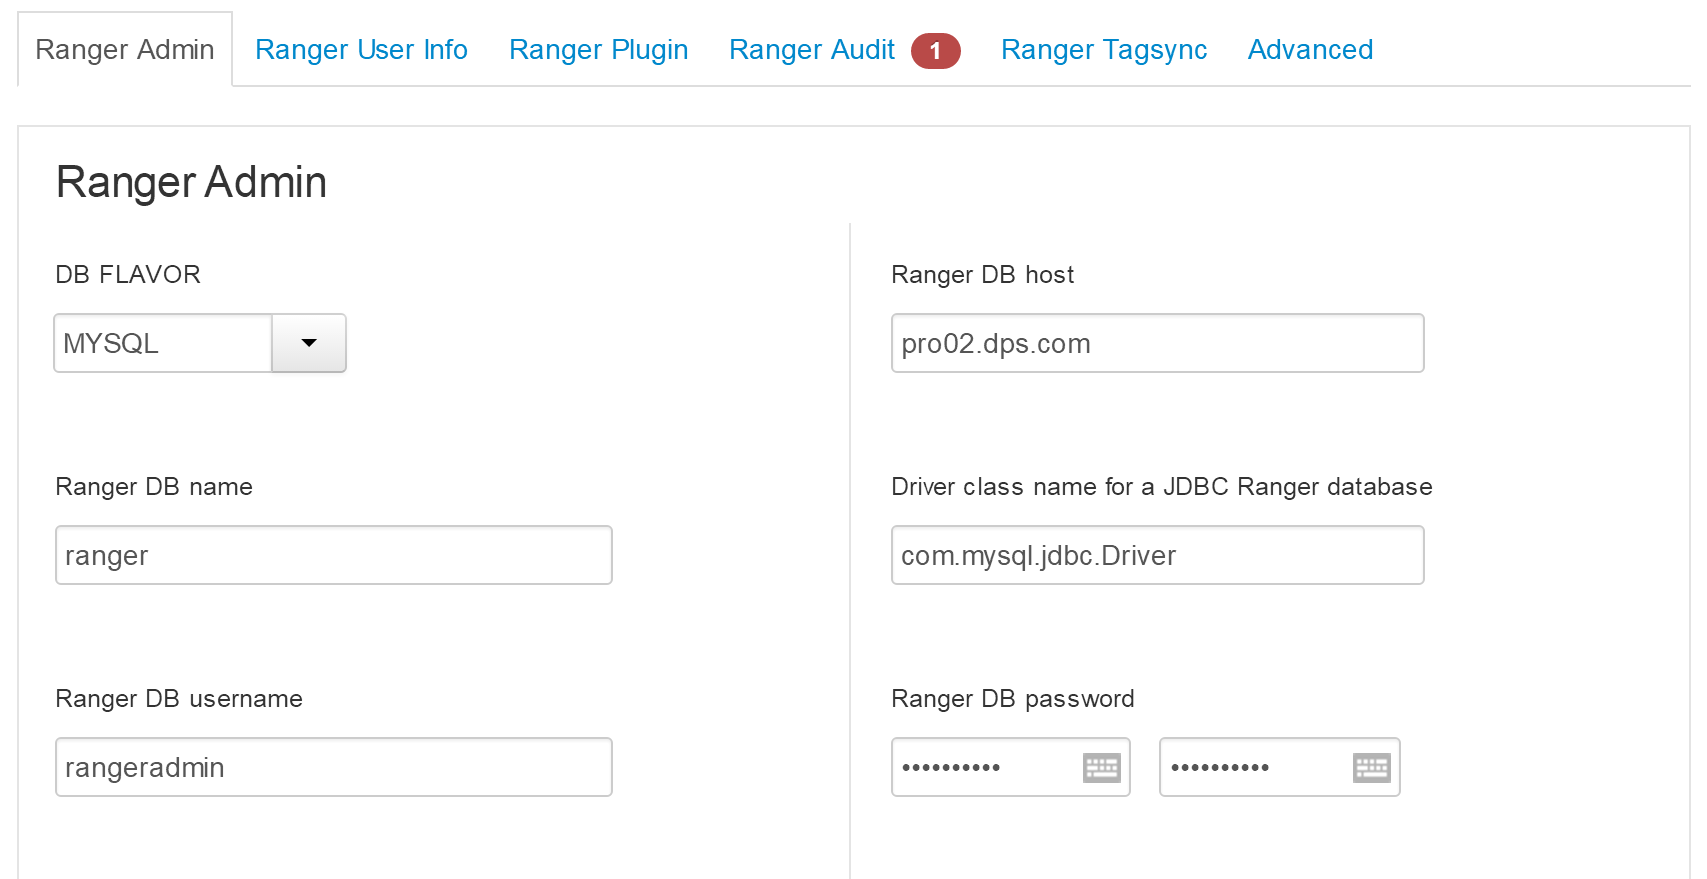
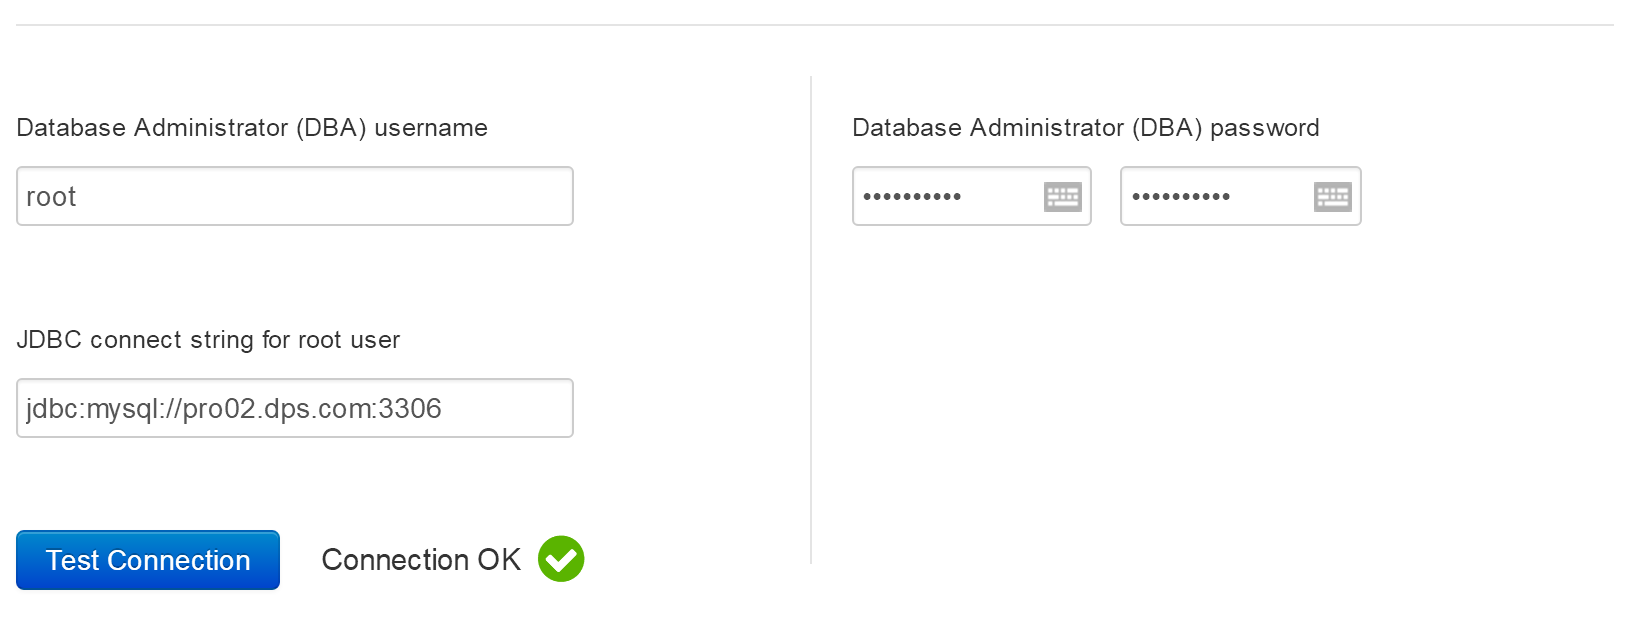
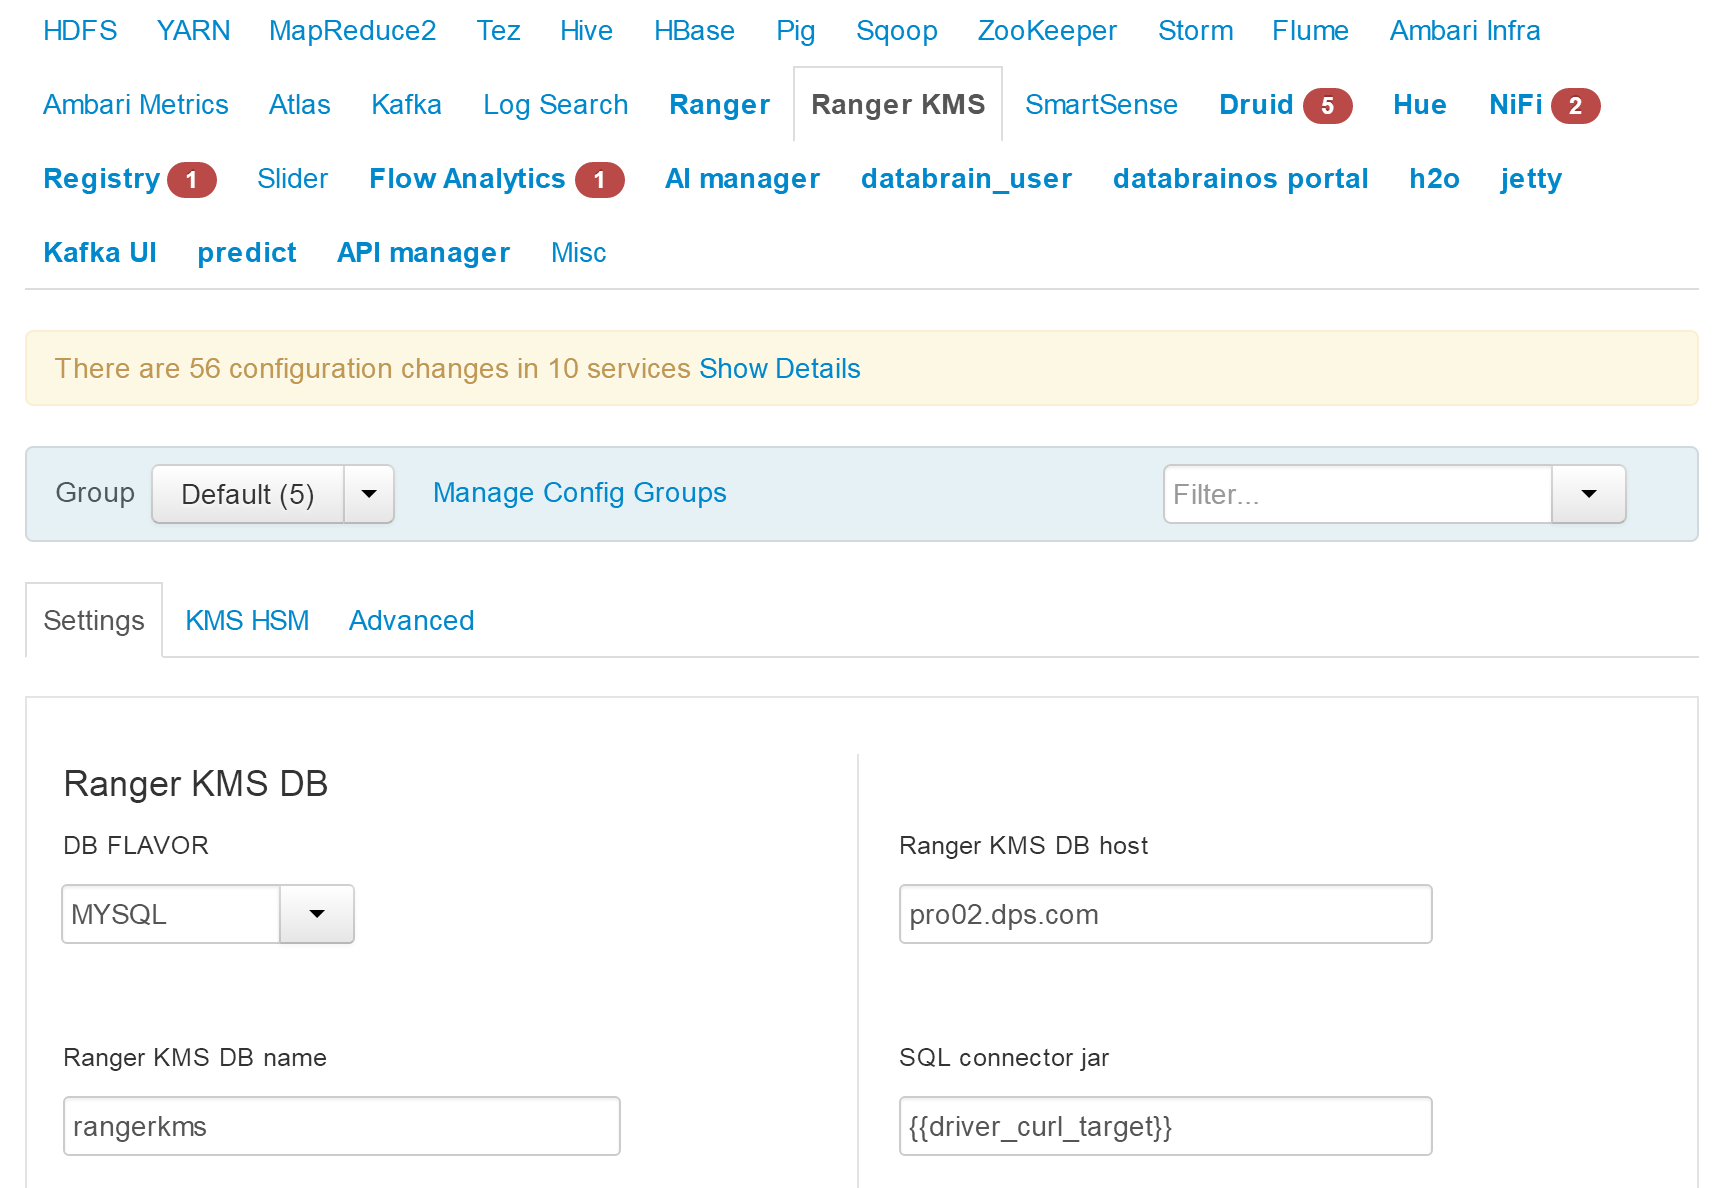
在进行所需配置之前需要在安装HIVE的机器上运行脚本(python main.py database_pre),此处是pro02节点。
>> cd /opt/deploy_dpaas
>> python main.py database_pre
- 此处solr.urls为暂时使用,不work
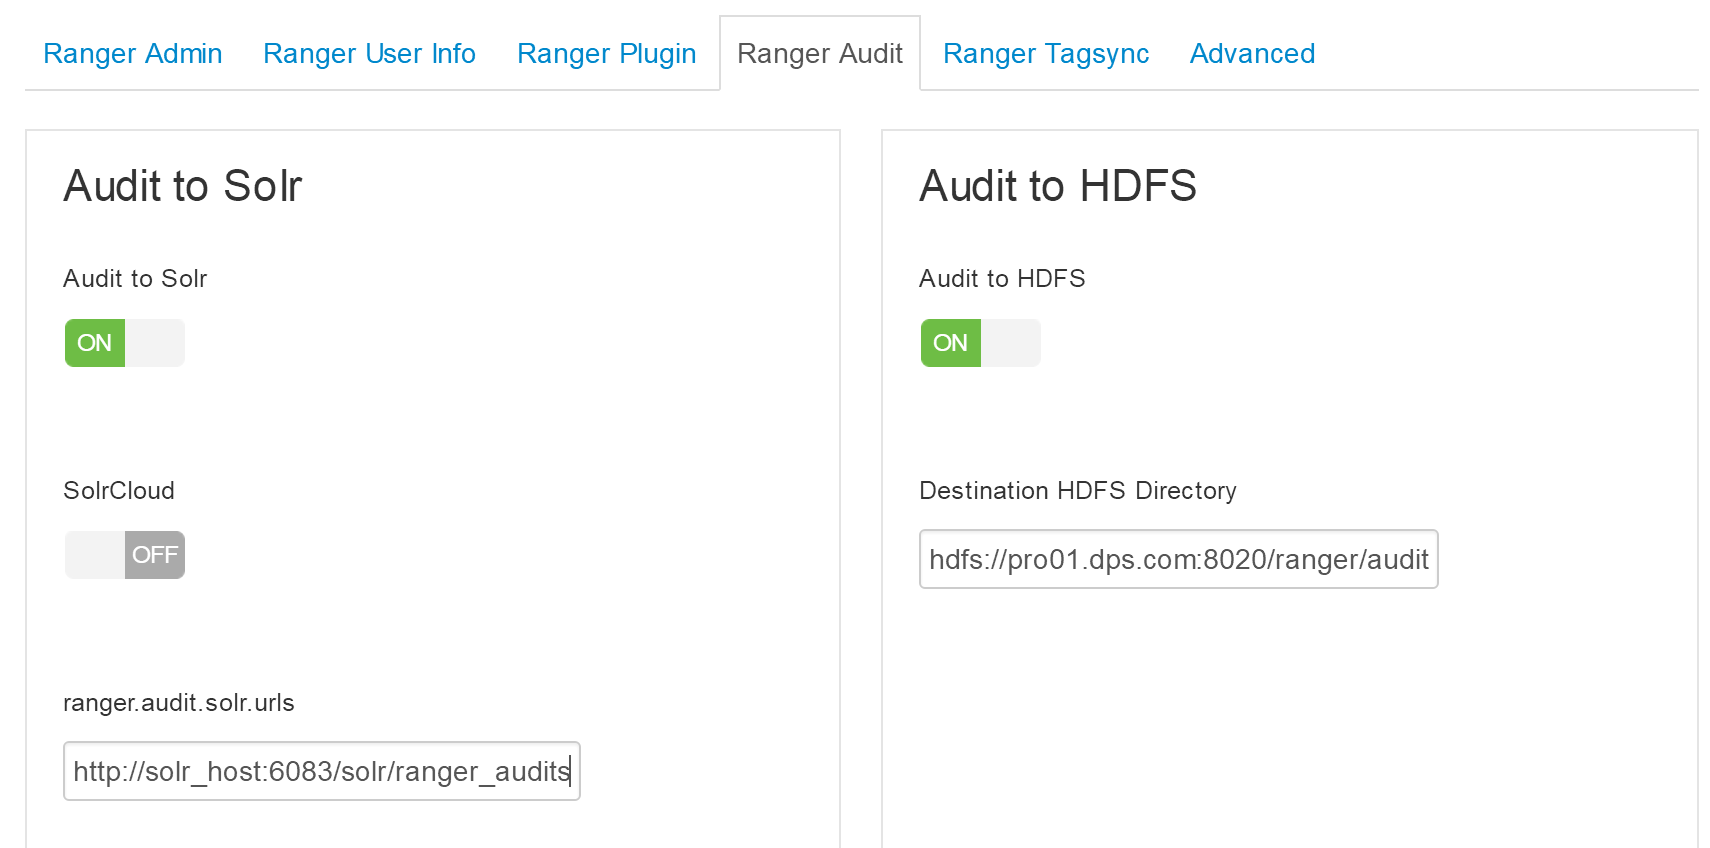
- 此处所有密码设置为“left3cols”


- 改成NIFI安装的机器外网地址:https://103.227.51.139:9999/

Registry
Registry storage connector url 改为 jdbc:mysql://pro02.dps.com:3306/registry
streamline
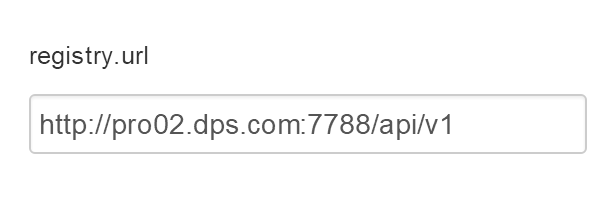
registry.url改为http://pro02.dps.com:7788/api/v1
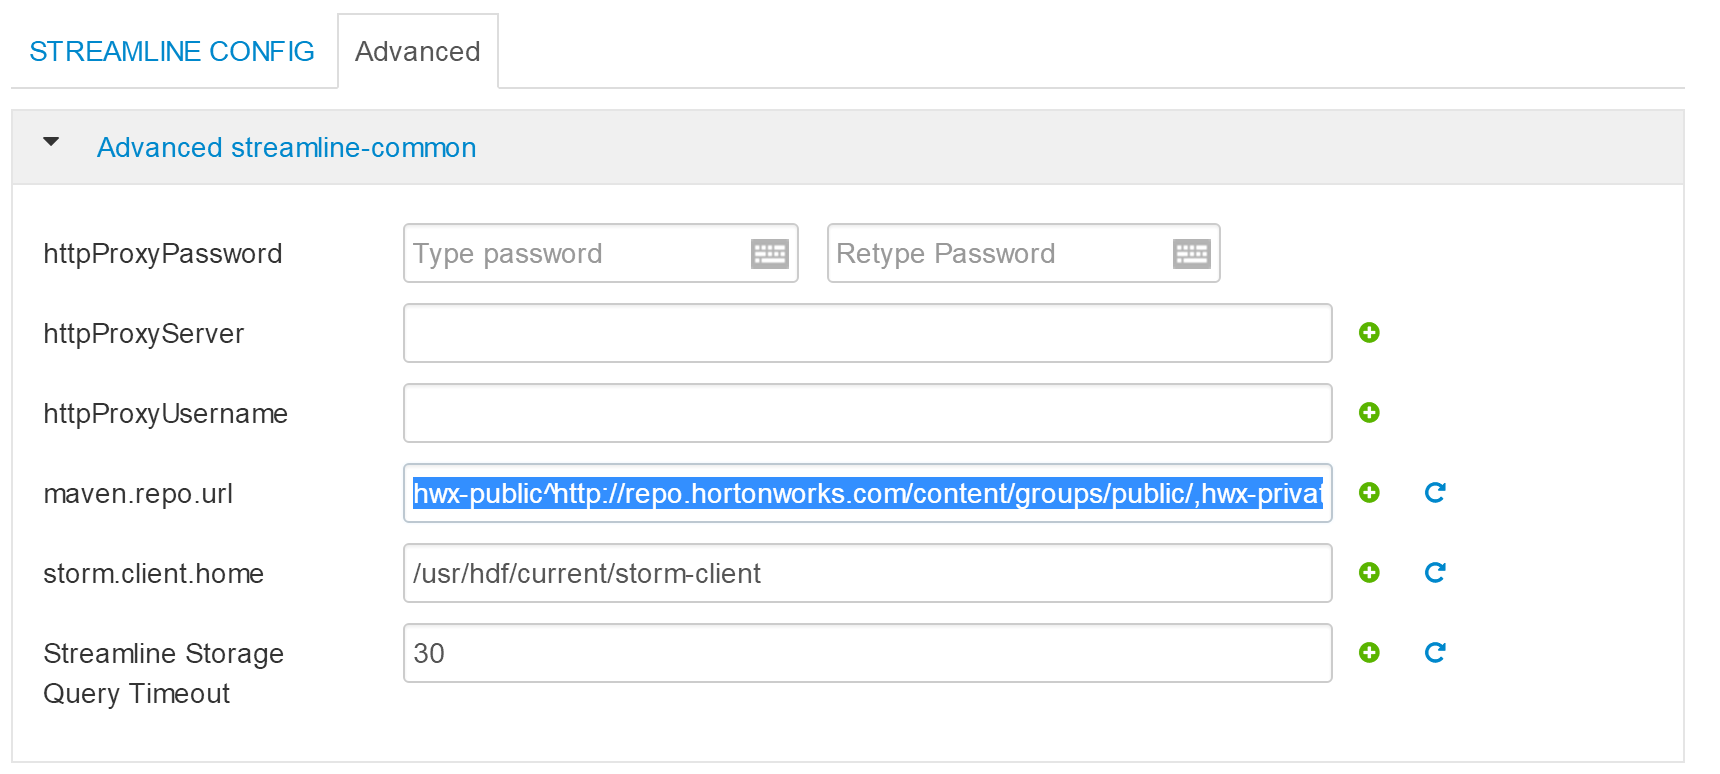
下面配置改为
hwx-public^http://103.227.51.133:8081/nexus/content/groups/public/,hwx-private^http://103.227.51.133:8081/nexus/content/groups/public/
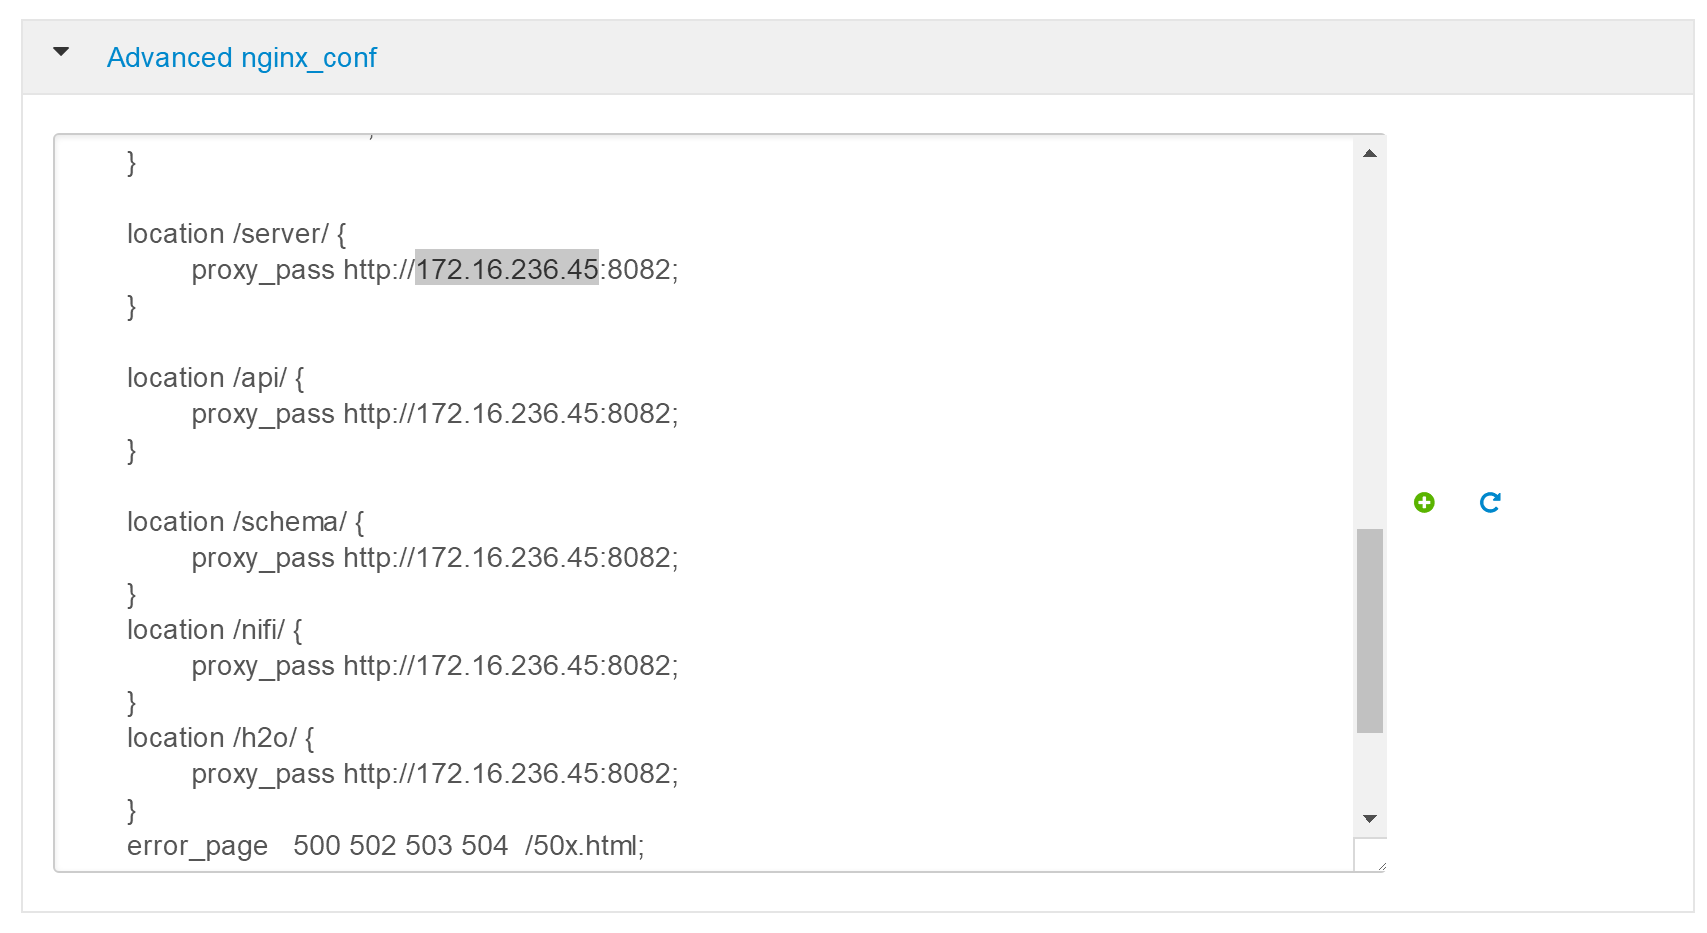
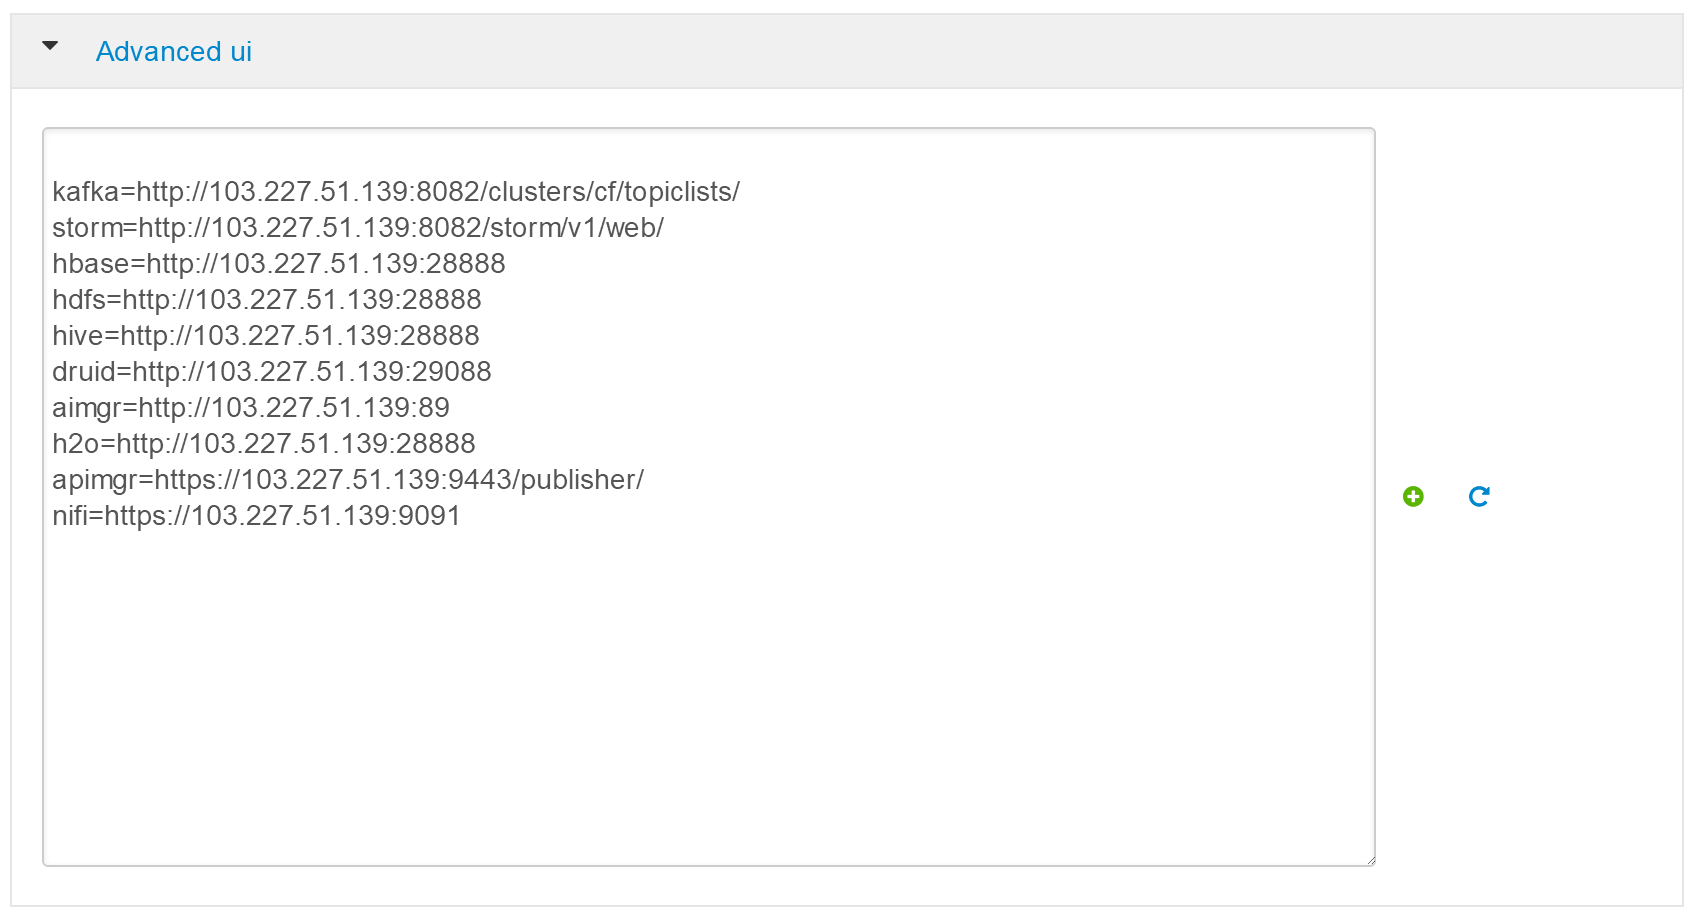
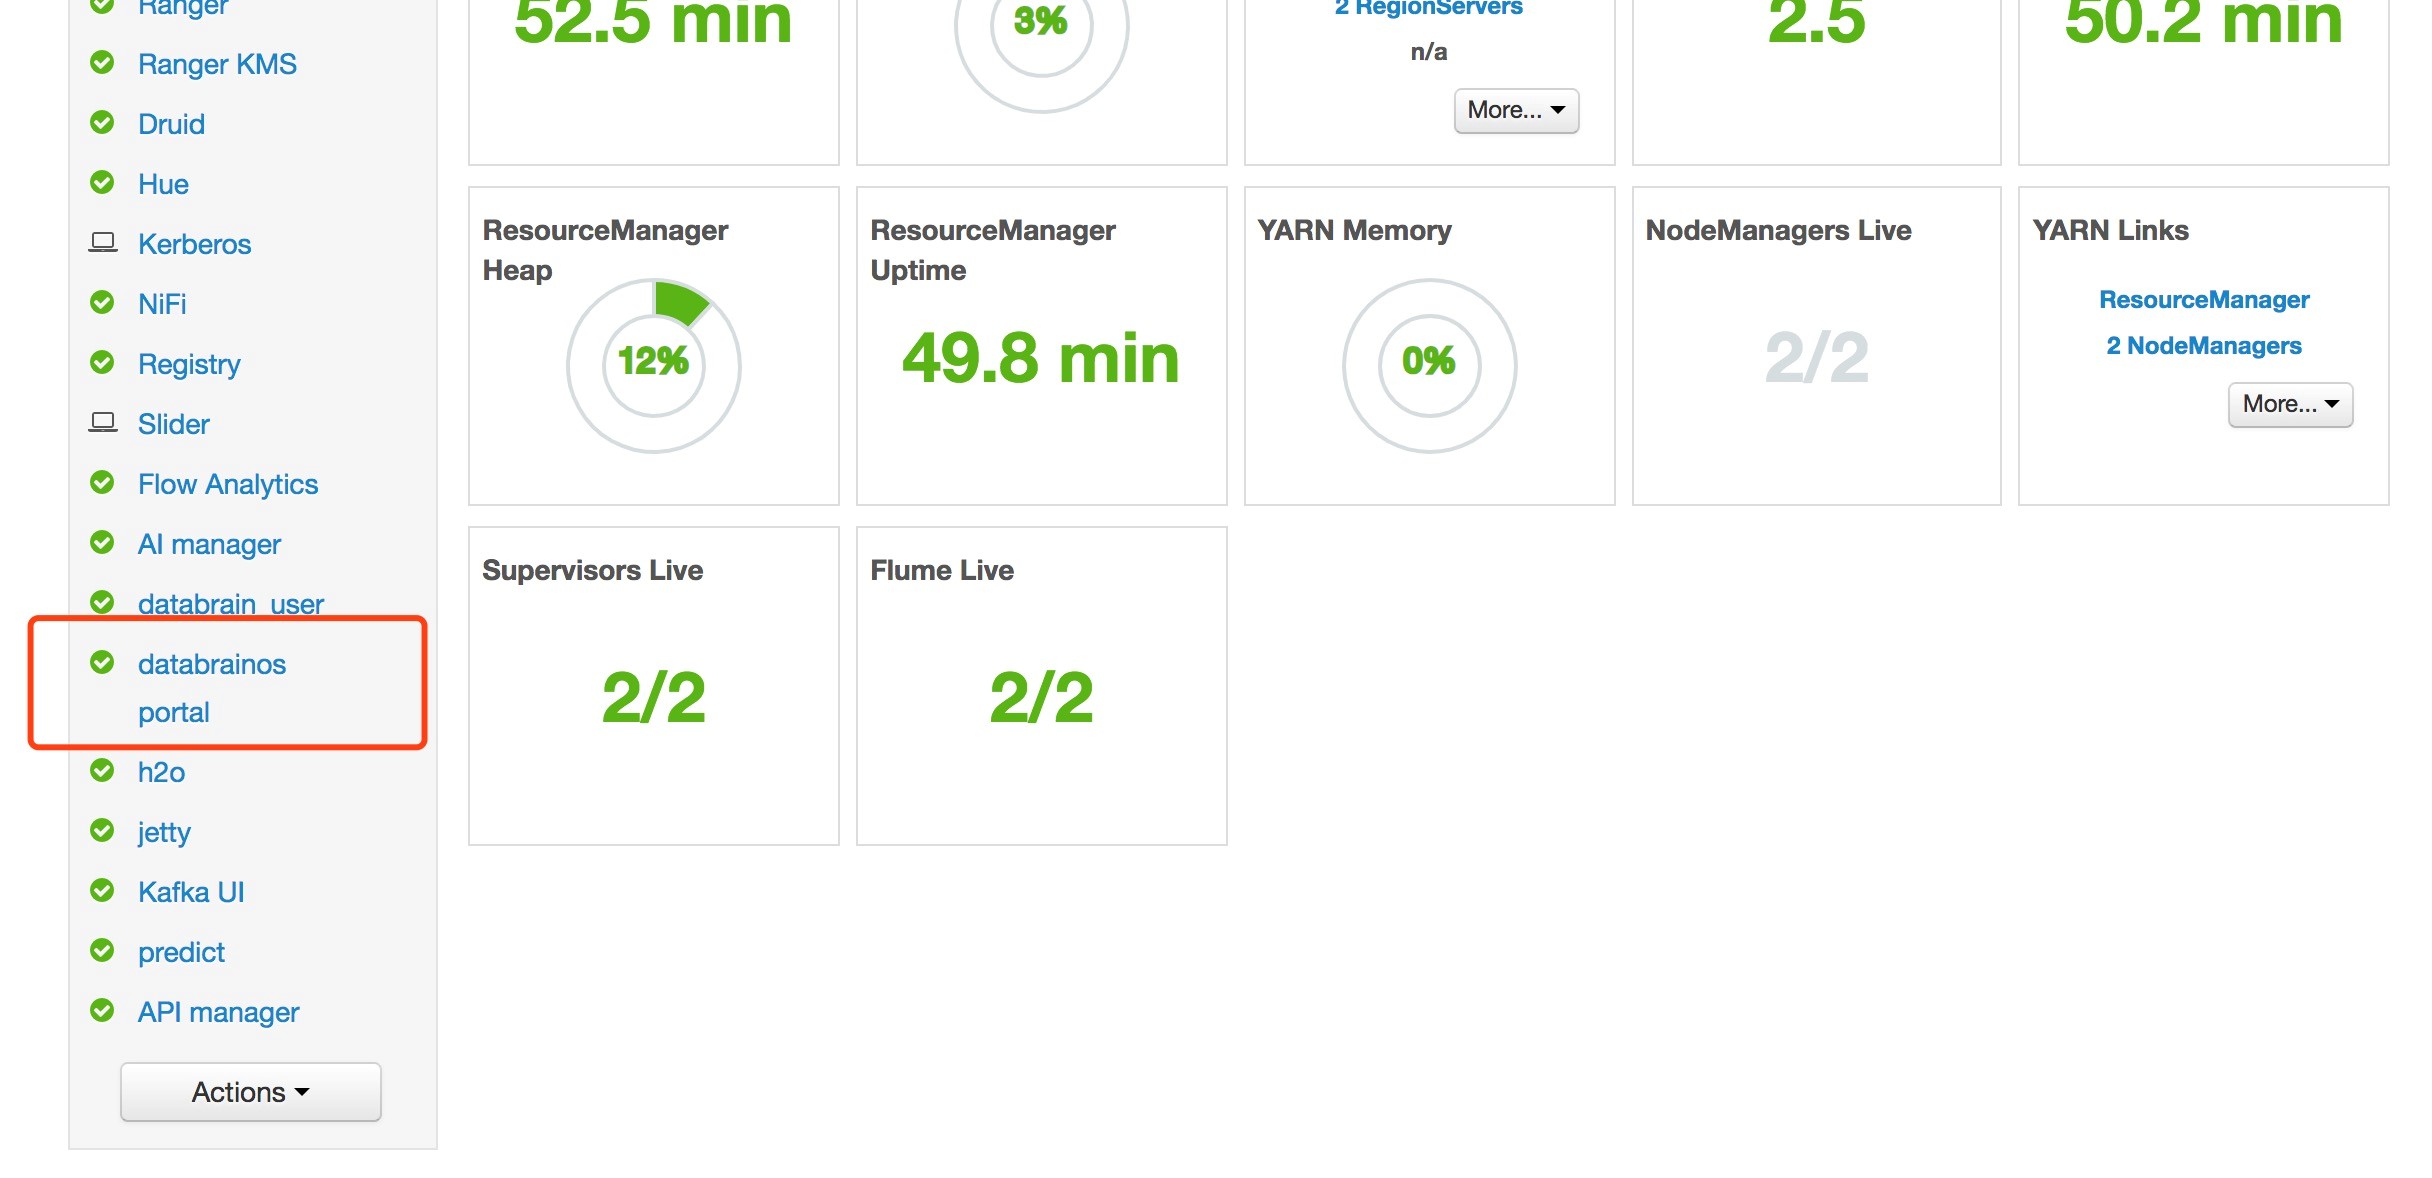
- 下面为 databrainos portal 配置
- 将其中172.16.234.45改为localhost
改为
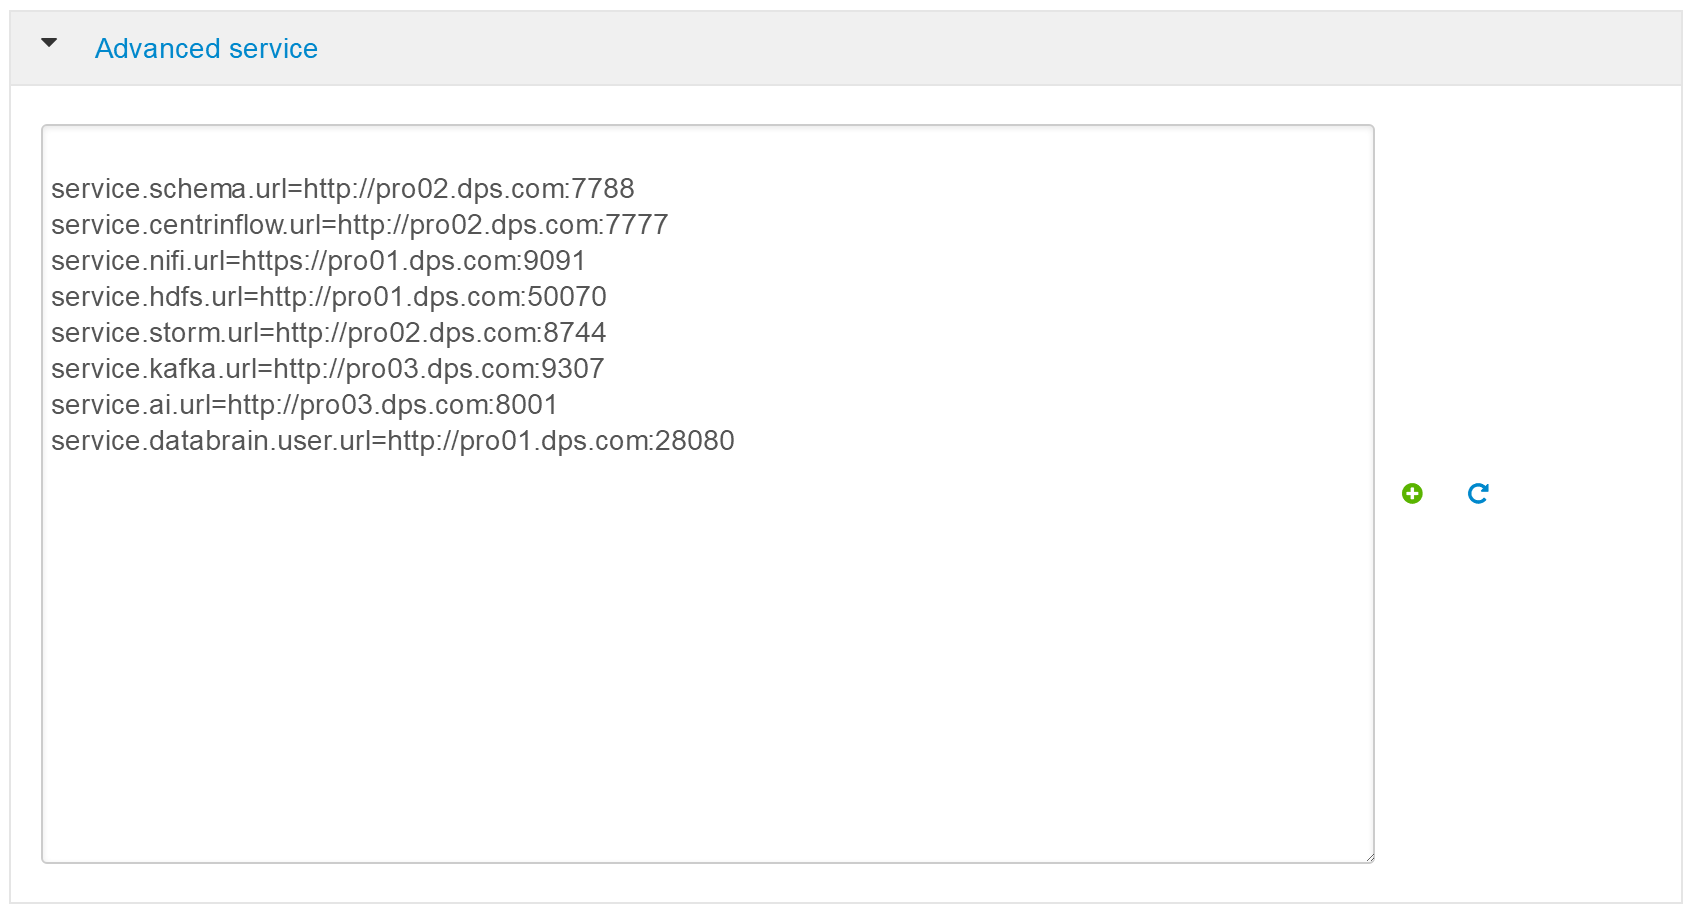
改为
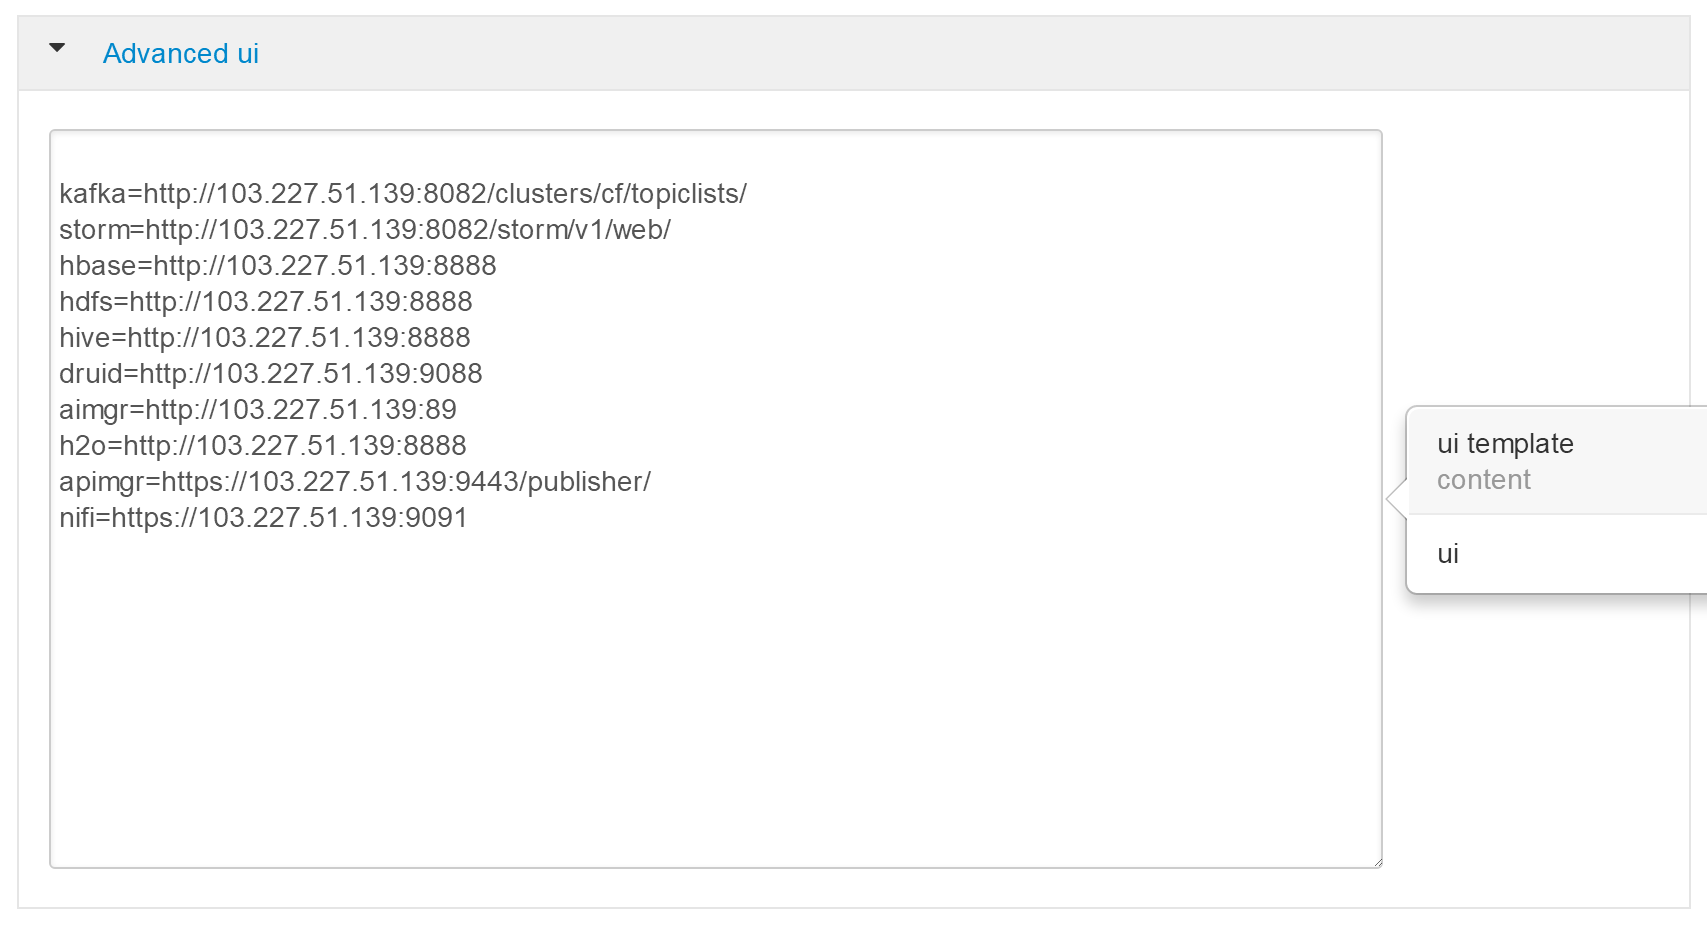
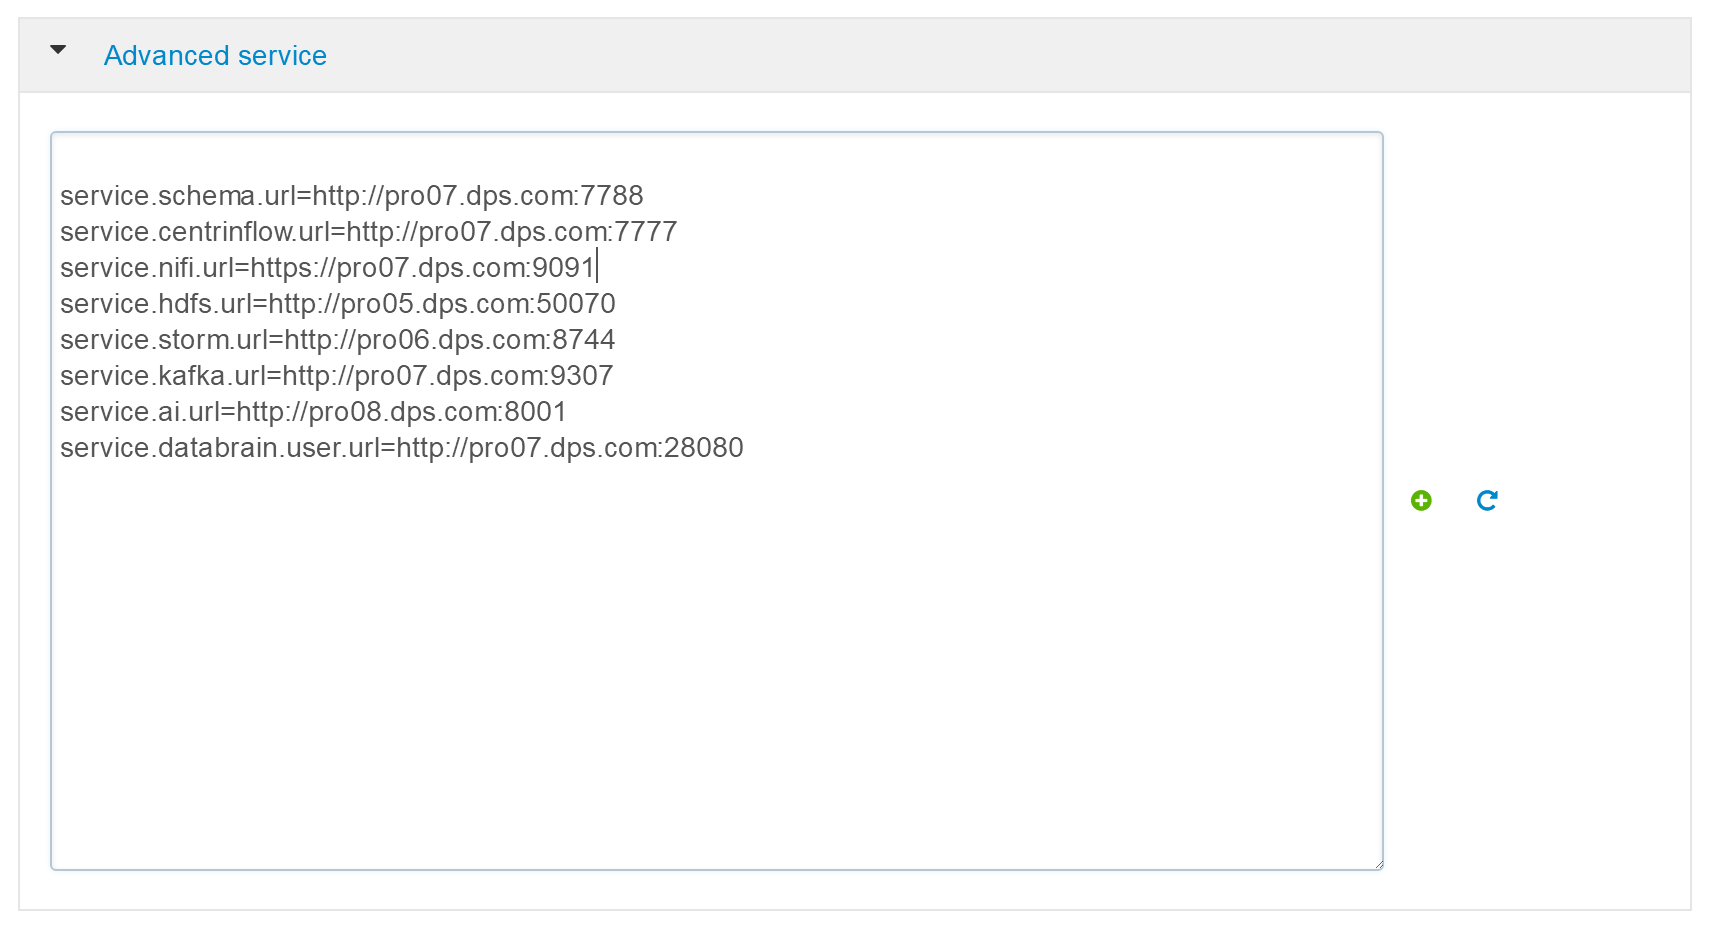
其中,H2O的url端口8888需要改为9358
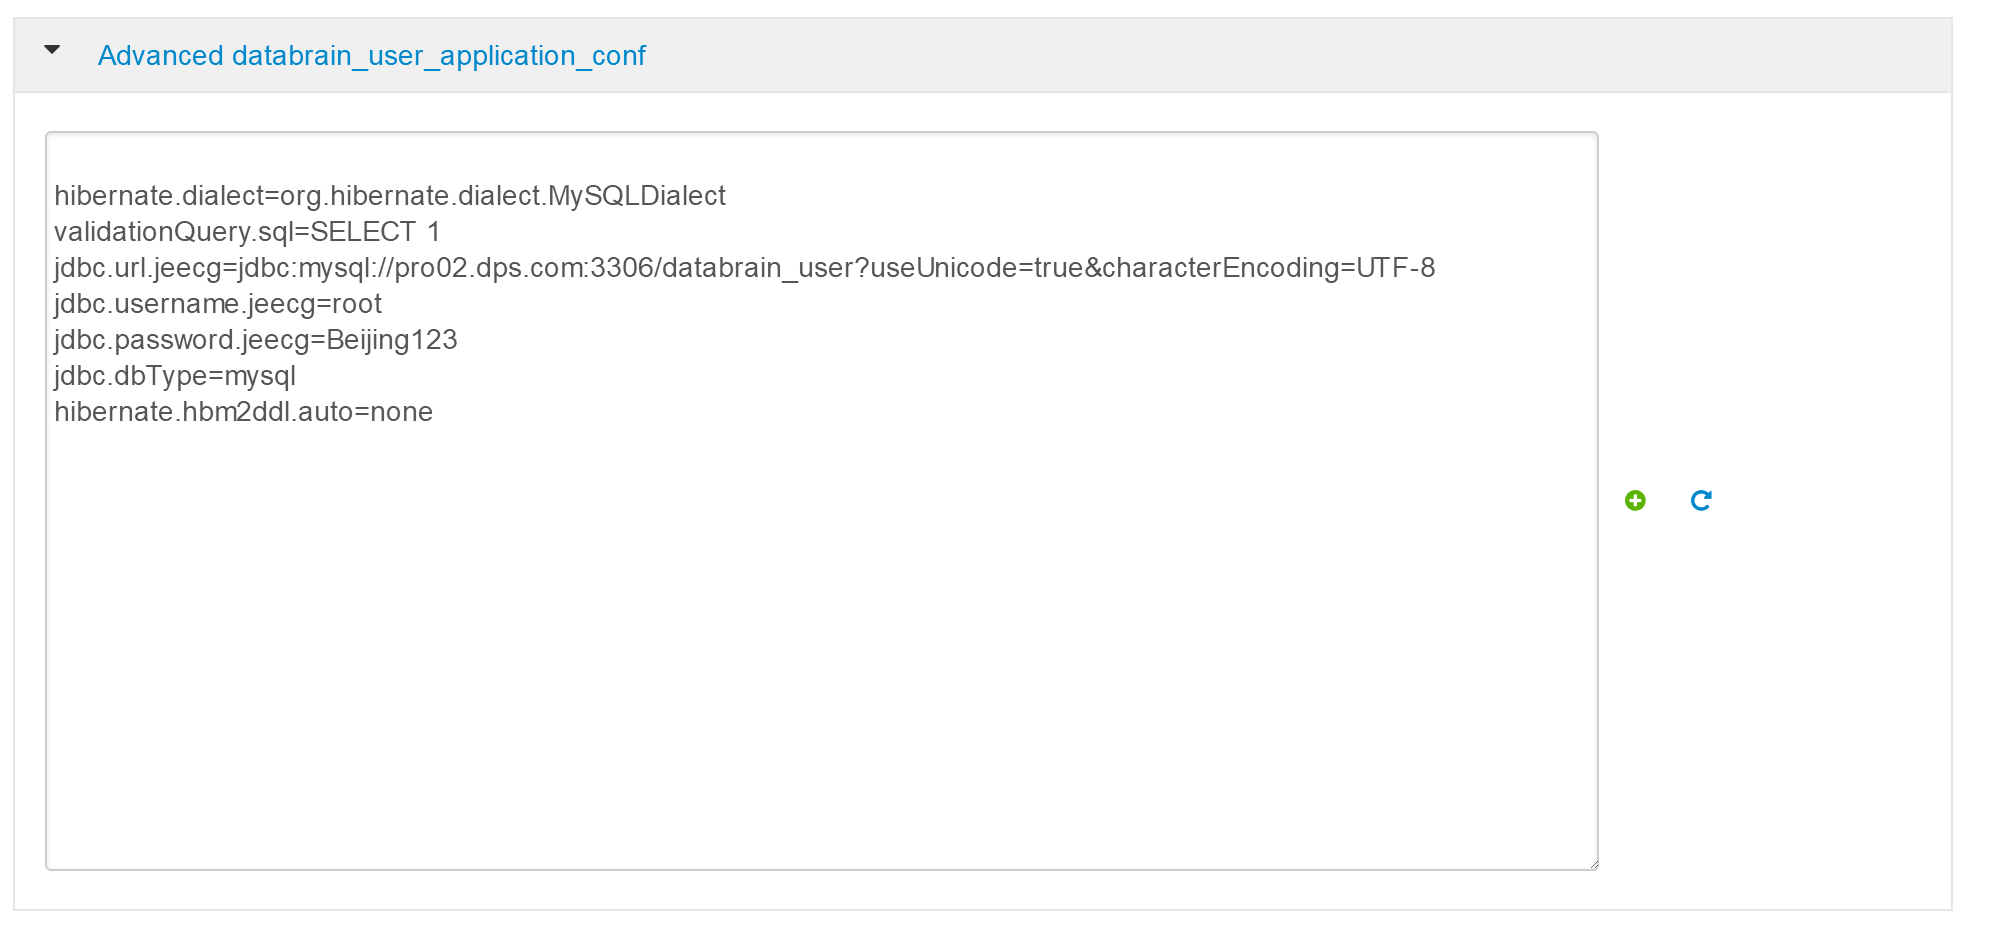
- databrain_user 组件配置, 其中mysql地址,账号和密码需要修改
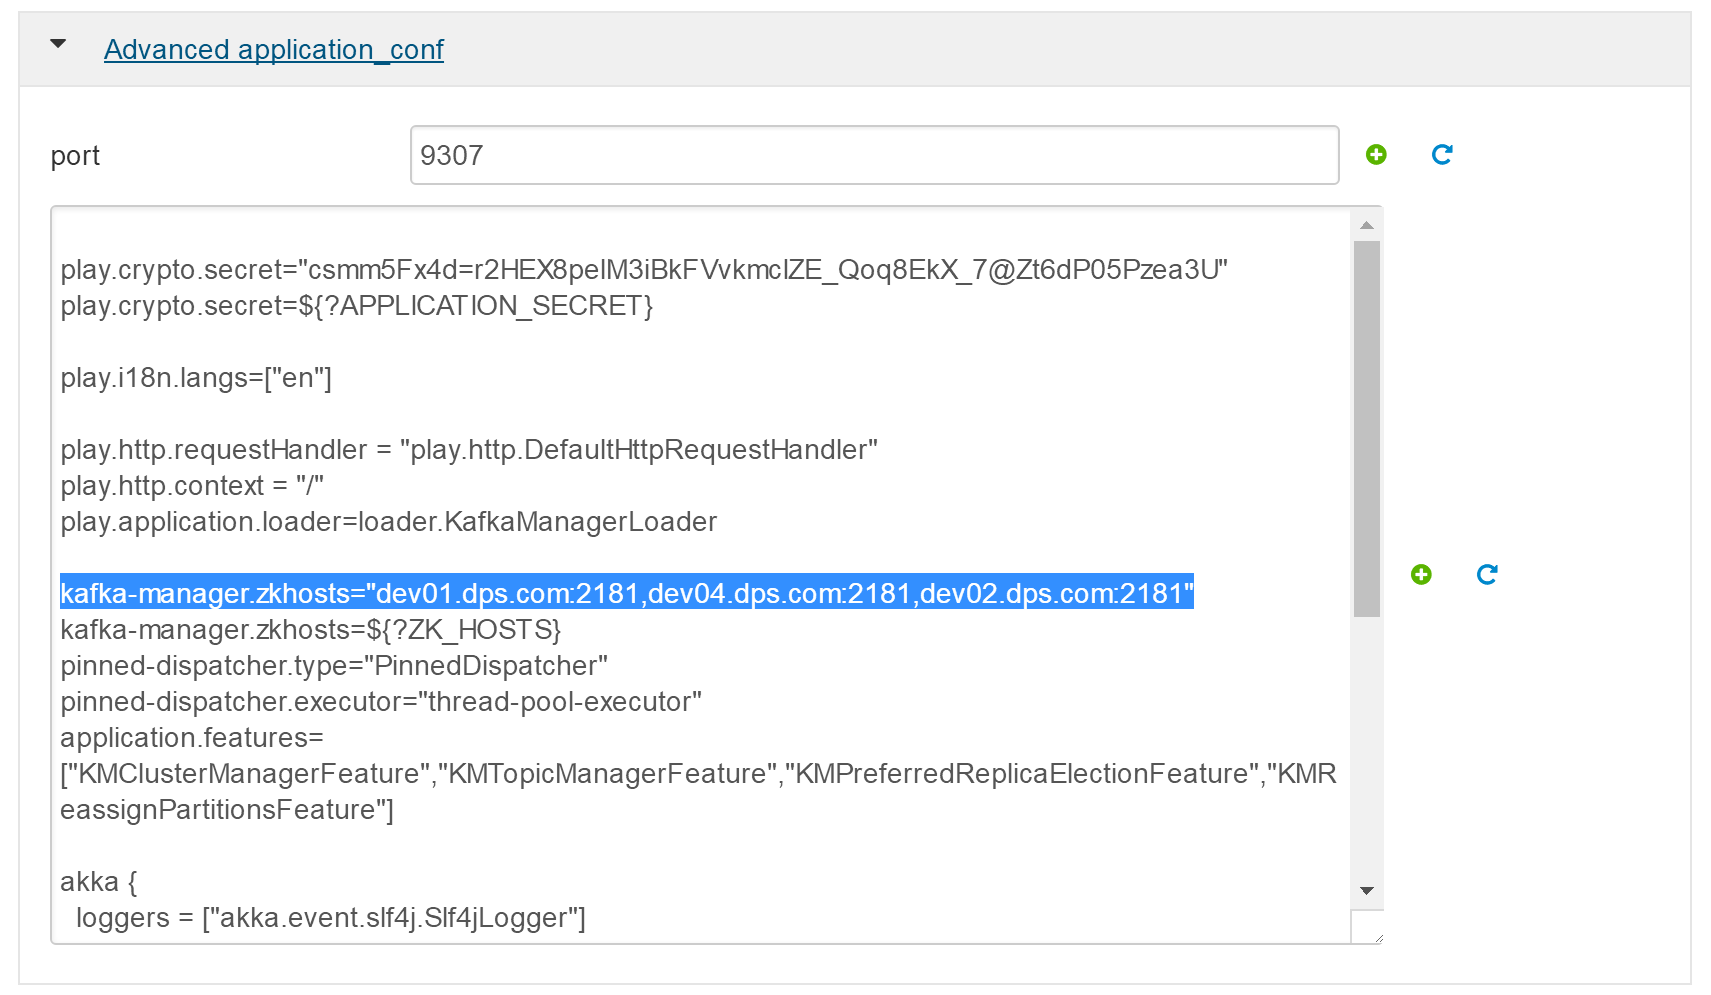
- Kafka UI 配置, 改为pro01,02,03
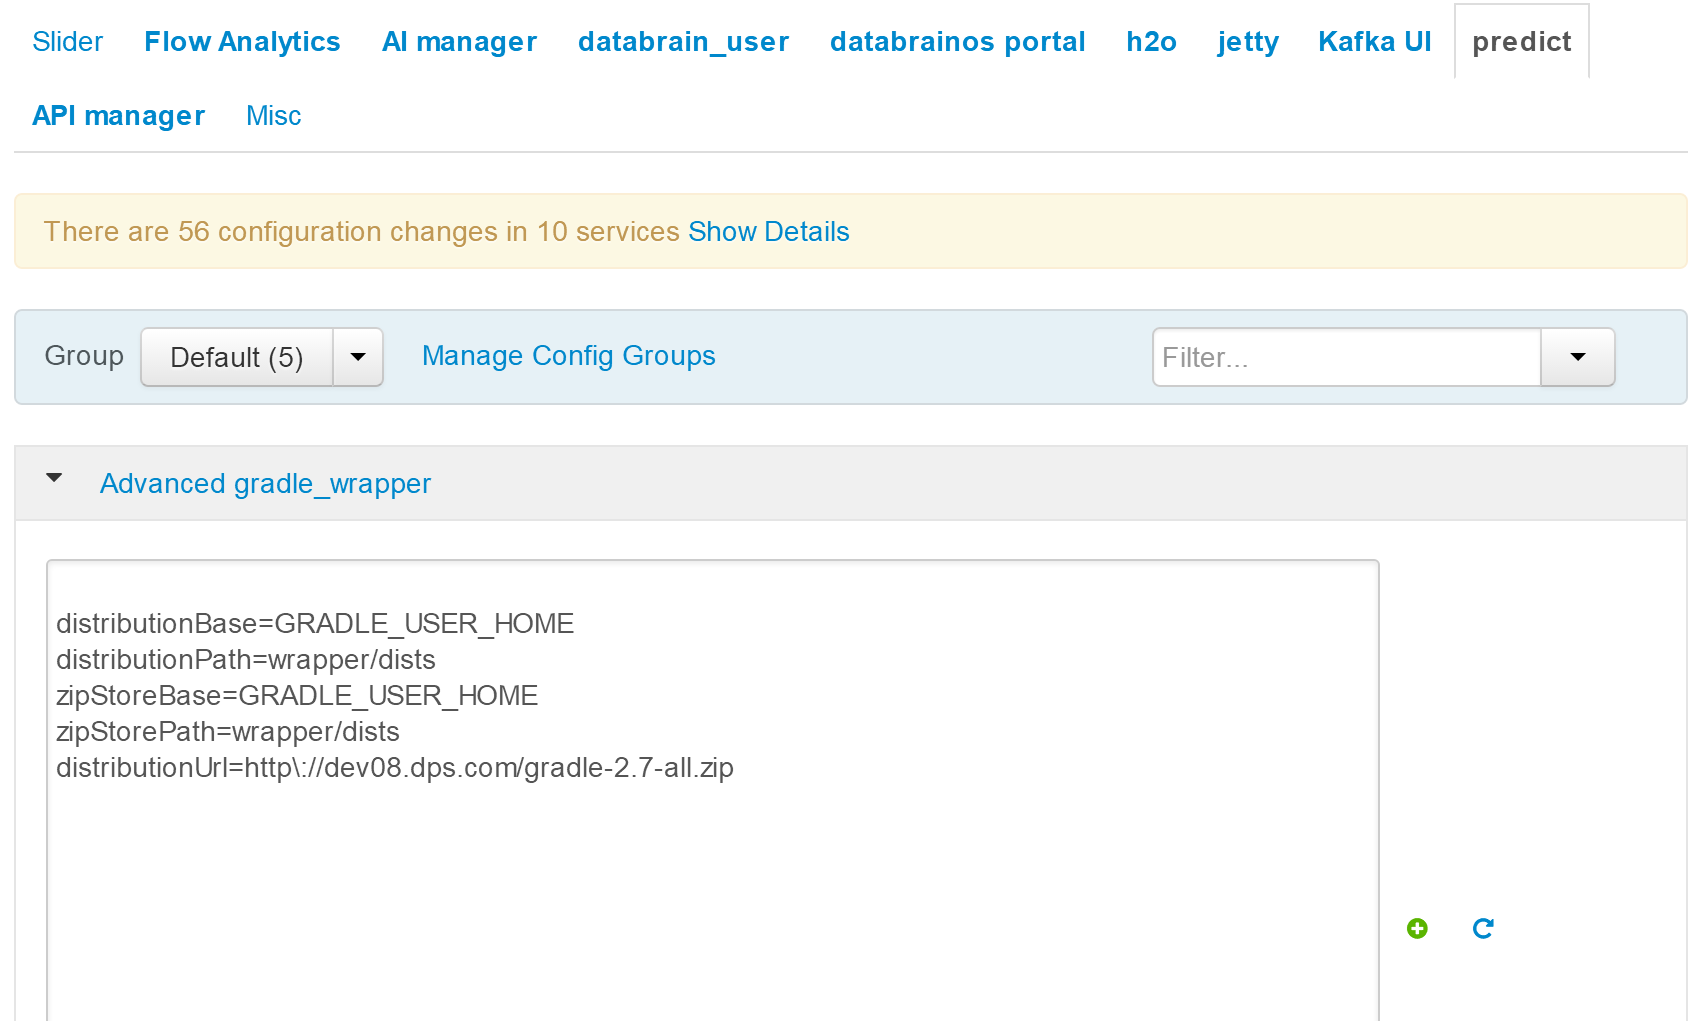
- predict 配置,改为 distributionUrl=http://pro08.dps.com/gradle-2.7-all.zip
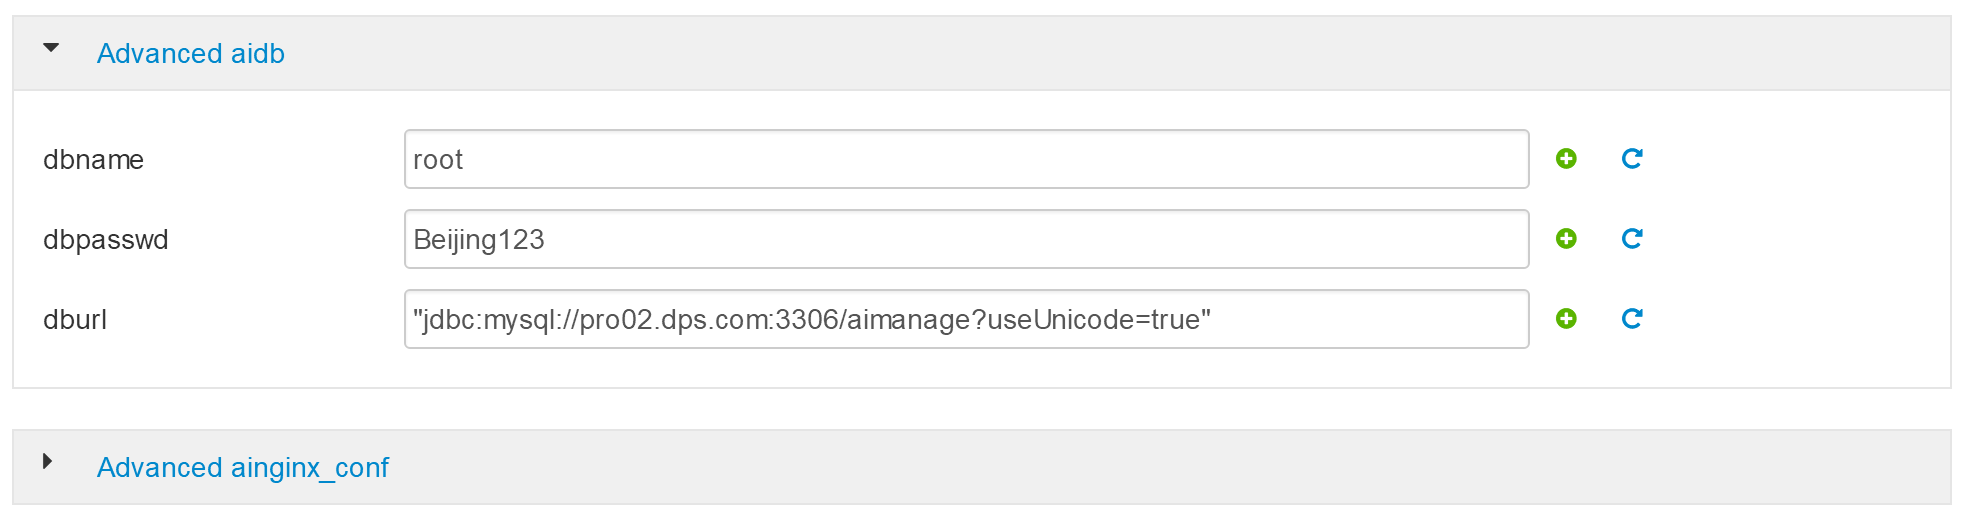
- AI Manager配置,中将dburl中dev02改为pro02,将dbpasswd改为Beijing123.
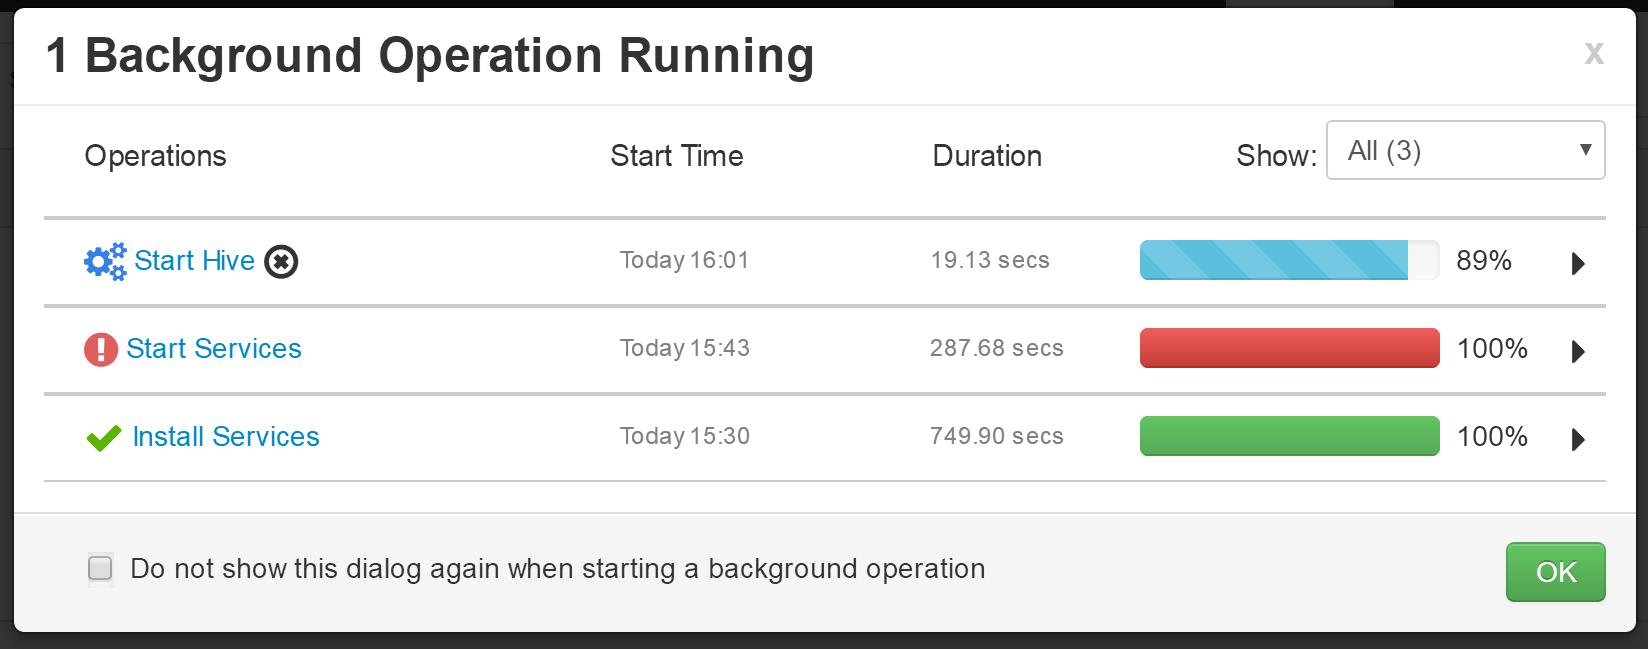
- 注意:下一个页面等待,不要直接点击“Next”,会自动跳转。
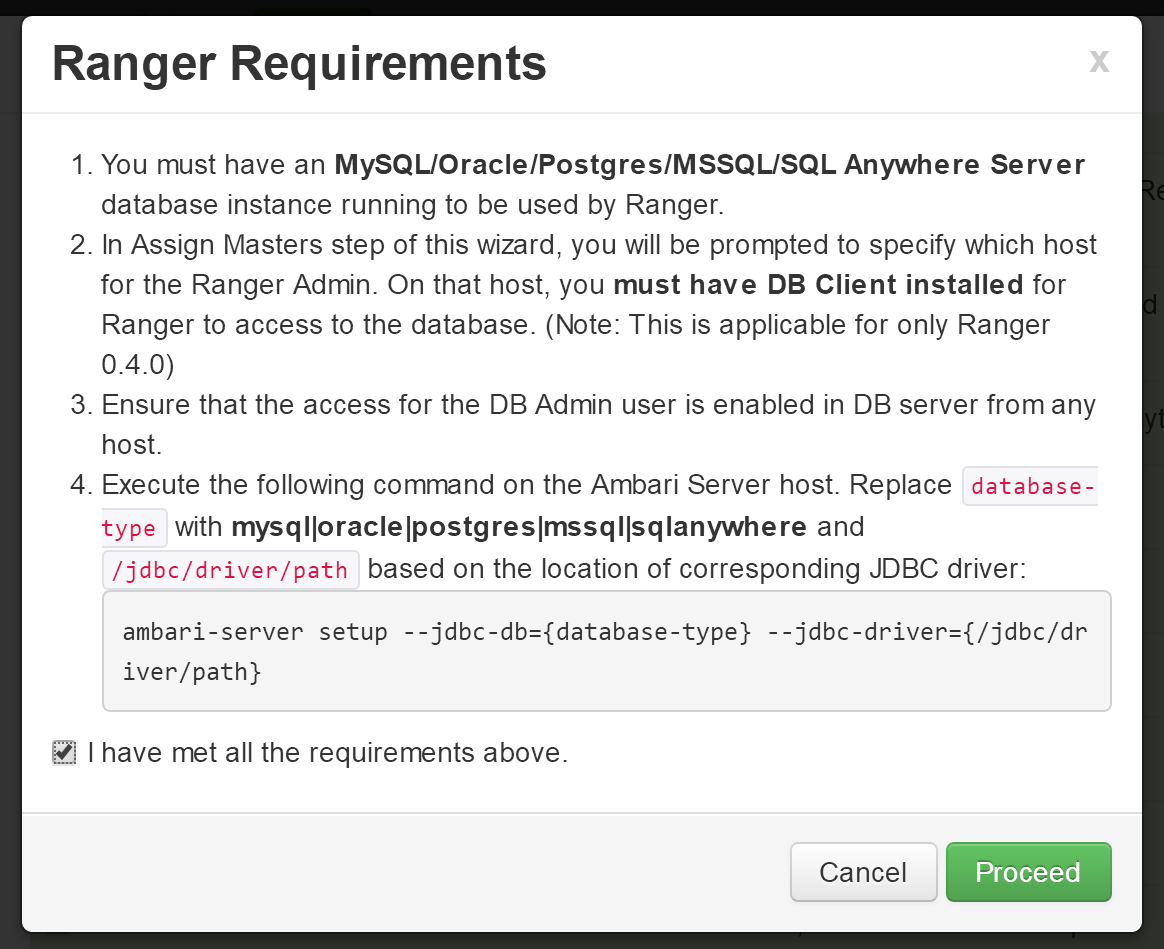
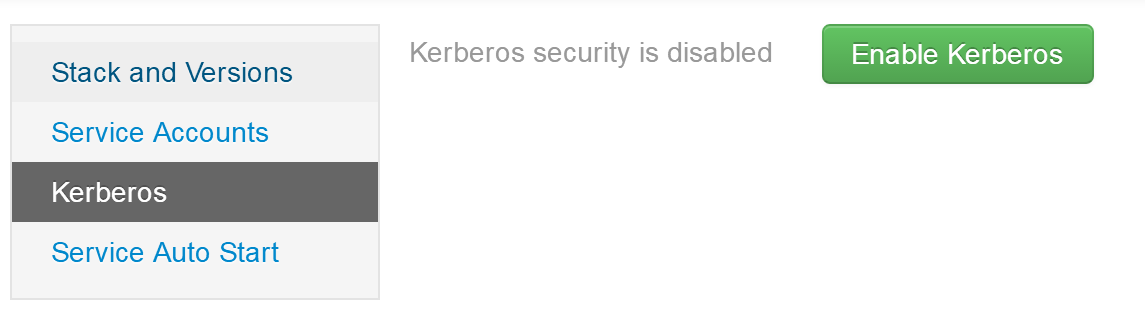
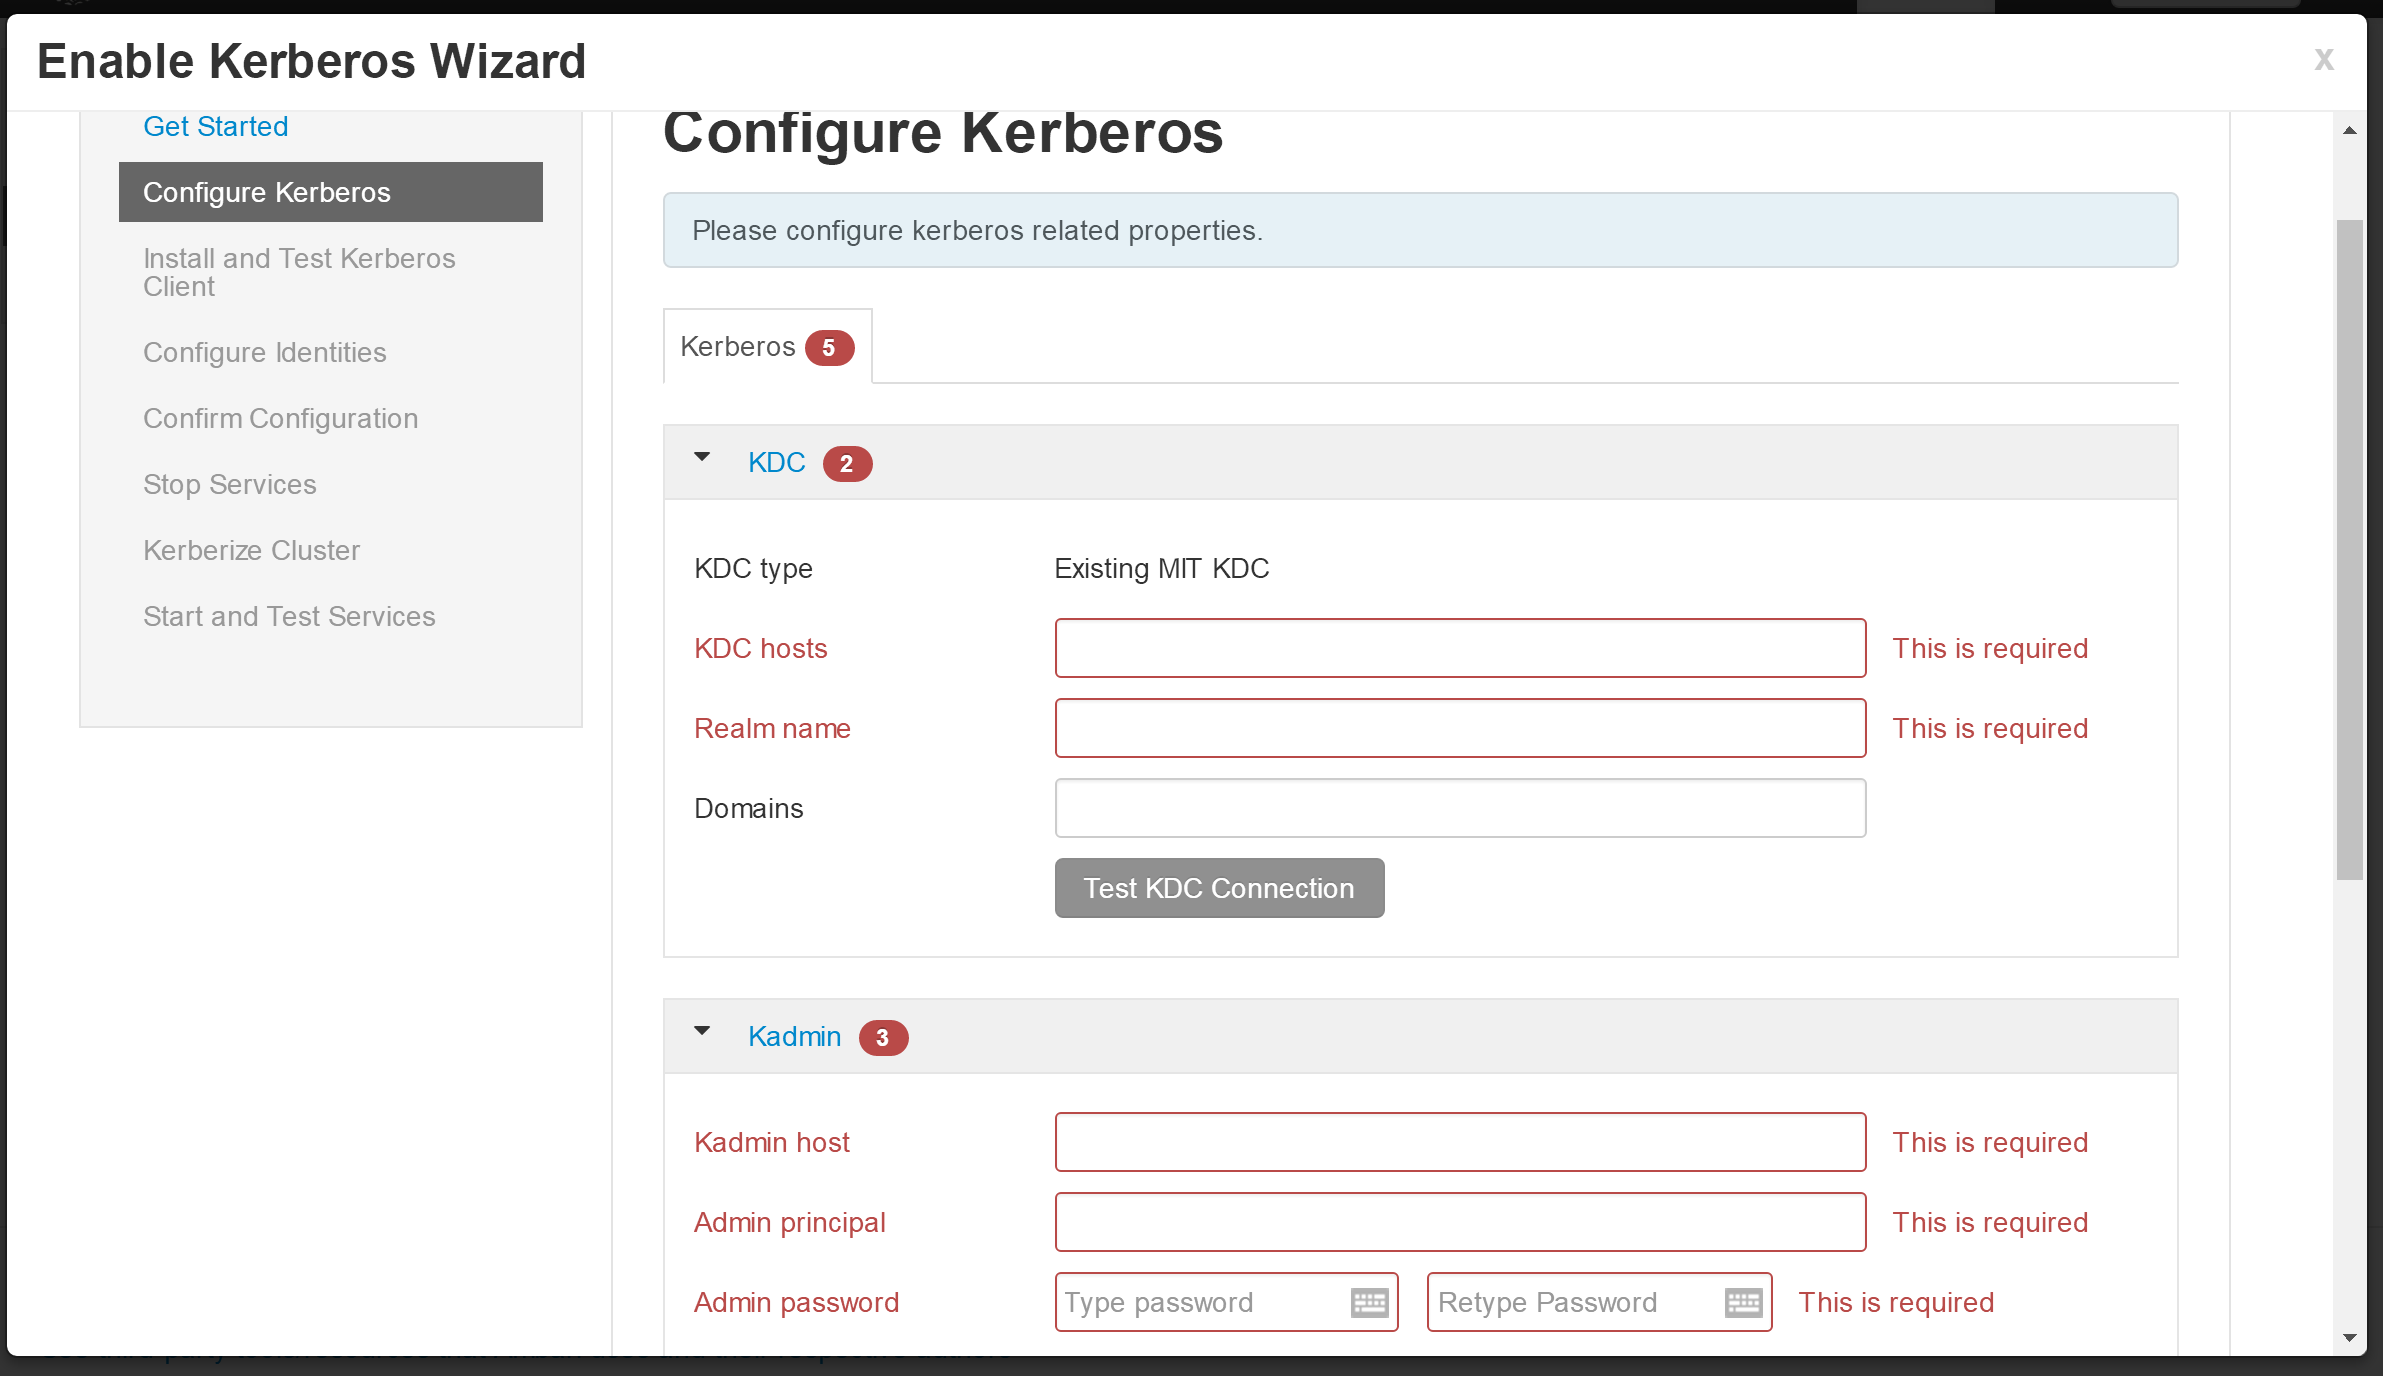
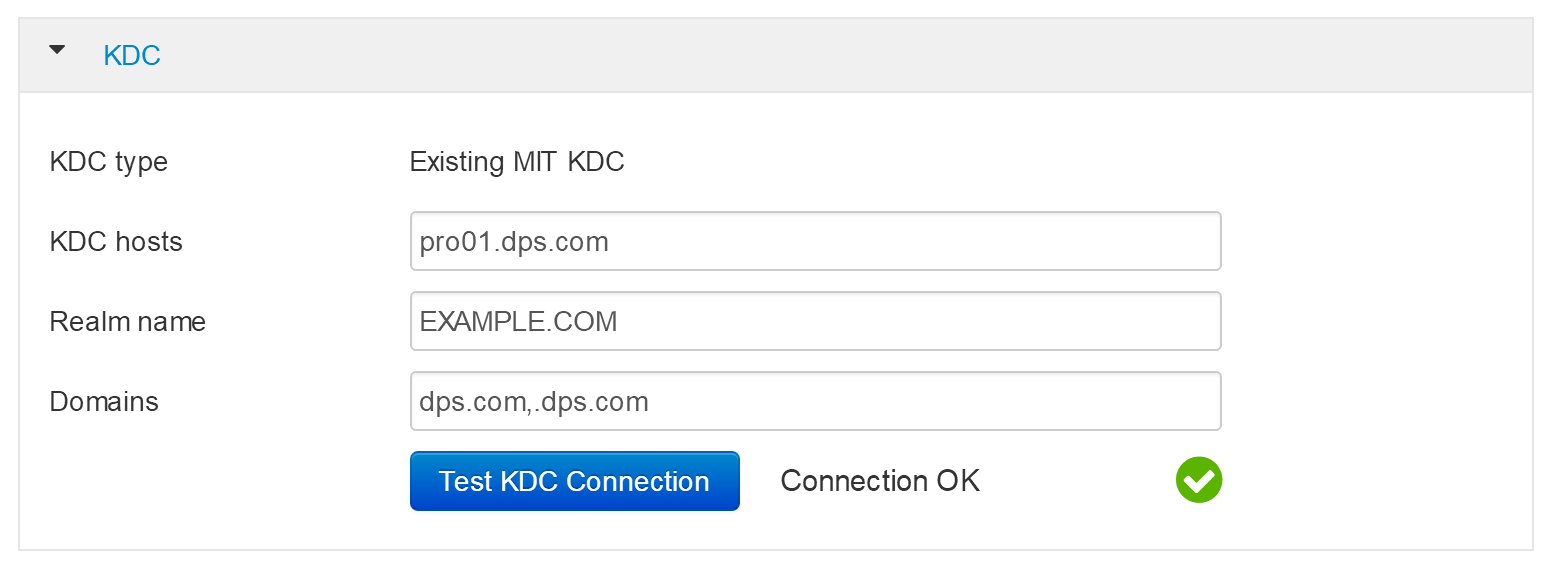
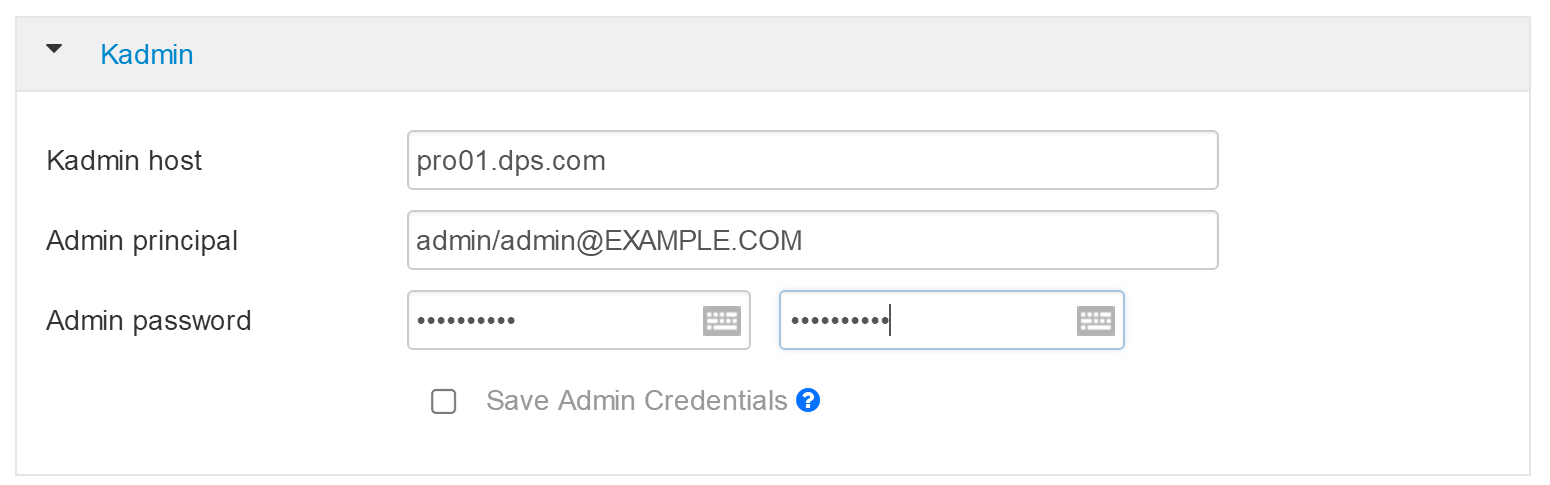
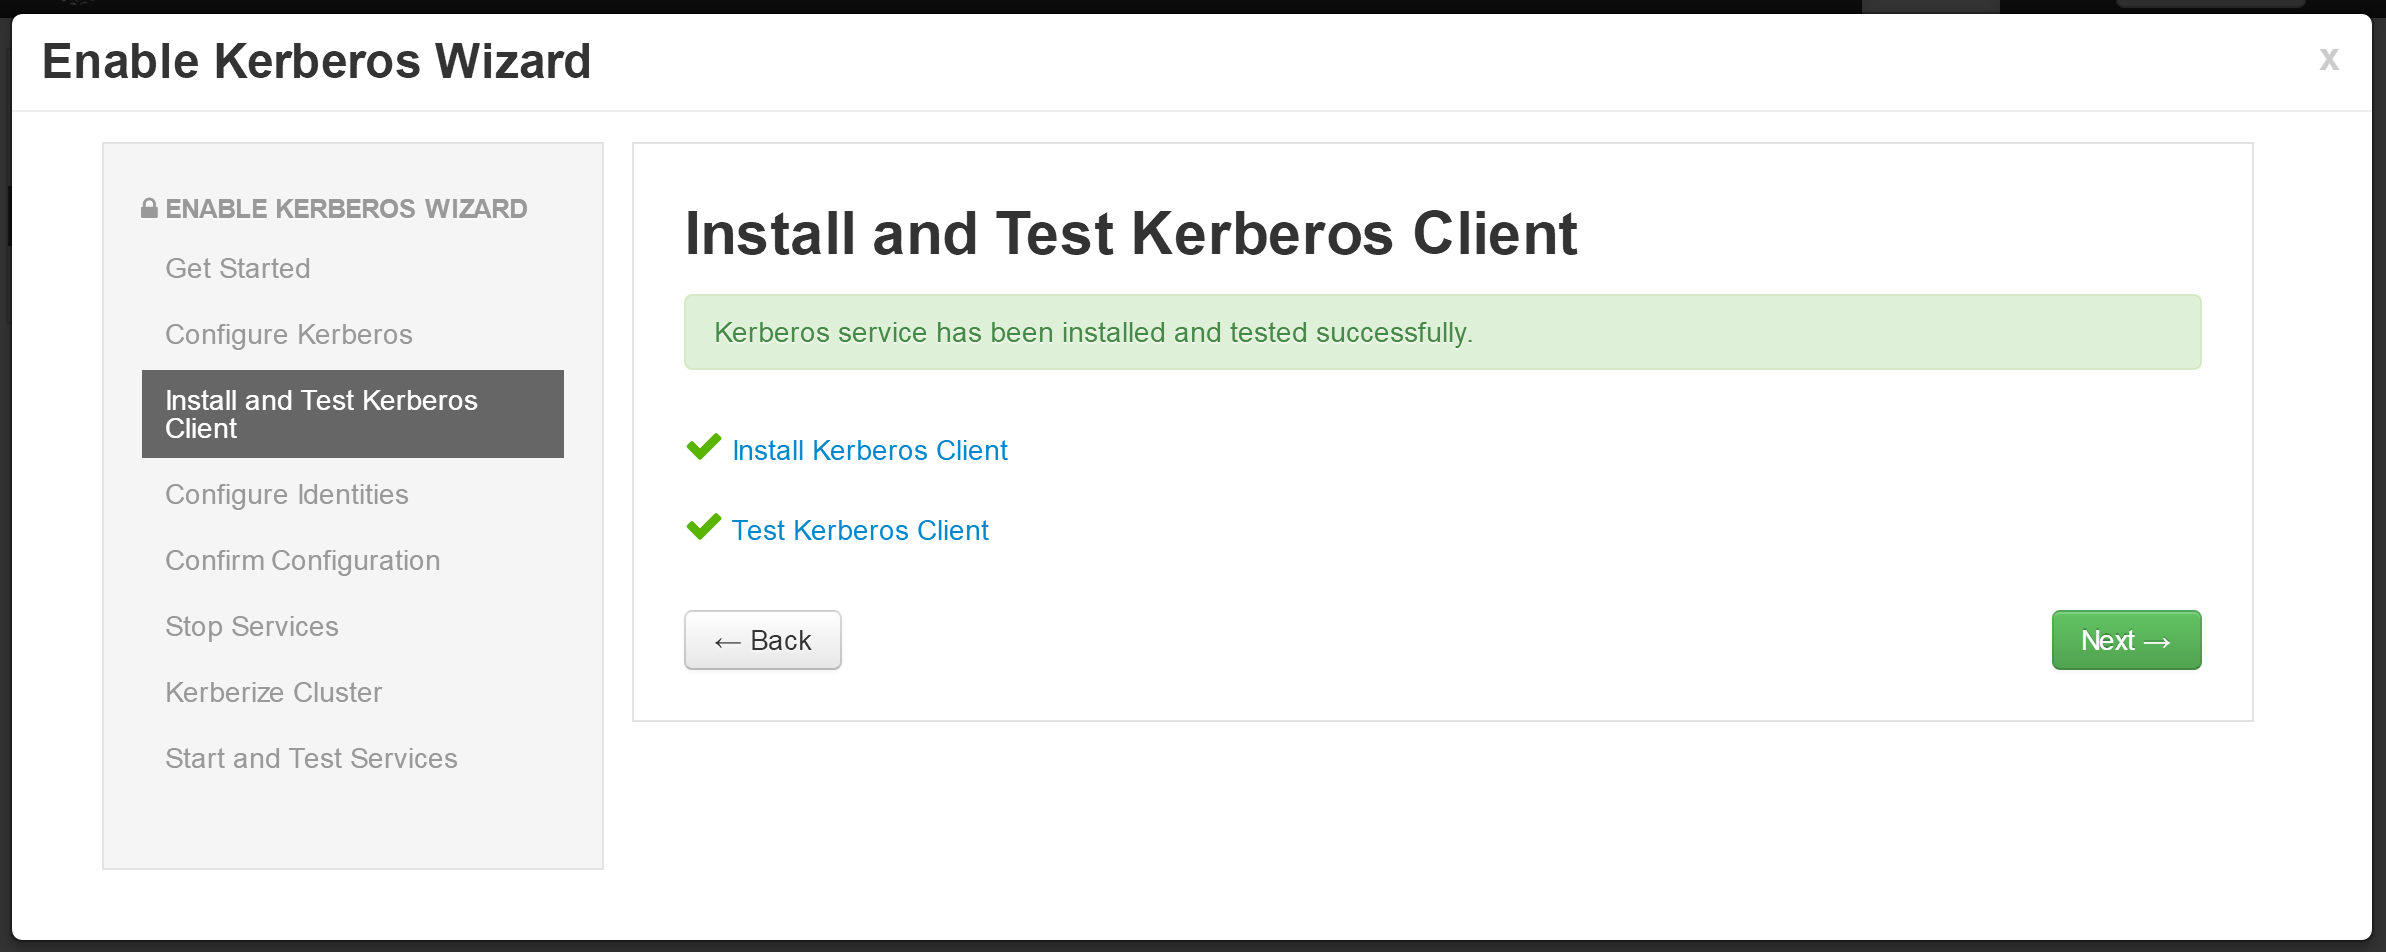
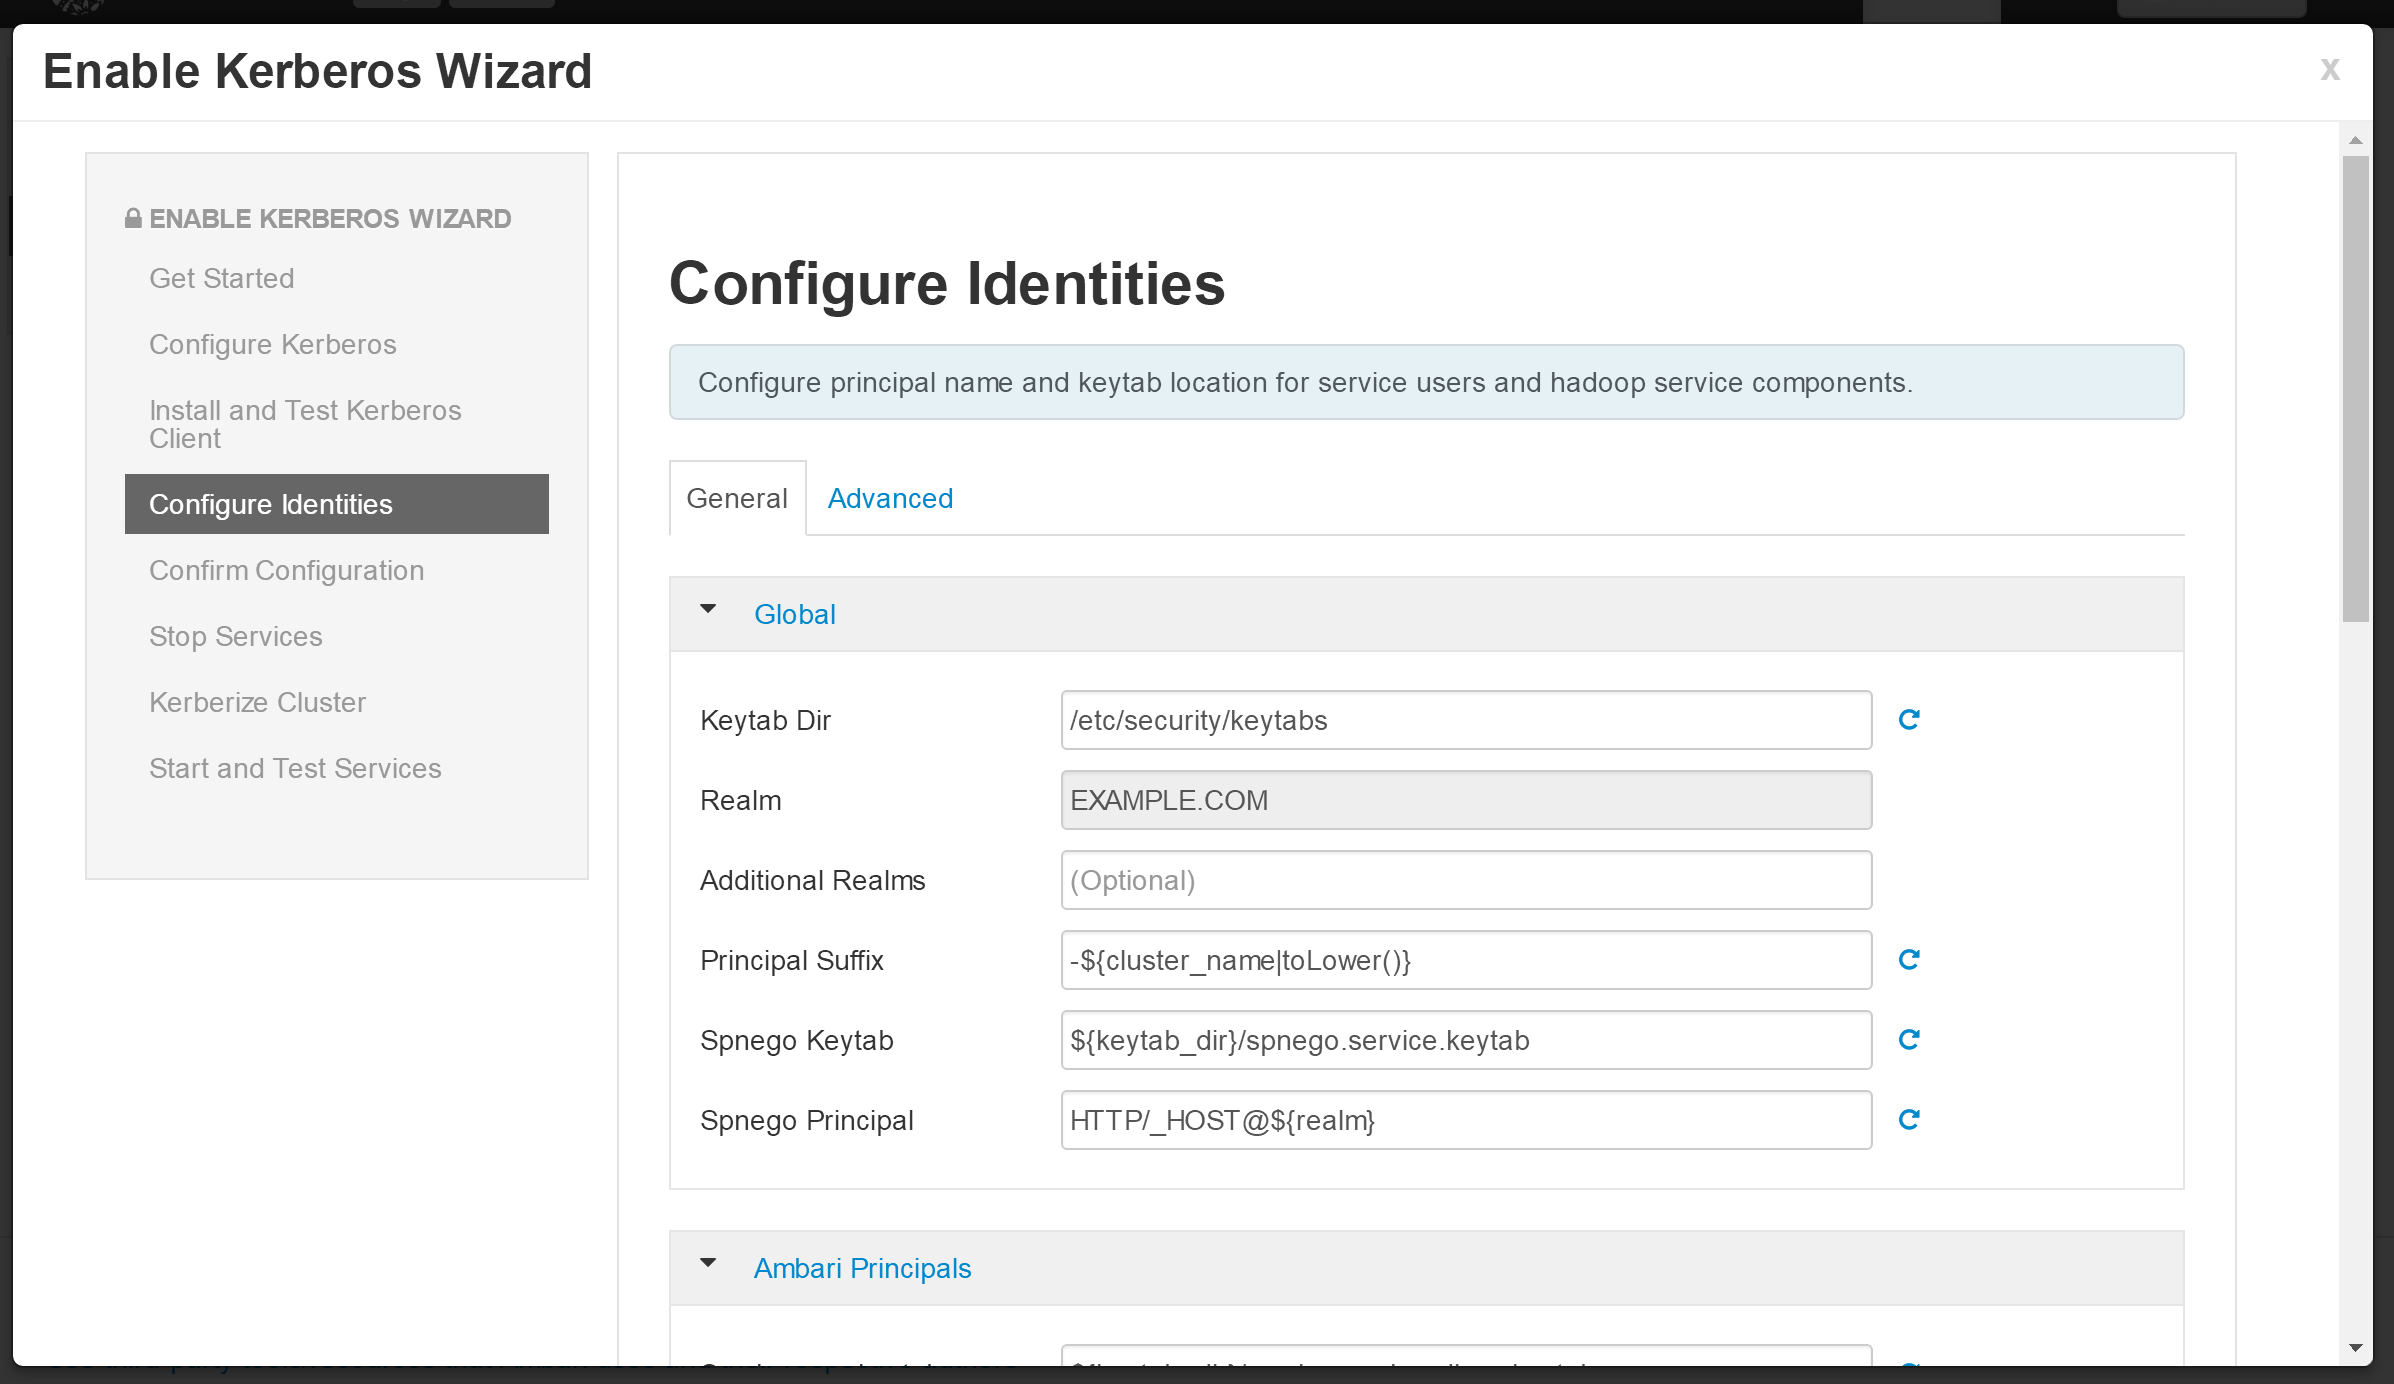
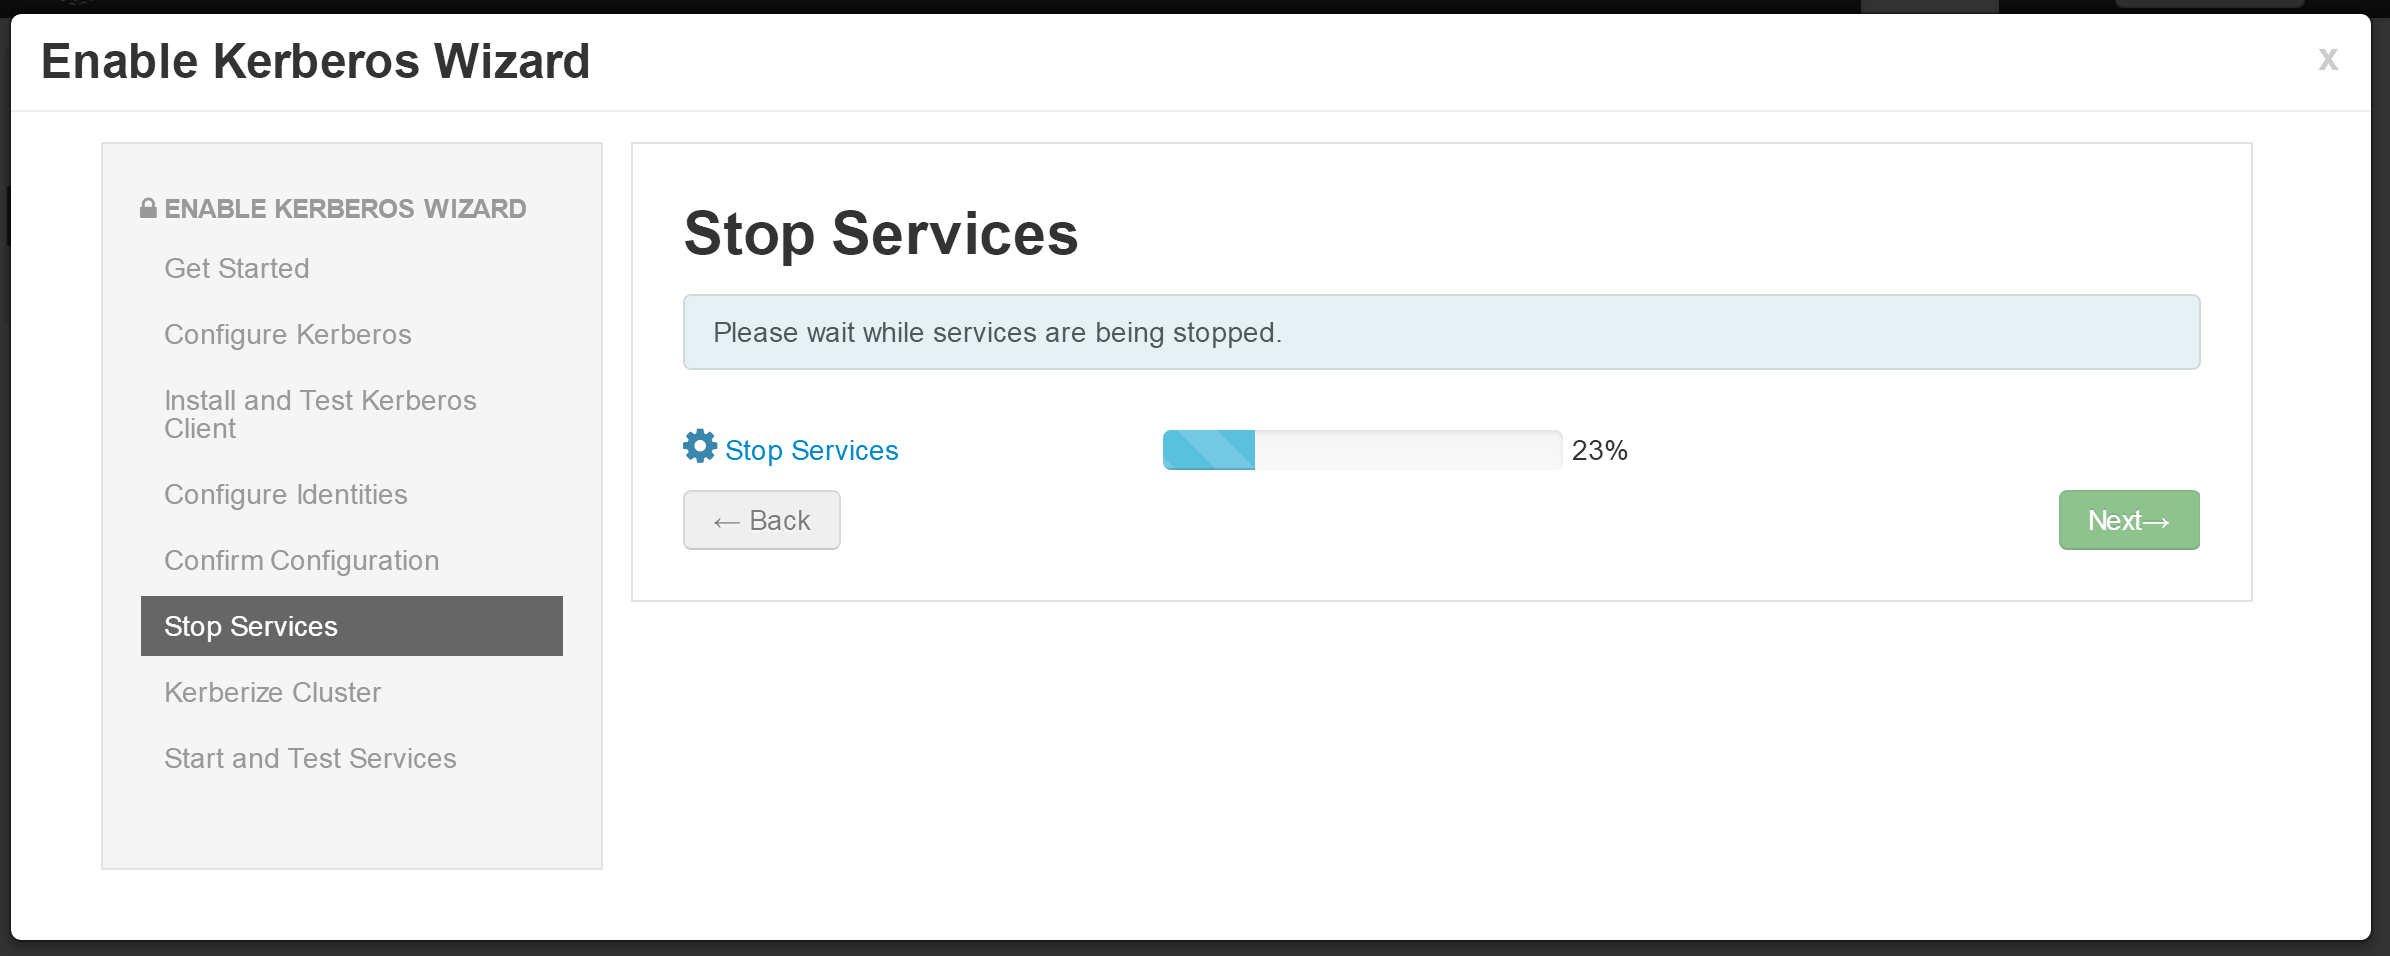
- 进行kerberos配置
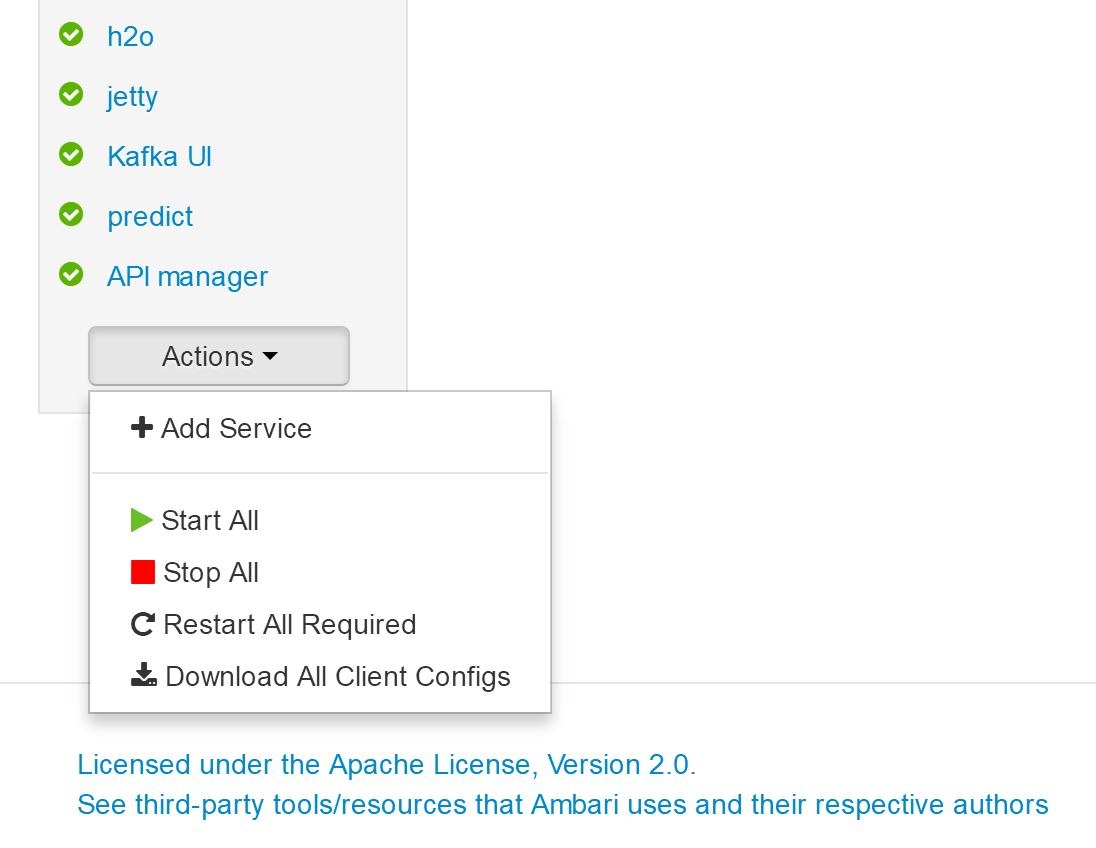
- 选中多选框
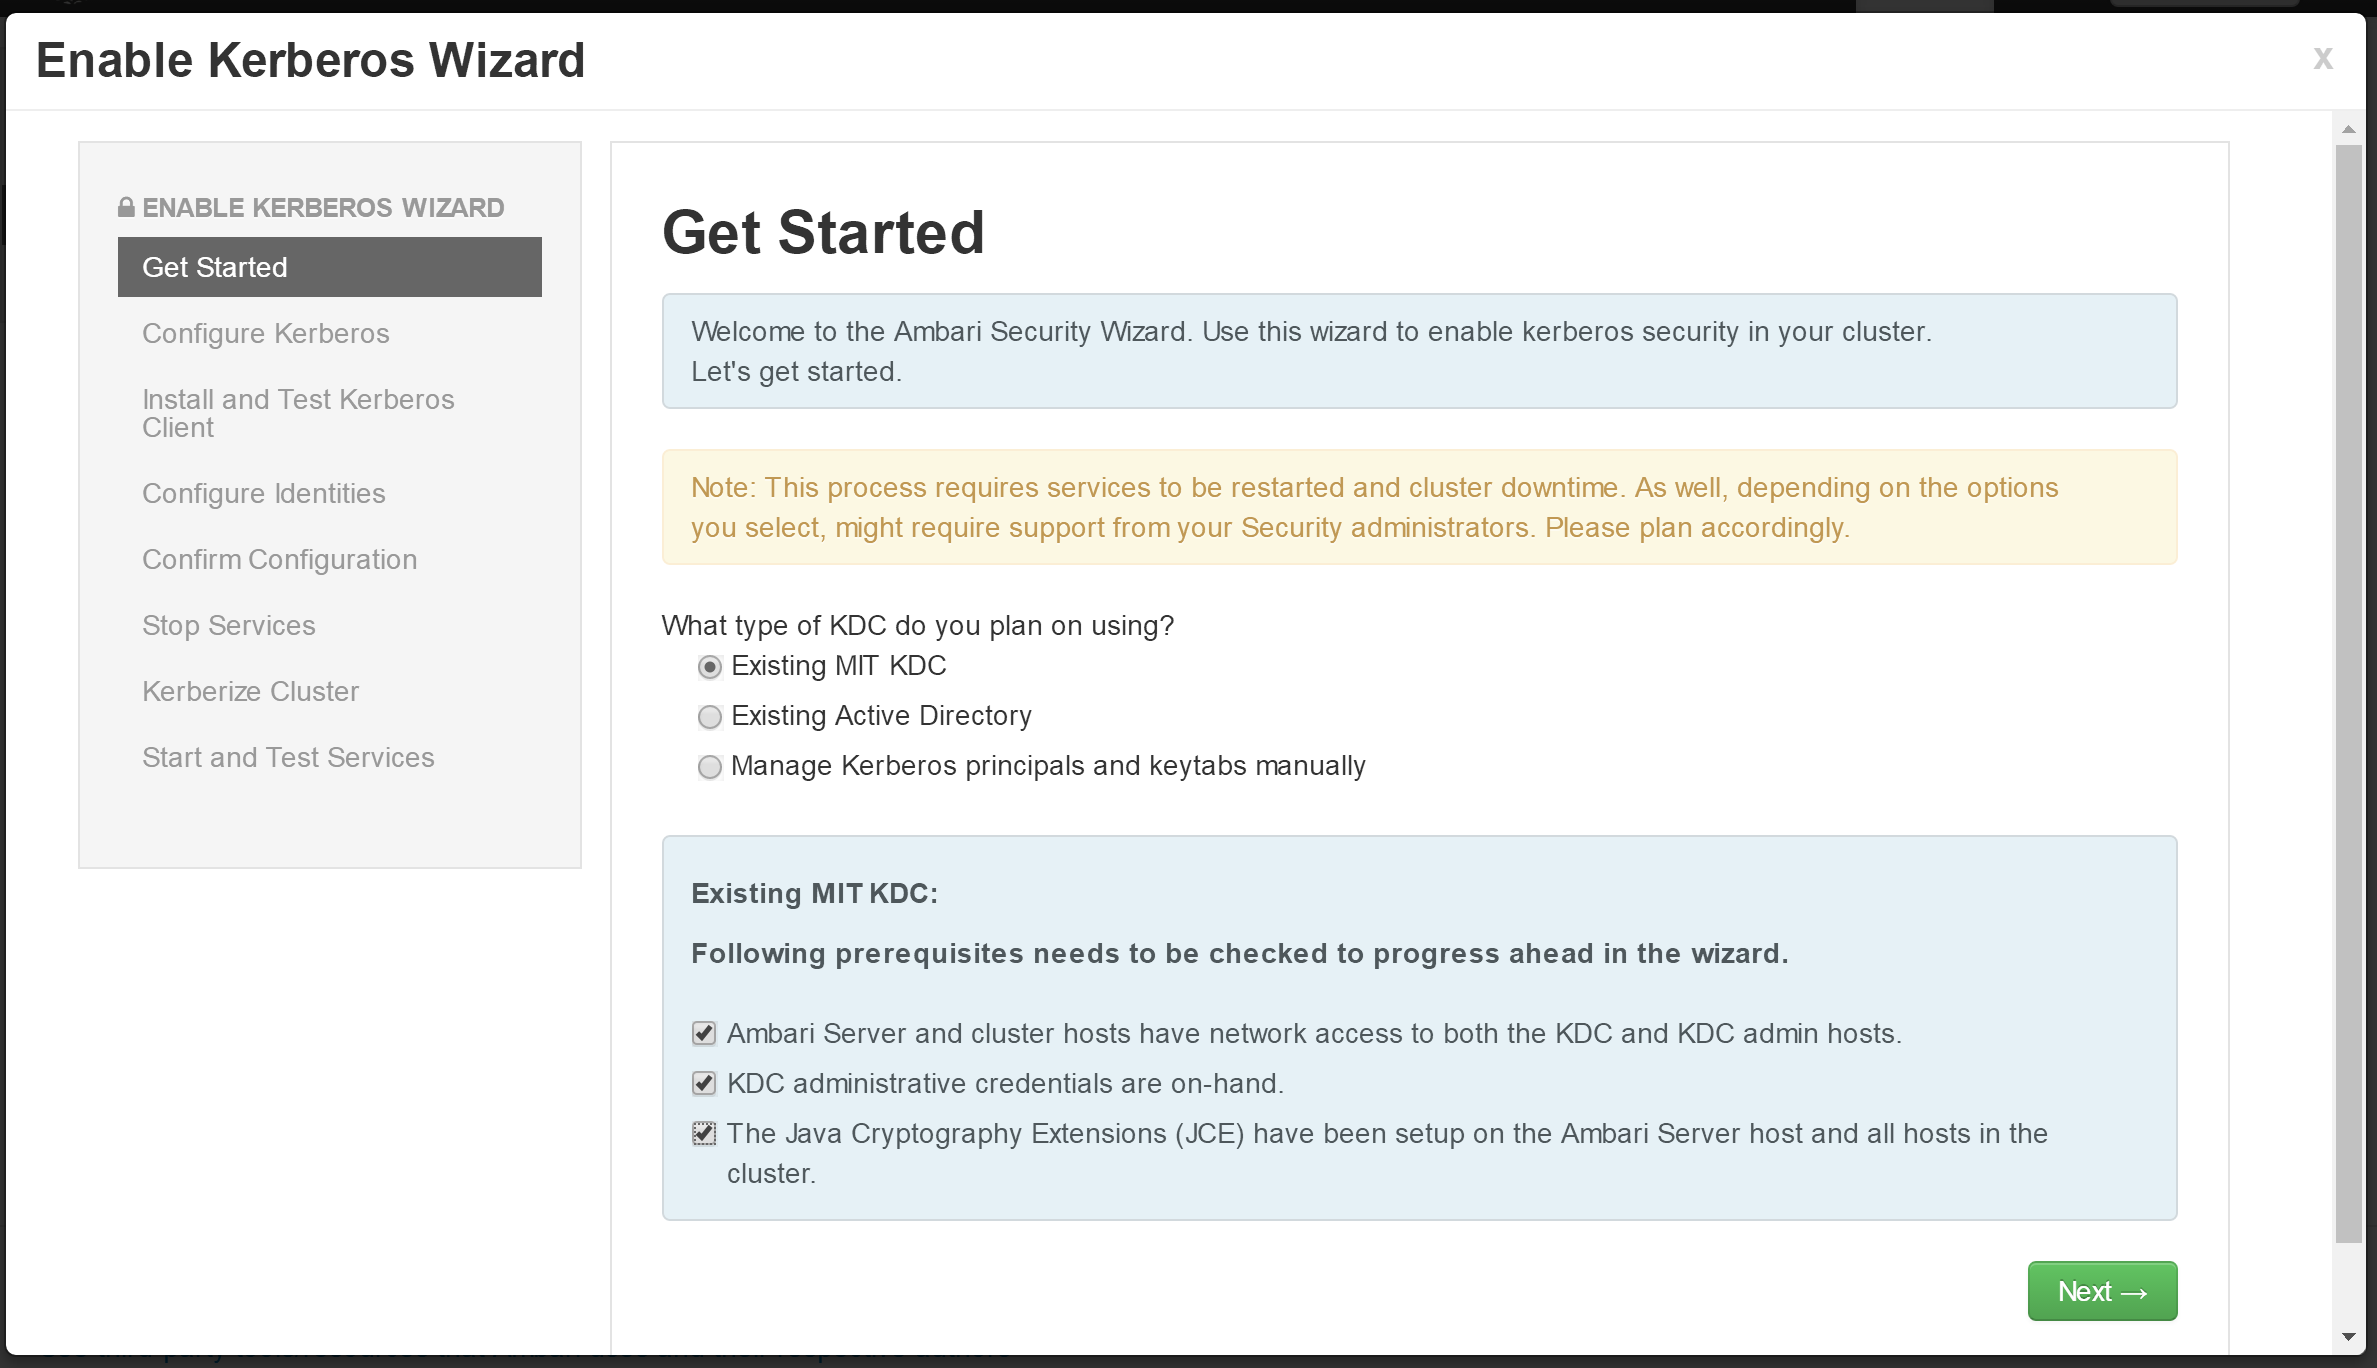
- 配置,参见连续三图

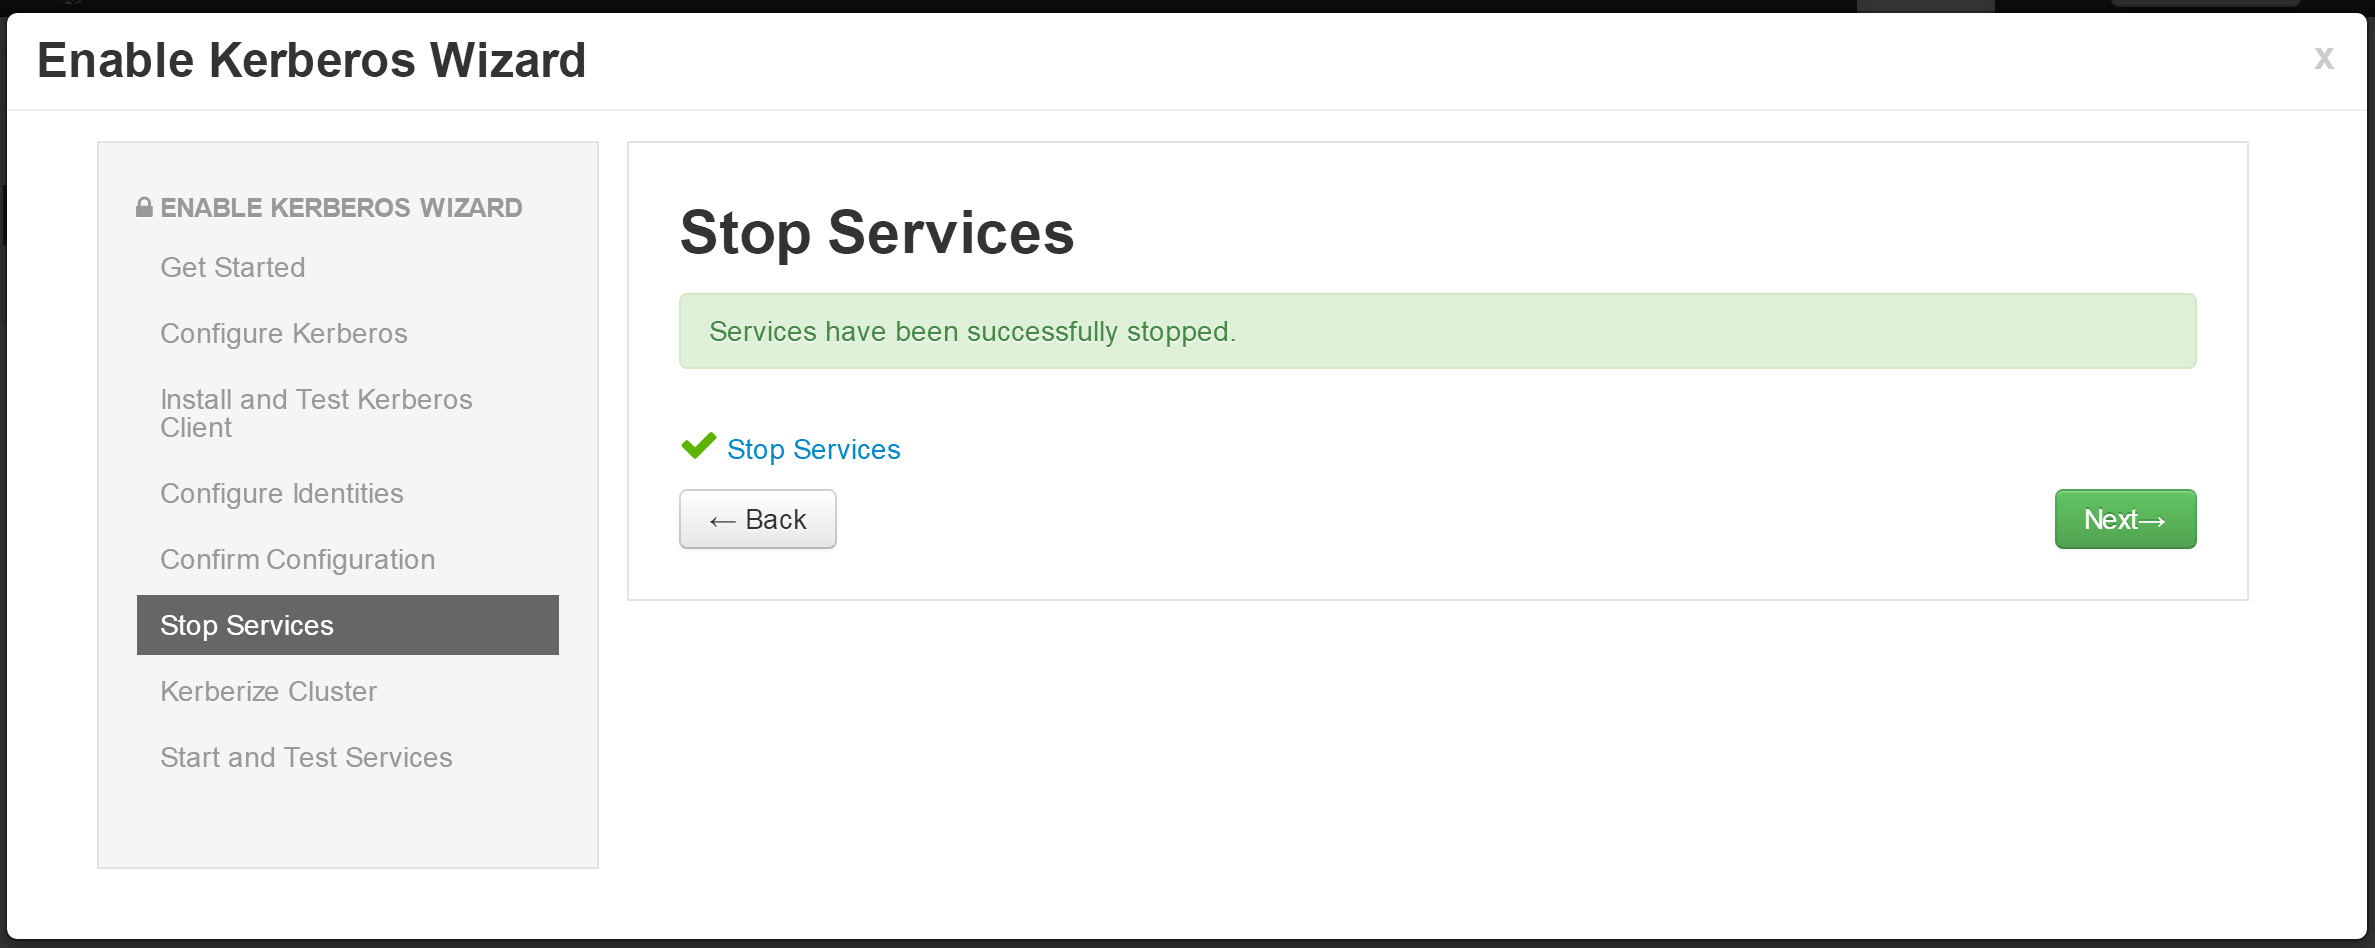
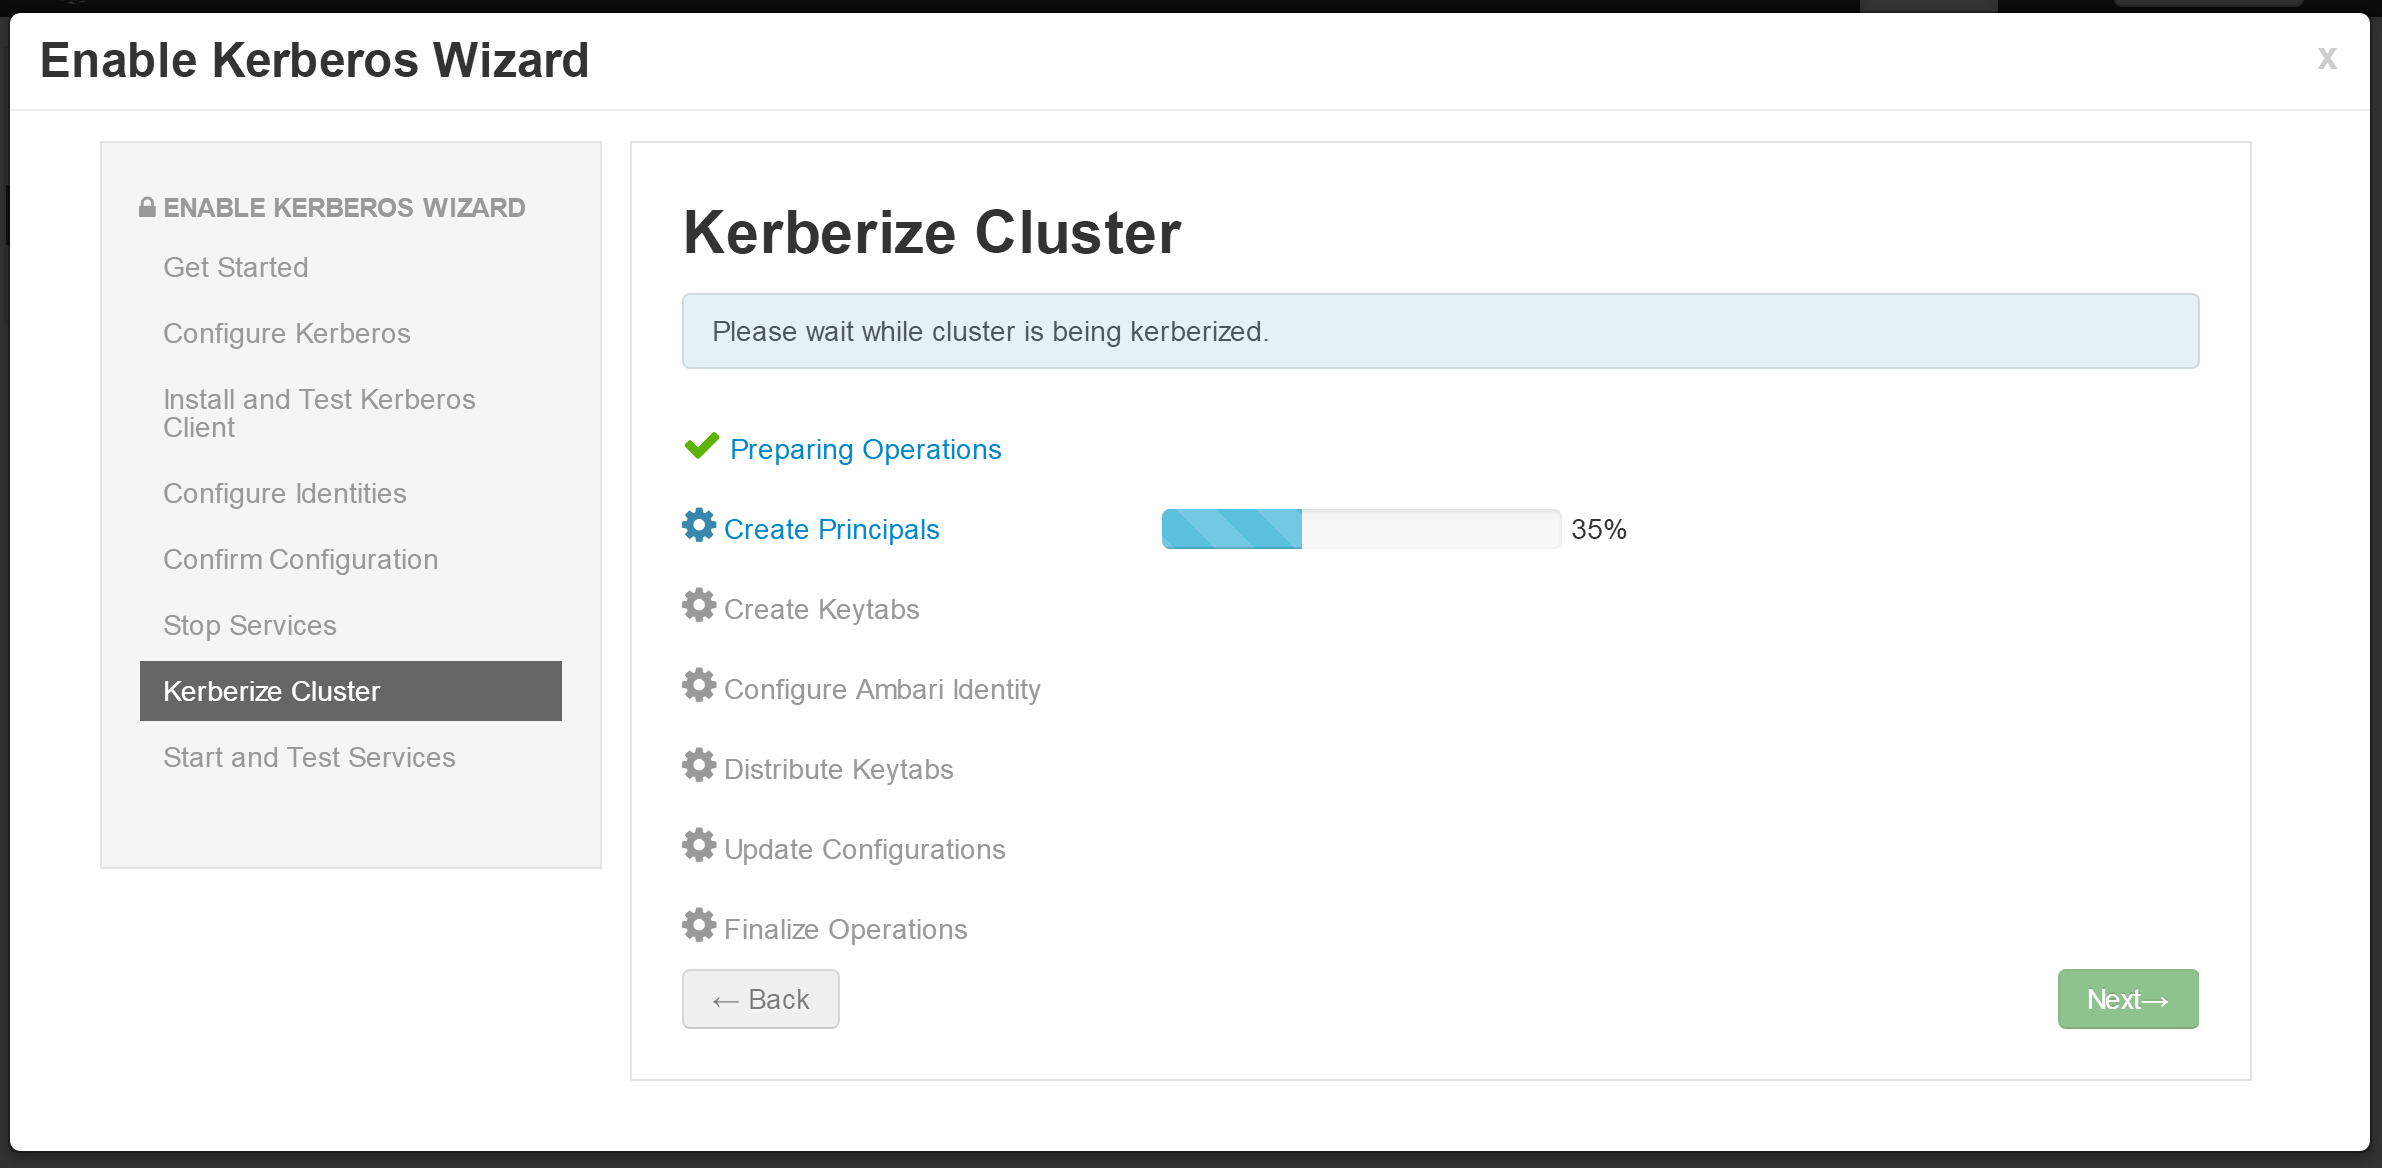


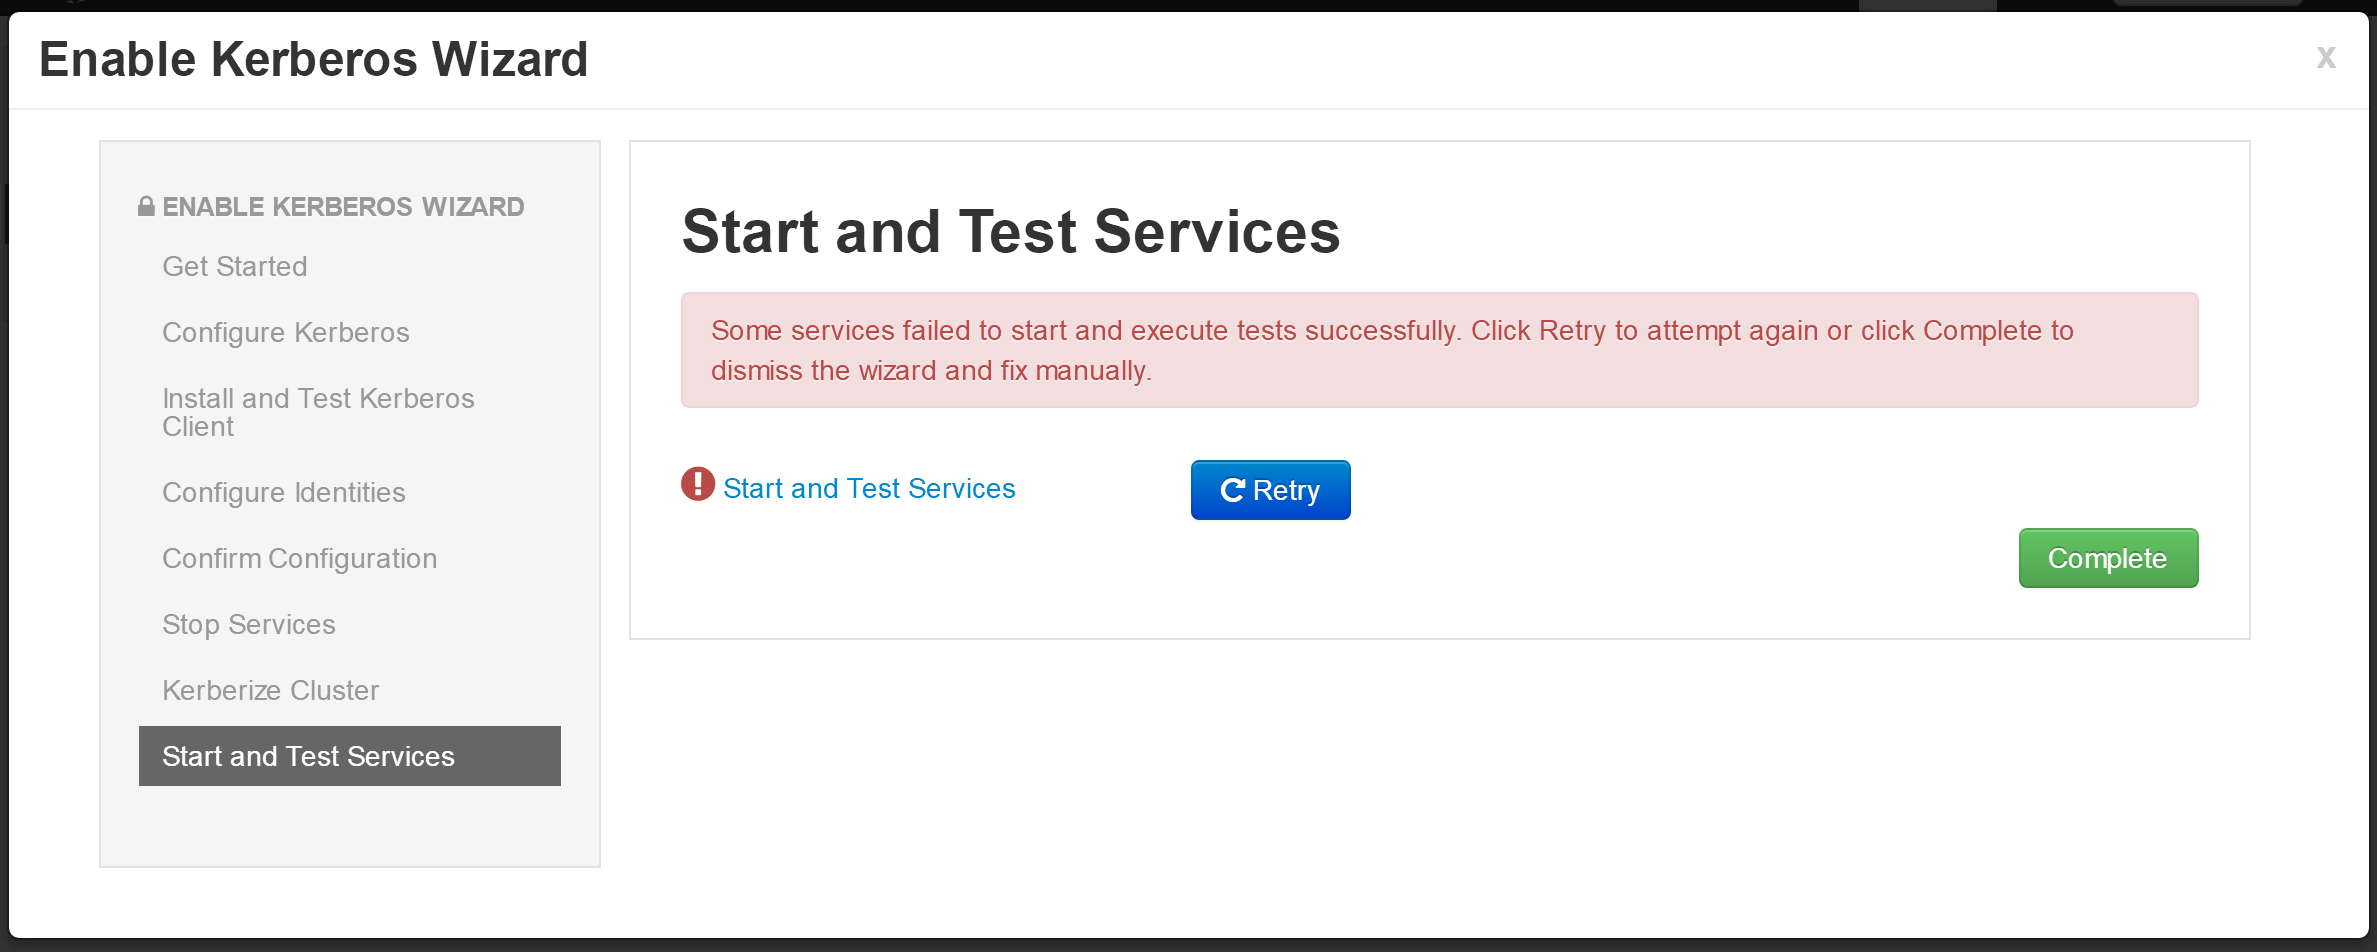
- 点击“Restart All Required”
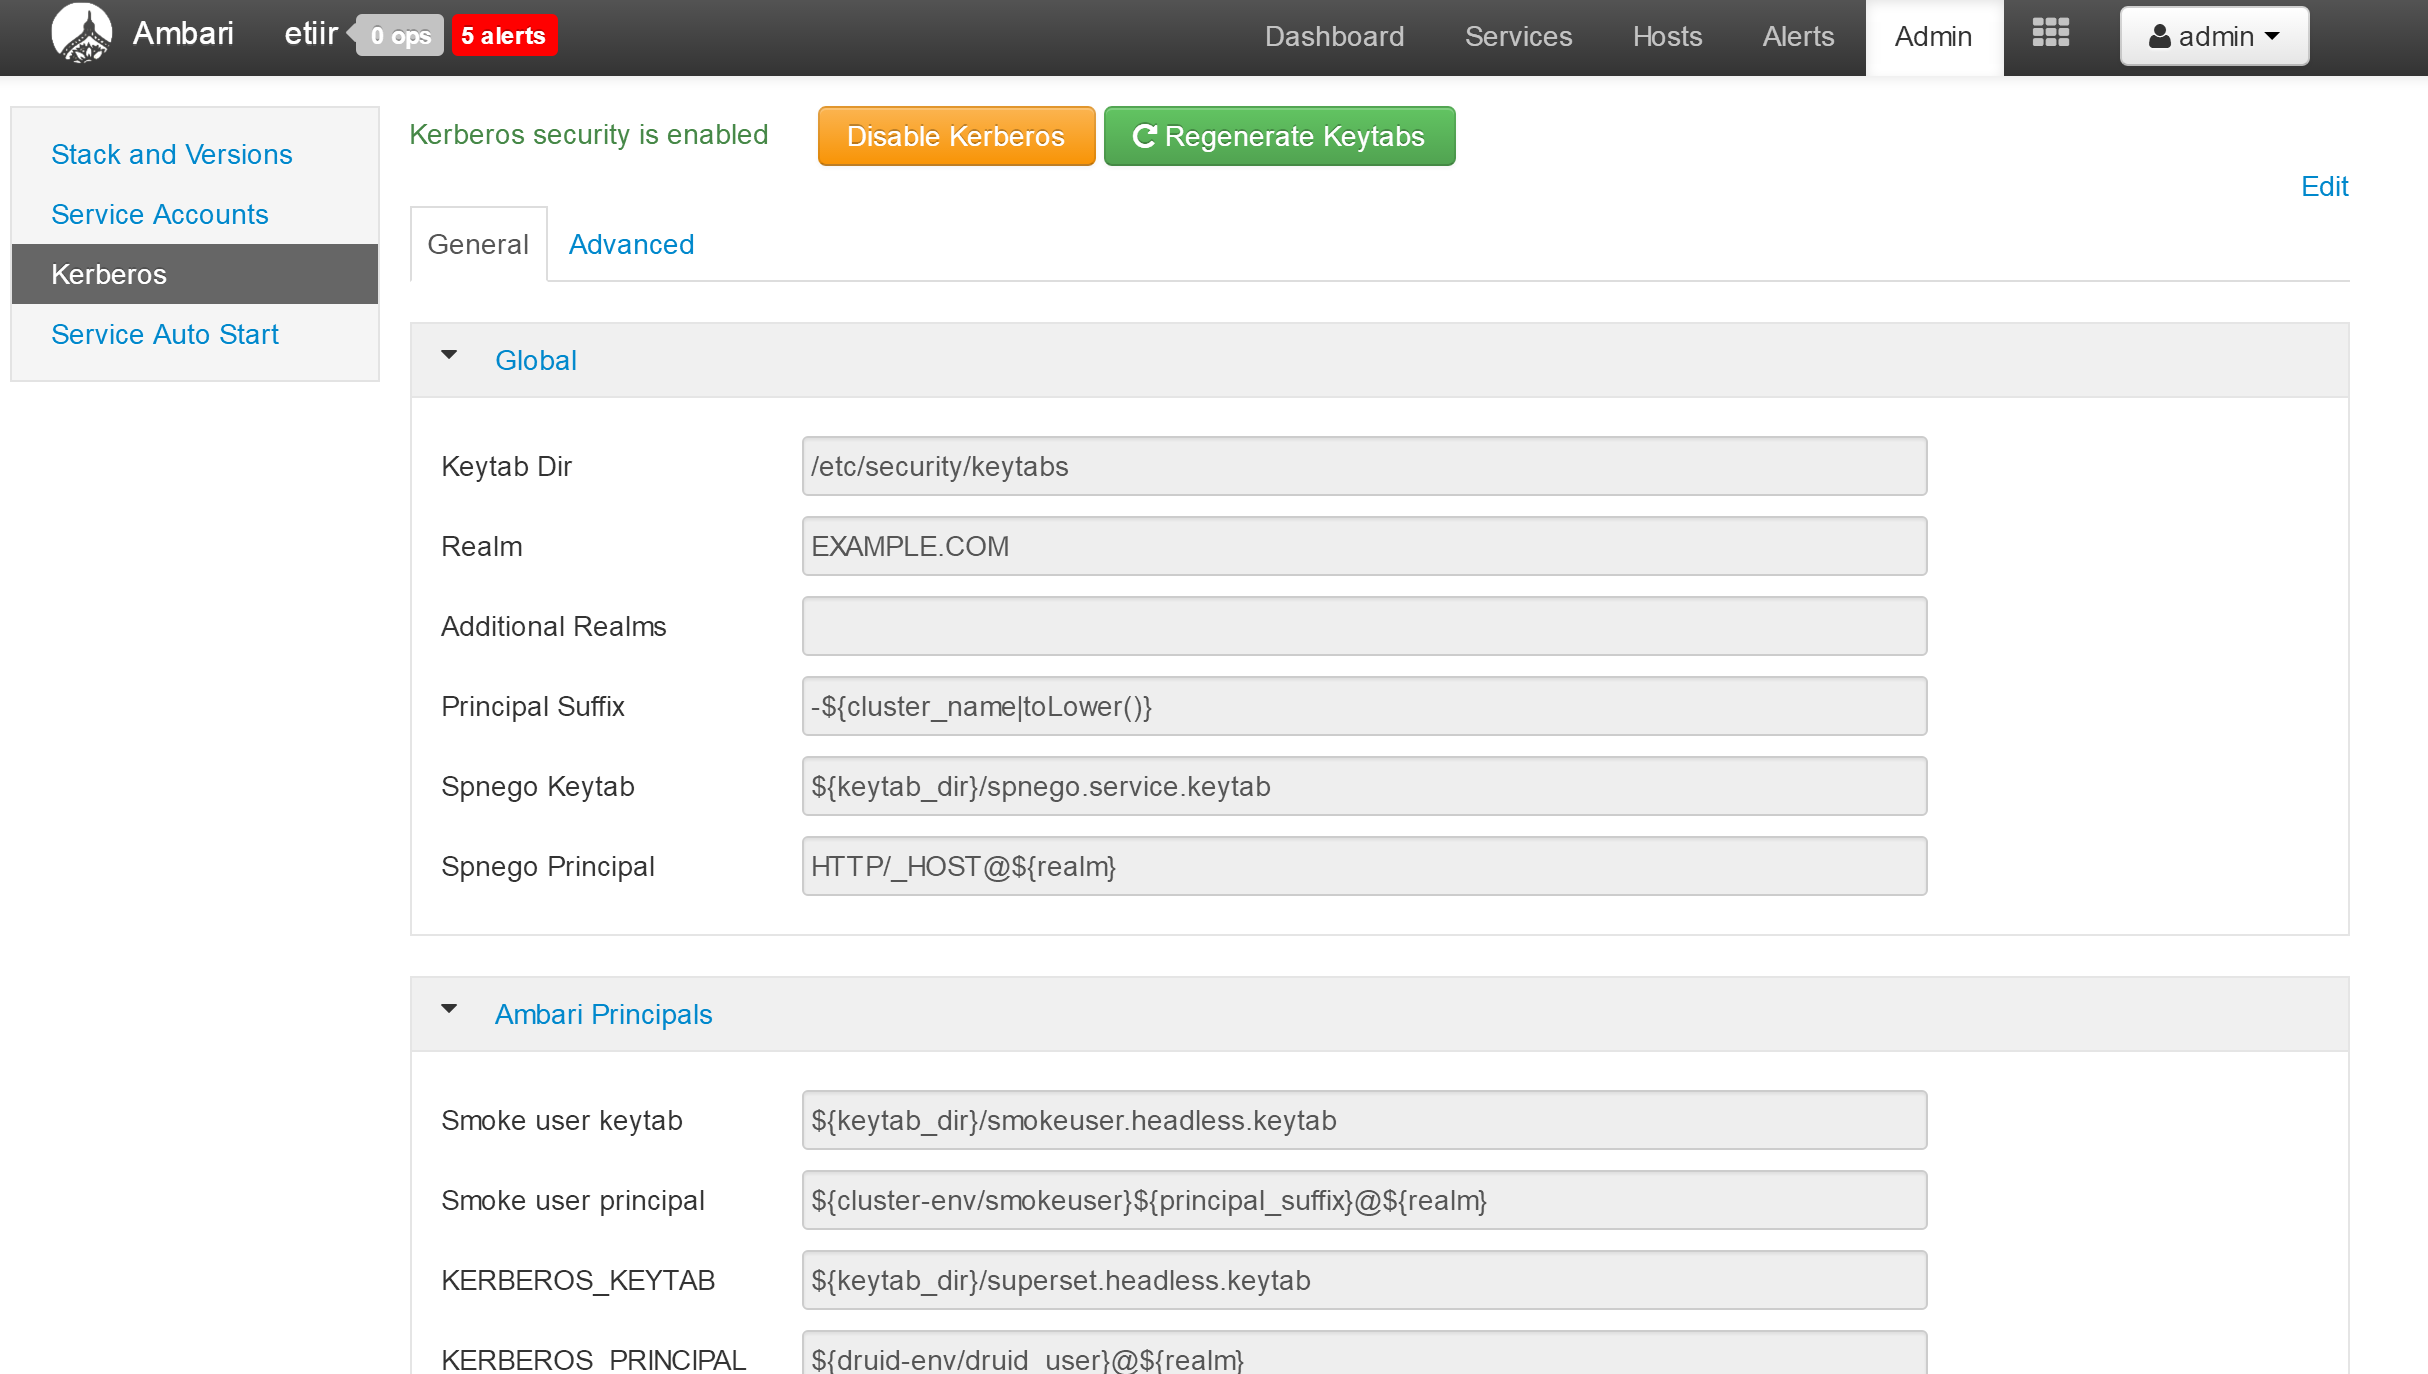
需要针对每个组件进行 Kerberos 配置。前提:Kerberos自身进行配置
kafka
Kafka Broker
listeners=SASL_PLAINTEXT://localhost:6667

Custom kafka-broker
security.inter.broker.protocotocol=SASL_PLAINTEXT
storm
Advanced storm-site
nimbus.impersonation.acl={ {{storm_bare_jaas_principal}} : {hosts: ['*'], groups: ['*']}, streamline-{{cluster_name}} : {hosts: ['*'], groups: ['*']}}
hbase(注意下面红色标出的cflow需要改成自己在ambari里创建好的集群名,此处为etiir)
Custom hbase-site
hadoop.proxyuser.HTTP.groups=*
hadoop.proxyuser.HTTP.hosts=*
hadoop.proxyuser.hbase-cflow.hosts=*
hadoop.proxyuser.hbase-cflow.groups=*
hadoop.proxyuser.hbase.groups=*
hadoop.proxyuser.hbase.hosts=*
hadoop.proxyuser.hue.groups=*
hadoop.proxyuser.hue.hosts=*
hadoop.proxyuser.hue-cflow.groups=*
hadoop.proxyuser.hue-cflow.hosts=*
hadoop.proxyuser.storm-cflow.groups=*
hadoop.proxyuser.storm-cflow.hosts=*
hadoop.proxyuser.streamline-cflow.groups=*
hadoop.proxyuser.streamline-cflow.hosts=*
hbase.regionserver.thrift.http=true
hbase.thrift.kerberos.principal=HTTP/_HOST@EXAMPLE.COM
hbase.thrift.keytab.file=/etc/security/keytabs/spnego.service.keytab
hbase.thrift.security.qop=auth
hbase.thrift.support.proxyuser=true
hdfs(注意下面红色标出的cflow需要改成自己在ambari里创建好的集群名)
Custom core-site
hadoop.proxyuser.HTTP.groups=*
hadoop.proxyuser.druid.groups=*
hadoop.proxyuser.druid.hosts=*
hadoop.proxyuser.hue.groups=*
hadoop.proxyuser.hue.hosts=*
hadoop.proxyuser.storm-cflow.groups=*
hadoop.proxyuser.storm-cflow.hosts=*
hue.kerberos.principal.shortname=hue
Druid Configuration Changes
Update the Druid property
druid.hadoop.security.spnego.excludedPaths=["/status", "/druid/worker/v1", "/druid/indexer/v1"]
atlas
atlas.kafka.security.protocol=SASL_PLAINTEXT
ranger
atlas.kafka.security.protocol=SASL_PLAINTEXT
hue
App BlackList=impala,security

Advanced pseudo-distributed.ini 中
app_blacklist=impala,security
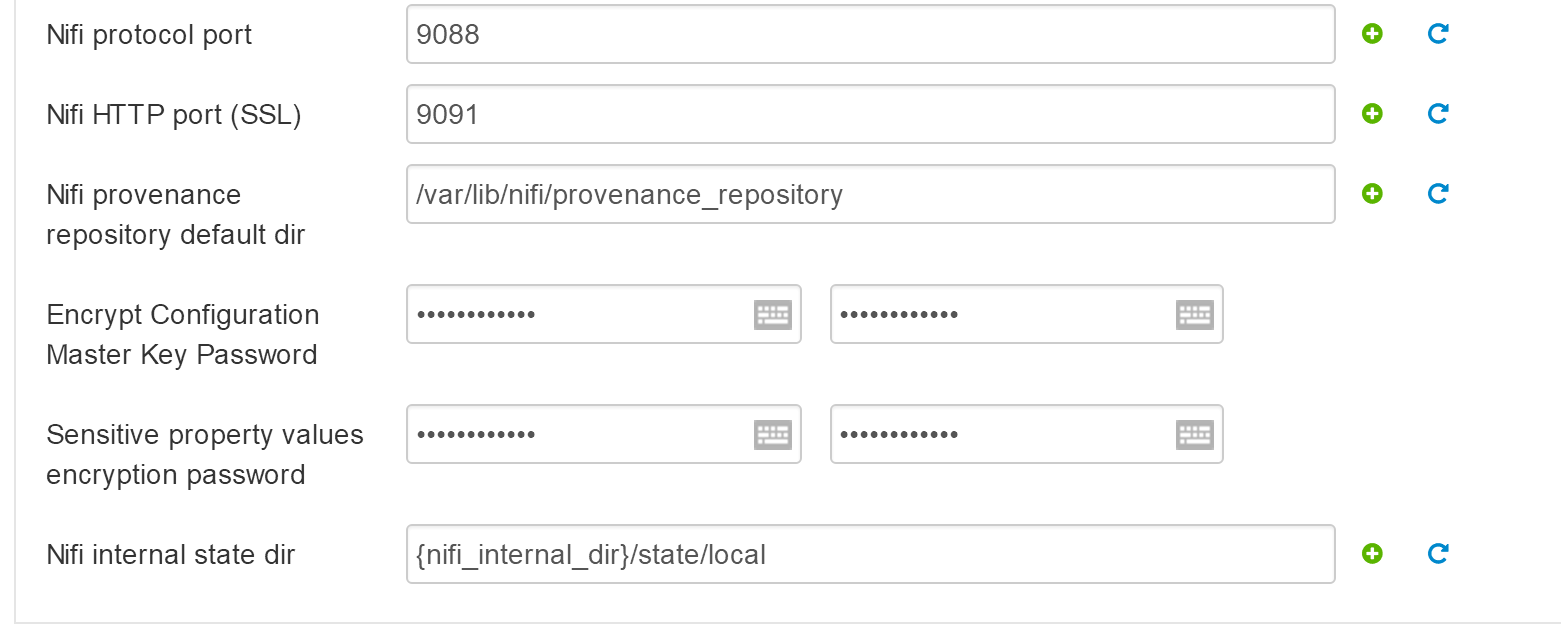
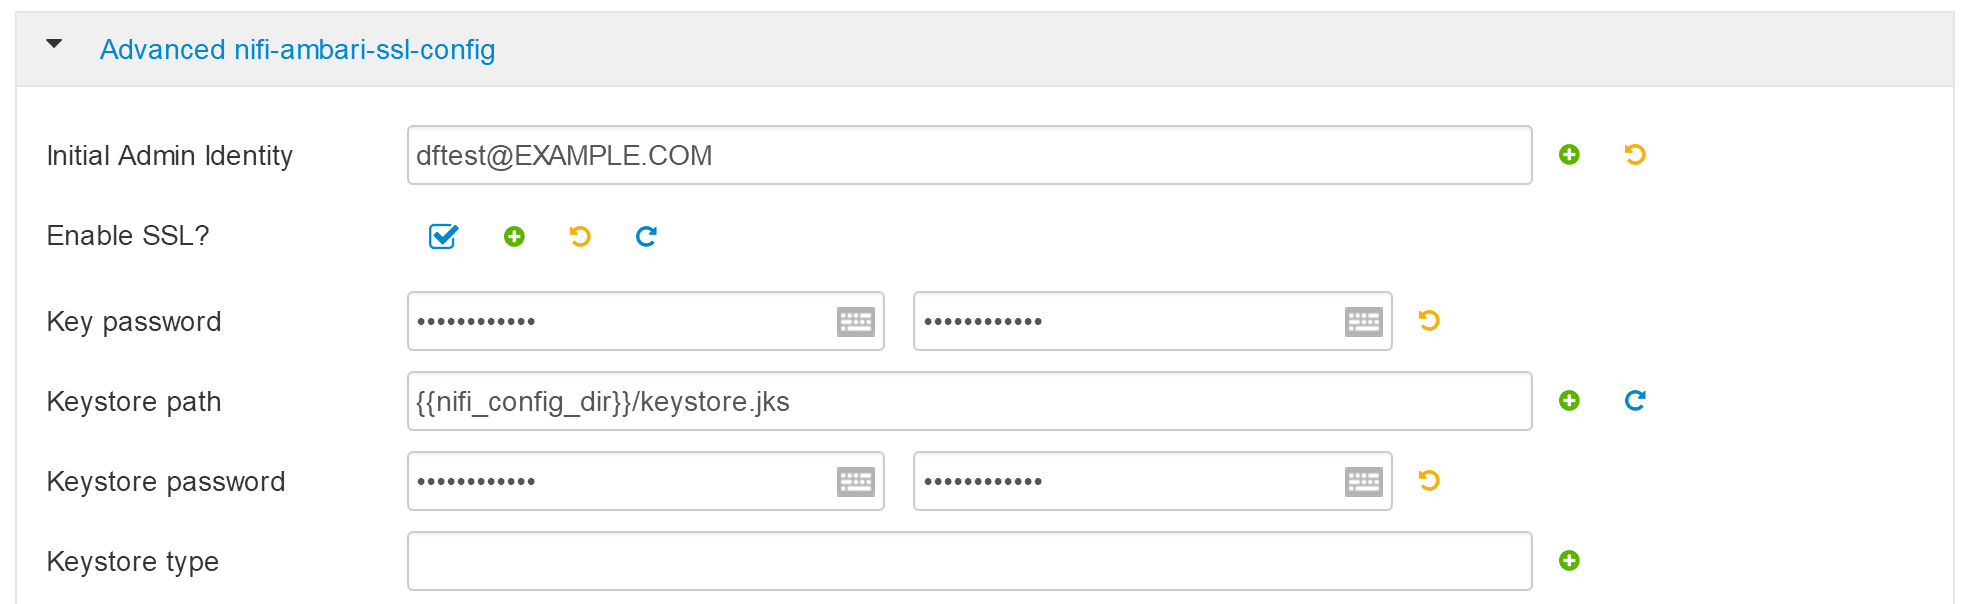
Nifi
选中 “Enable SSL?”,密码为 “left3cols”
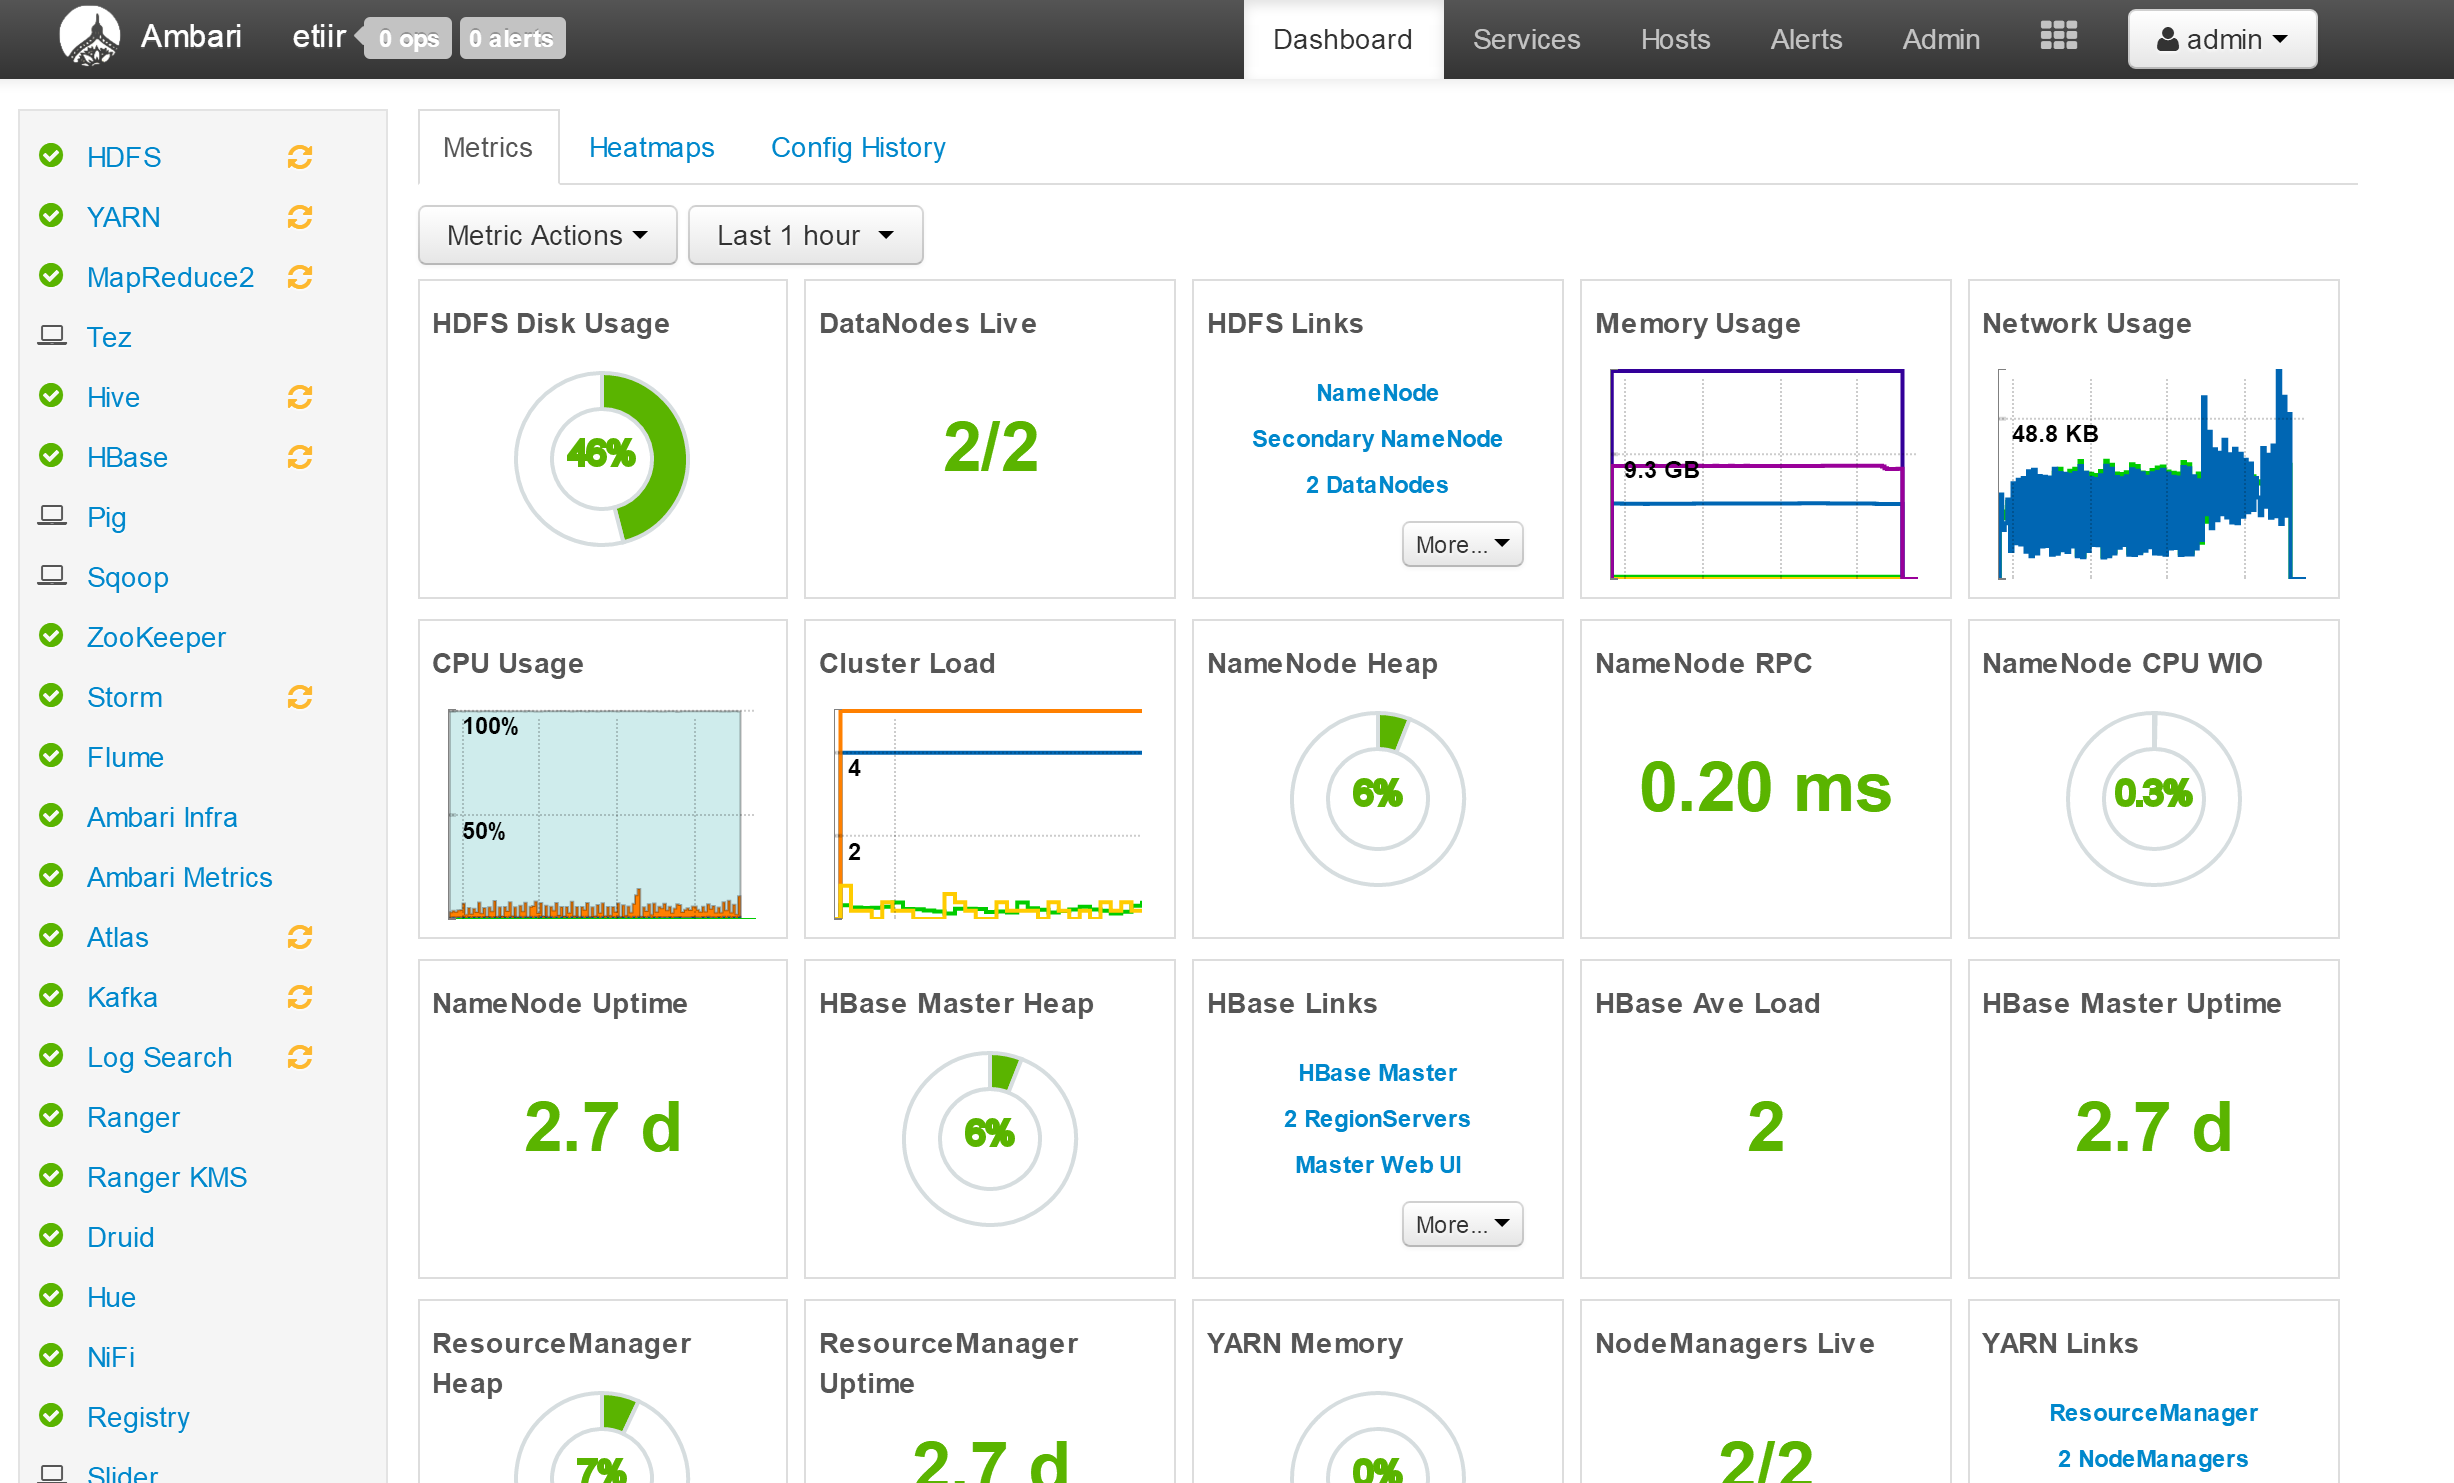
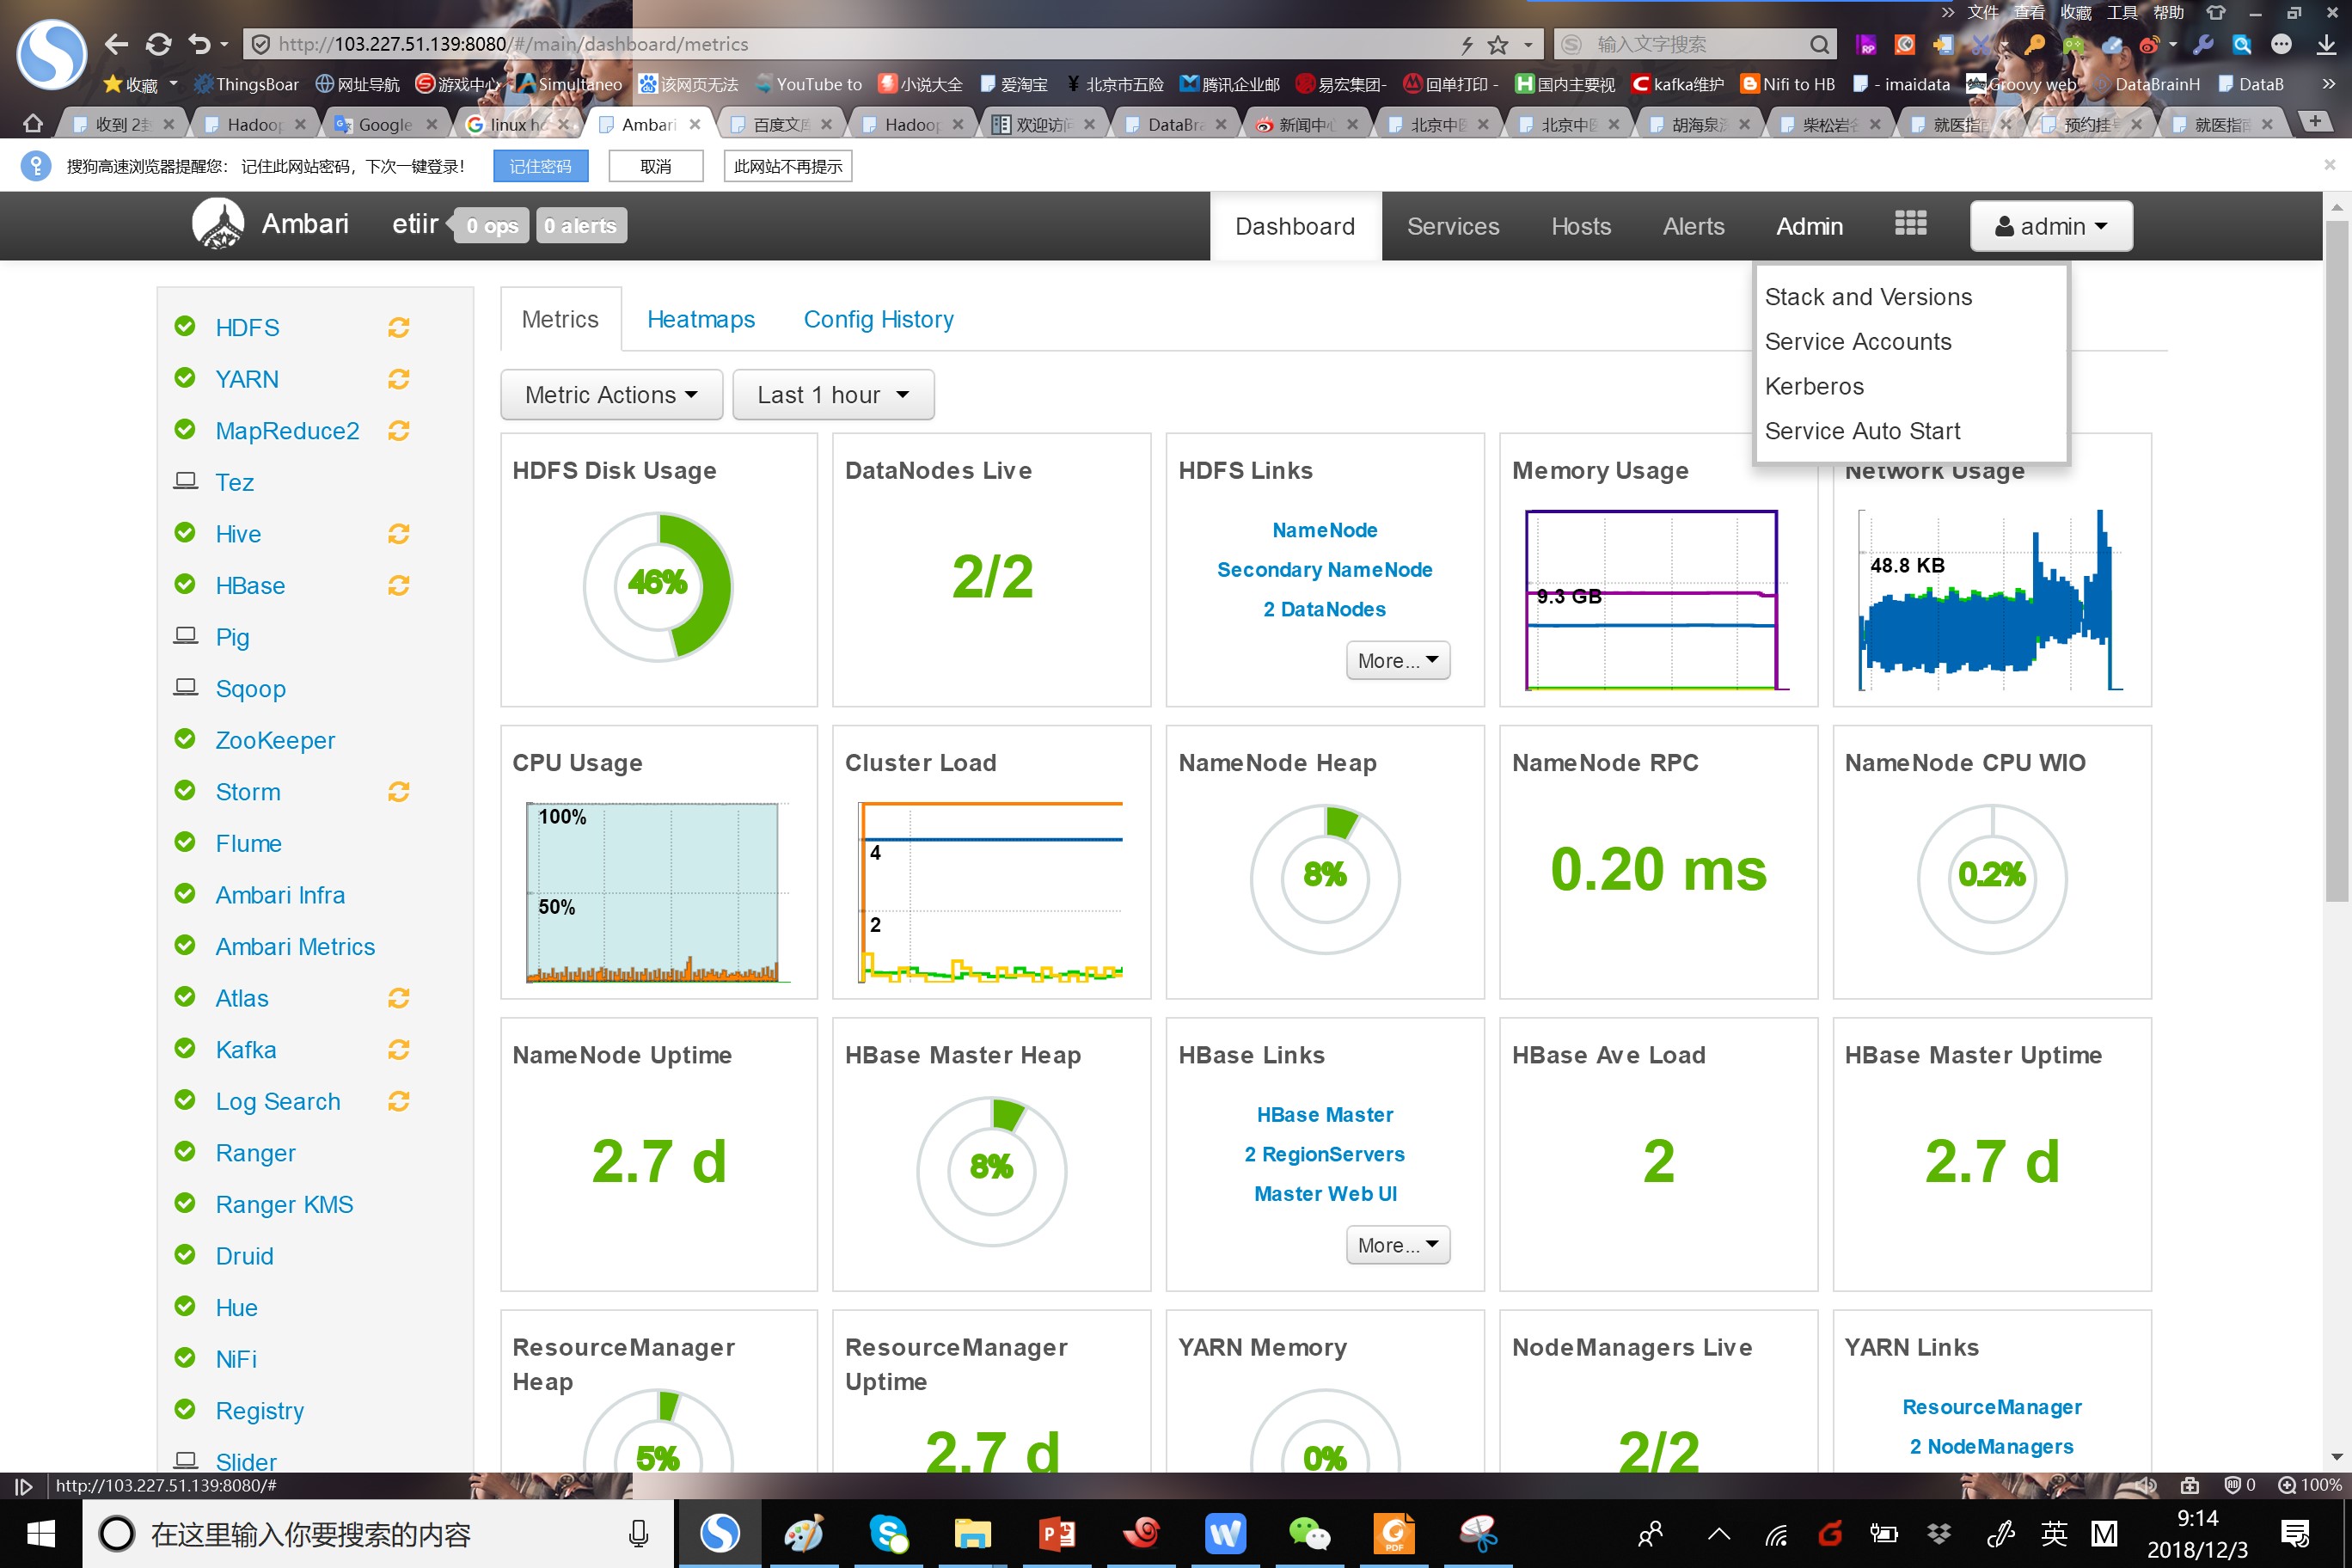
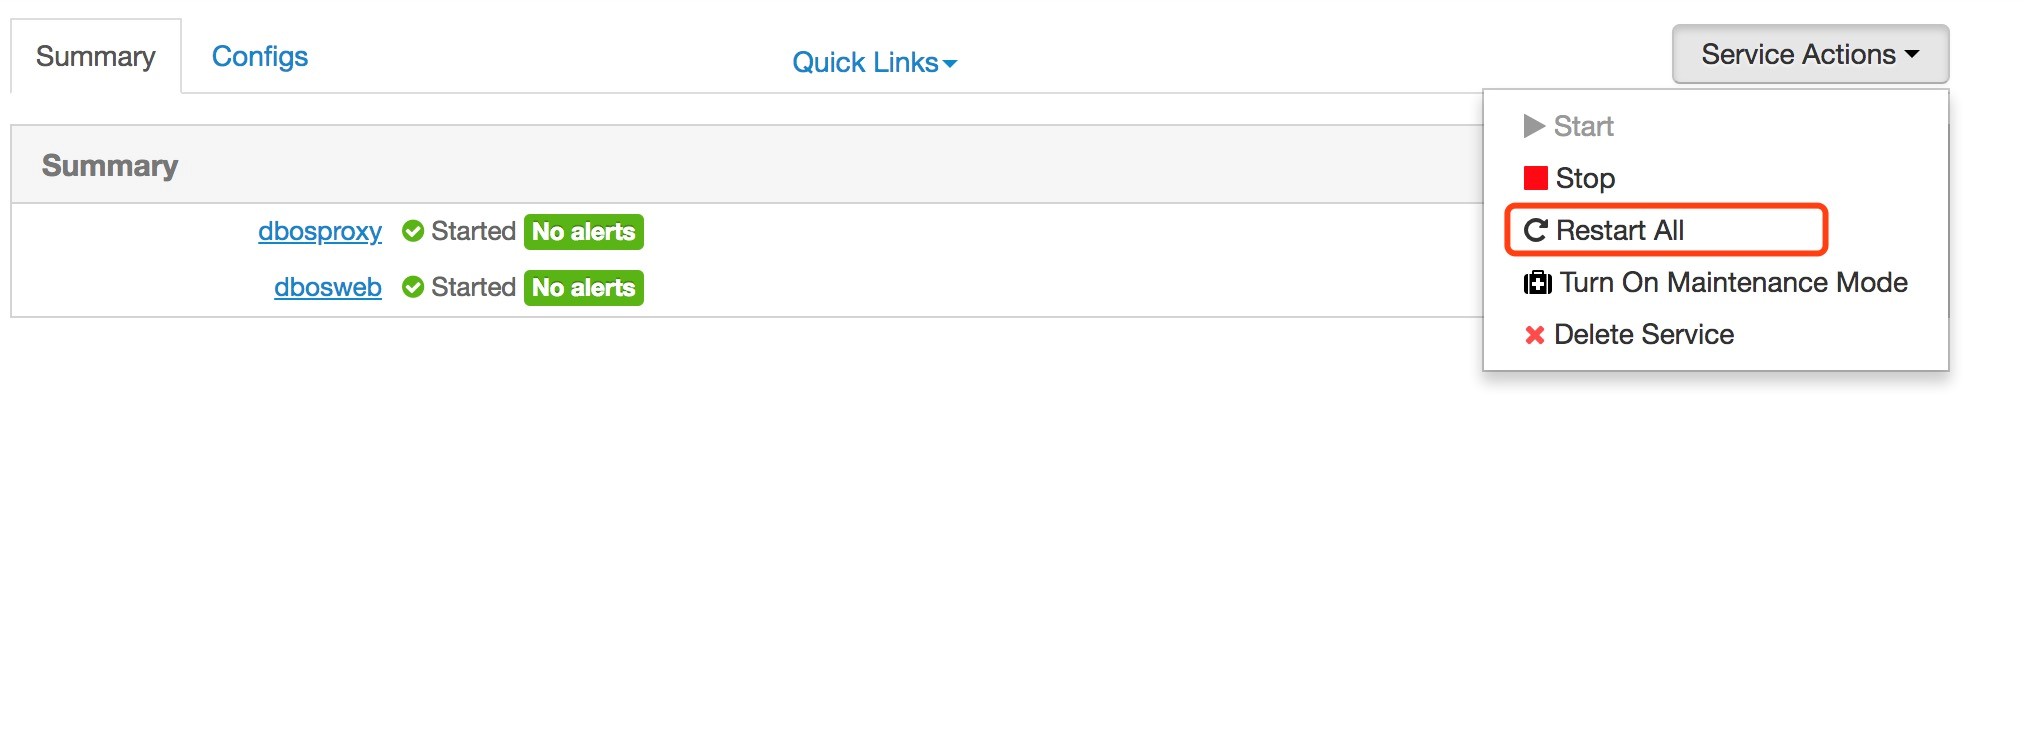
- 配置完成,重启所有服务。

- 注意:必须重启 DataBrainOS Portal (DataBrainOS UI),确保Nifi生成的证书共享给Portal。
在mysql那个节点(此处是pro02)执行如下命令:
cd /opt/deploy_dpaas
python main.py db_post
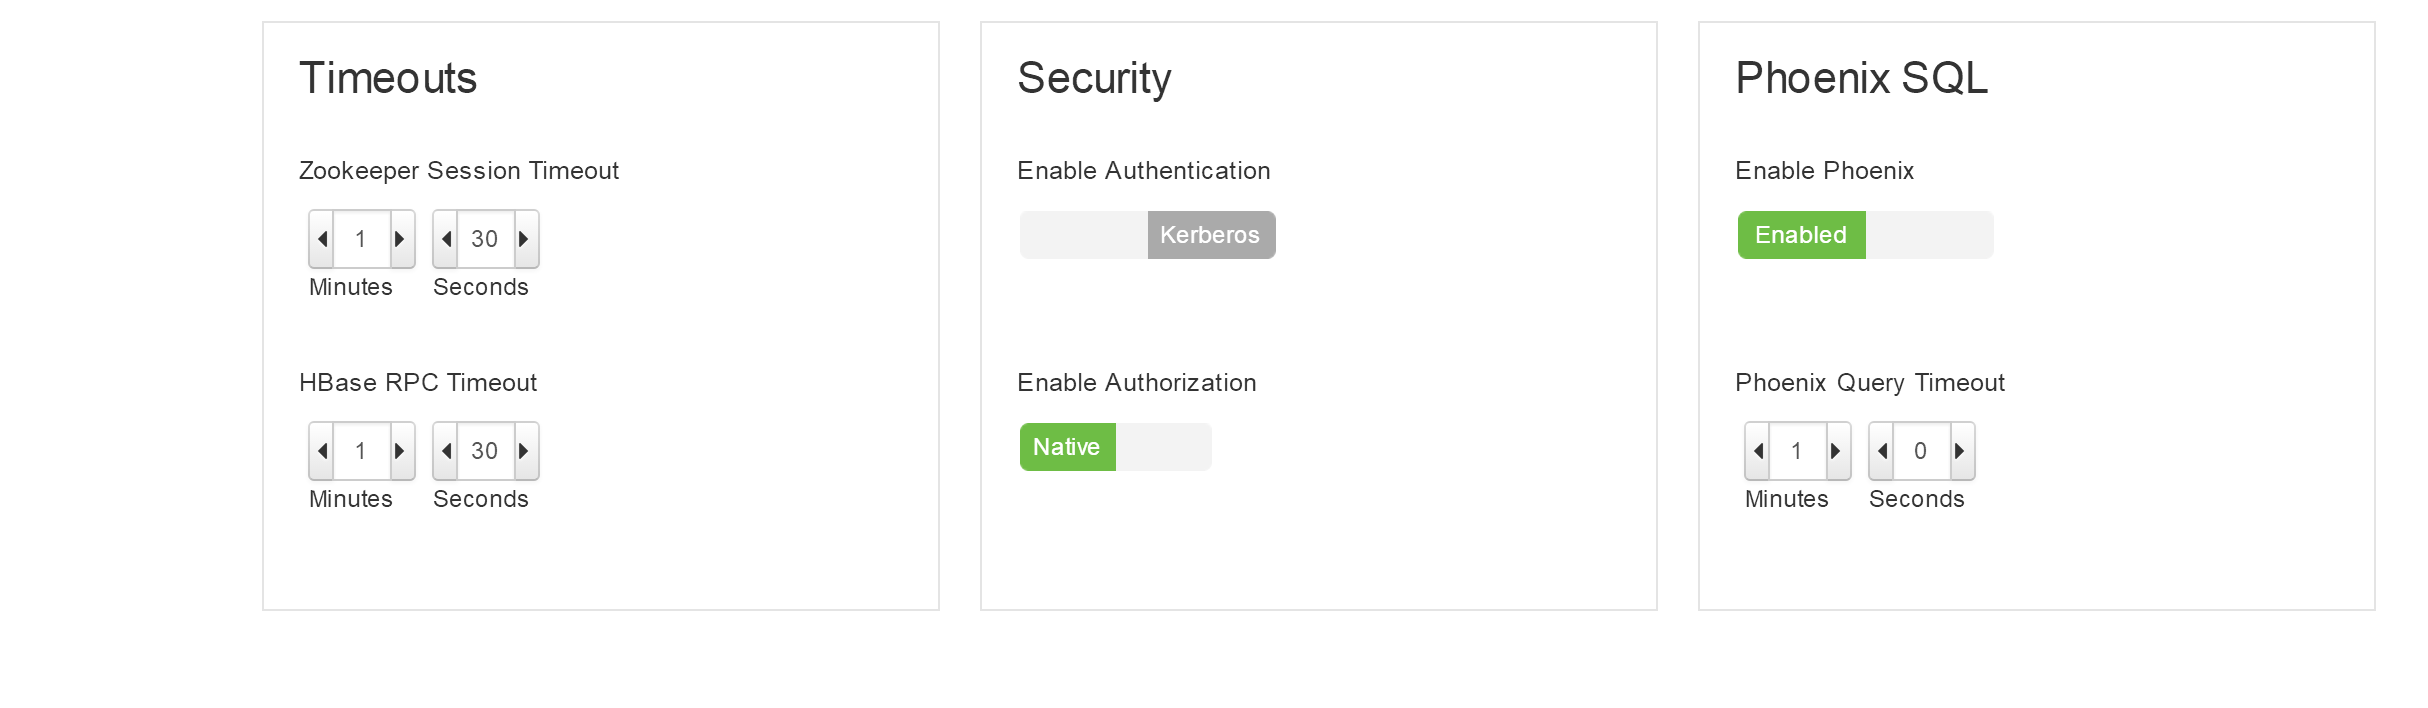
确保HBase服务的Phoenix和Thrift支持
- 确保Phoenix配置正确
- 重启HBase相关服务

- 启动 Thrift 服务。如果不启动,Hue无法连接到HBase
登陆HBase Master所在机器,执行如下命令:
su hbase
kinit -kt /etc/security/keytabs/spnego.service.keytab HTTP/pro01.dps.com@EXAMPLE.COM
/usr/hdp/2.6.1.0-129/hbase/bin/hbase-daemon.sh start thrift -p 9090 --infoport 9095
- cool! Now we can access the DataBrainOS UI !!!